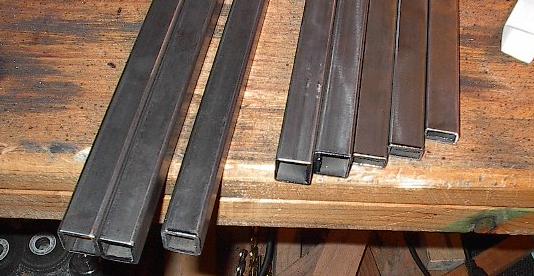
| Today, I'm going to finally install some cross members into my chassis. Shown here are eight steel tubes, cut and brushed. Three 18 inch, two 16 inch, and three 14 inch. These are going to be the only members that go straight through the chassis. All the rest of the structure is angled to provide a lot of strength. For these, I had to cut some of every kind of steel structural tube I bought for this project. There's the 1x1 and 1x0.5 I've been using for everything else, as well as almost all of my 11 gauge tube. |
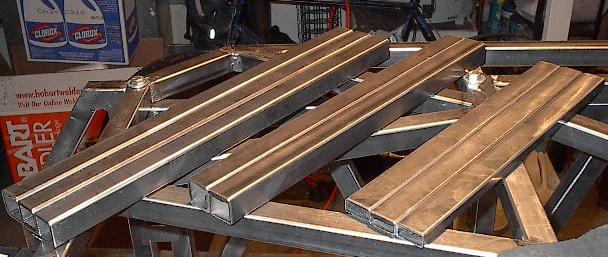 |
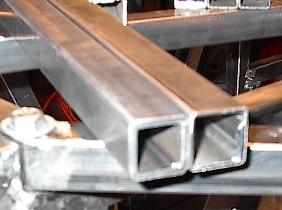
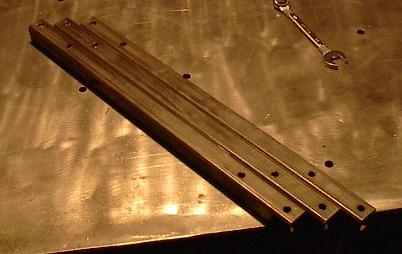
| That's right, the three 18 inch tubes are 11 gauge wall thickness. They look just like the thin stuff until you pick one up. They're well over twice as heavy and have nice thick walls -- you can see here the 11 gauge (left) right next to the normal 16 gauge (right). I'm using this stuff for the members under each axle -- they'll be the mounting points for the suspension and need to be good and strong. |
 |
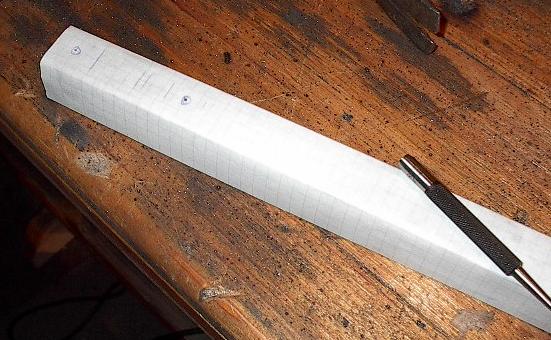
| Just like all the other members, these were marked using paper templates and will have to be ground to final fit. These are particularly important because they'll serve as spacers to get everything lined up just right. |
 |
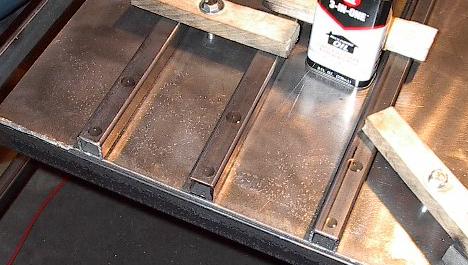
| Another nice thing about the graph-paper templates is that it was really easy to line up the center punch for holes. And, of course, the paper does little to impede the progress of a hardened steel punch. |
 |
| Worked like a charm. Twenty-four dimples, each wrought with the simple blow of a hammer. Now I just have to make them each into 5/16 inch diameter holes. |
 |
| With my handy-dandy clamping system, it was a simple matter to securely clamp down the three members. Then I just added a few drops of oil to each spot and I was ready to start drilling. |
 |
| Six down, eighteen to go. |
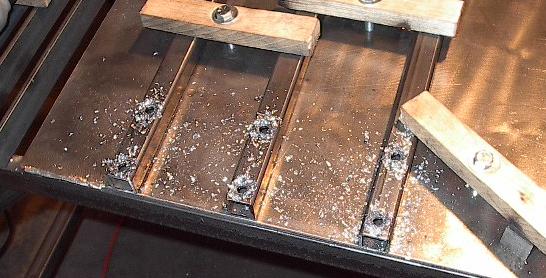 |
| Here they are all done. That was a surprising amount of work, but it's all done now. These should serve as the mounting points for my suspension elements. |
 |
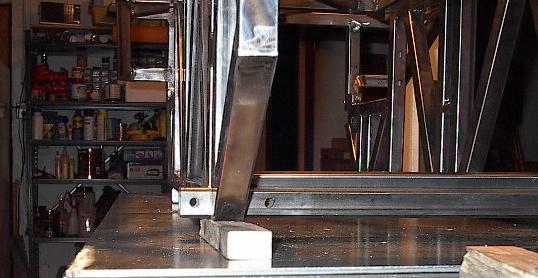
| Now I just have to line them up and weld them. Easy, right? Not even a little bit. I don't even know how long I spent getting this one into line. I started by setting it up on blocks, lowering the chassis onto it, and hammering on the top. Let me tell you, it took as lot of hammering. You'll recall that the spacing between those members is slightly less than one inch, so I had to force it down. Then I had to hammer on the ends to get it centered. Then came the hard part. I had to find a frame of reference for level. |
 |
| These members will support the axles, which support the wheels, which run inside the track, which will touch the ground. In other words, these members will determine the angle at which the robot will sit on flat ground. Due to imperfections in manufacturing, warping, and just plain general screw-ups, figuring out exactly how to line these up is harder than it sounds. After some advance fiddling and lots more hammering, I had a plane I was happy with, and was ready to start welding. |
 |
| I welded up the seams I could get to easily, flipped the whole thing over, and welded up everything else. These welds are really important -- if you check out my finite element analysis, you'll see that these joints see some of the highest stresses of the entire structure. |
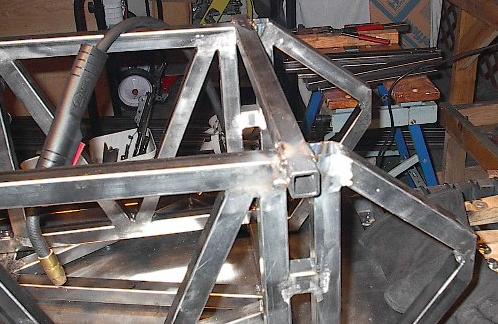 |
| With it all welded in place, I ground down the welds on outside corners and flat planes, and brushed the surfaces I could get to. The more cross-members I put in, the less I'm going to be able to get to with the grinder, so I have to grind each member's welds as I put them on. This will take a lot longer than welding everything and then grinding everything in one go, but there isn't really any way around it. |
 |
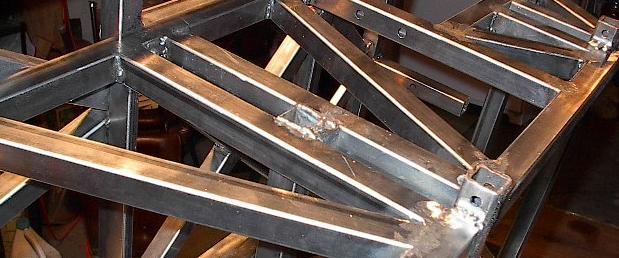
| I went through the same process for the middle axle support member. I hammered everything into place, tweaked, leveled (along the same level as the front one), and welded what I could get to. That's when I stopped and saw this. More colorful language ensued -- louder and colorfuler than last time. Somehow, despite the pressure from the side members, this side shifted when I welded the other side, and I didn't notice until it was too late. Now it's over 1/32 of an inch high and welded that way. They're fillet welds, so I can't get to them to grind them without screwing other members up, I don't have enough 11 gauge steel tubing for a new cross-member, and this is one of the most important members in the entire chassis. In a word: dammit. |
 |
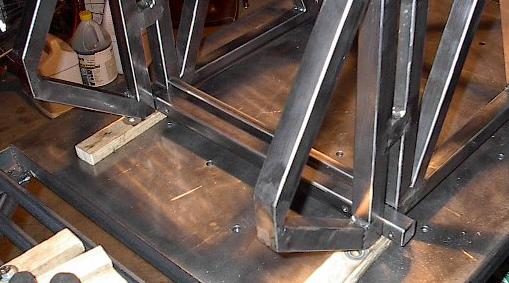
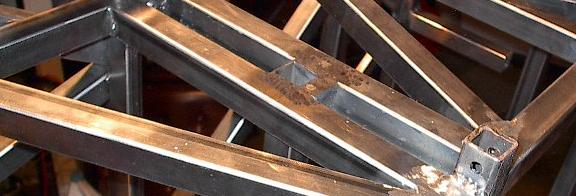
| Well, there's nothing for it now -- I just have to move on. I'm not happy about it, but it isn't much off, and complaining about it isn't going to make it any better. I finished welding and grinding this axle, and repeated the process (without the screw-up) for the third. Now I've got all three axle supports welded into place. |
 |
| You can see here the level of each of the axle supports. The front one was just right, then the middle one is where I screwed up. When I welded up the back one, I aligned it with the middle one -- I figured it was better to have the front axle a little off than to have the middle one causing problems. |
 |
| Here I've added the cross member in the back. It isn't very easy to see, but it's there. This is the member that fills the gap between the top panel back members and the side panel corner (it looked like there was just a big gap there, but it was all part of the plan). |
 |
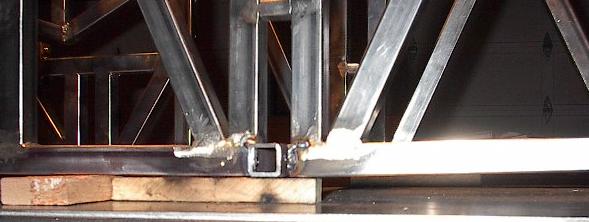
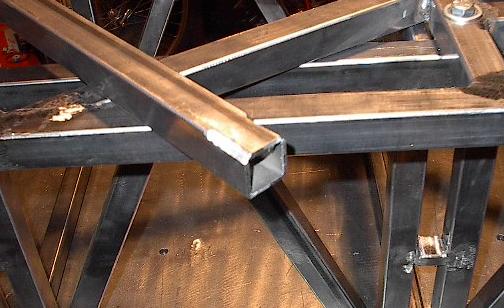
| Now it's time to add the other square tube. This one is going to fit right over the little half inch spacers that you can see in the lower right corner of the picture. These were the sites of the worst cracks during abuse testing. As you may recall, I wasn't too worried about this because I was going to weld some more stuff into the structure there. That time has come. You can see in this picture where I ground some pretty deep chamfers into the corners of the tube so it will fit right. These won't impact strength too much because I'm going to weld it all up anyway. |
 |
| Then, once the piece is hammered into place, I just welded around all the seams I could get to in order to form a nice strong joint. Here it is all ready to be ground flat. |
 |
| And here it is ground flat. See how the chamfers don't show up at all because of the welding? I don't expect to have any more cracking problems here now that these cross members are in place. |
 |
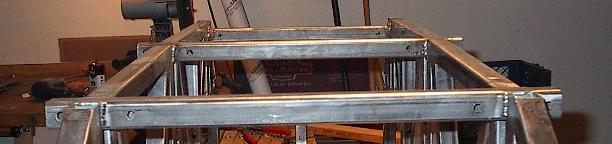
| Now I'm ready to get the two 1x0.5 inch tubes welded onto the front. Time to get creative -- I want to get these just right. They're going to run parallel to each other and really close, so if there's any angle between them, it'll show. Here, I've clamped the two members to an oak board. This gives me a good chance to eyeball the angle and get something that looks good. |
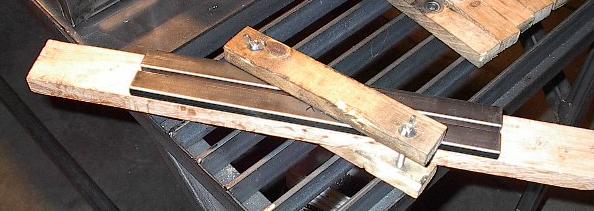 |
| Then I just took the whole board and clamped it to the front of the chassis, like so. It should be all aligned just right and held in place while I weld. |
 |
| Looks like it came out pretty good. I still have to weld up the front seams and grind everything down, but the angles look great. |
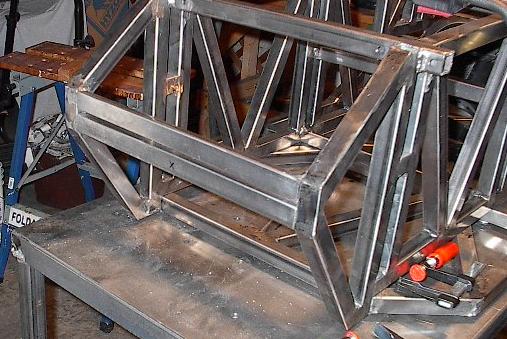 |
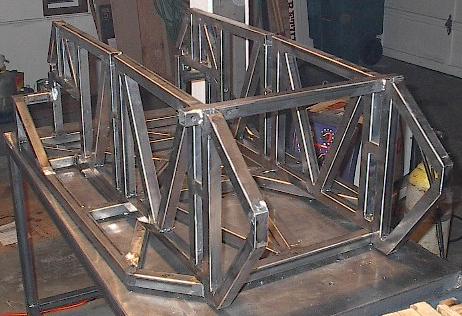
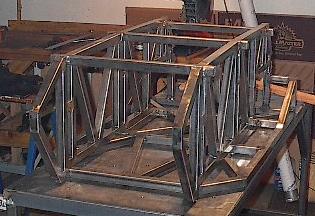
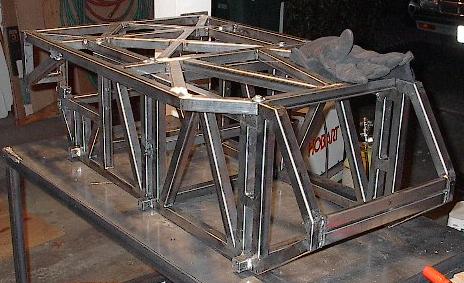
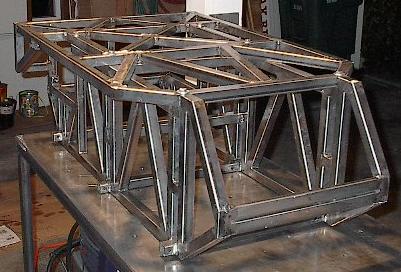
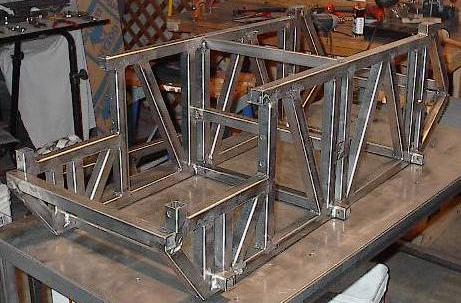
| Here it is all welded up. The chassis now contains all eight cross members (there's one in the very top that I didn't really get any good pictures of). I've still got a lot of grinding and brushing to do, but I should be done welding for the night. |
 |
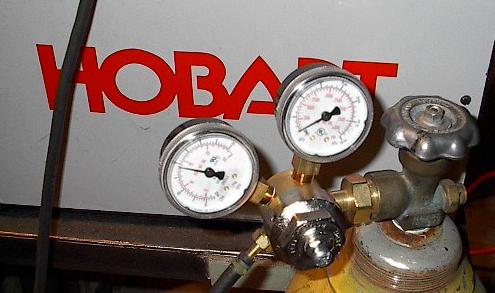
| Which is good, because I think welding is done with me for the night too. The gauge on the right measures tank pressure, and it's almost zeroed out. I'll have to get this thing filled up on Thursday before I do any more work. |
 |
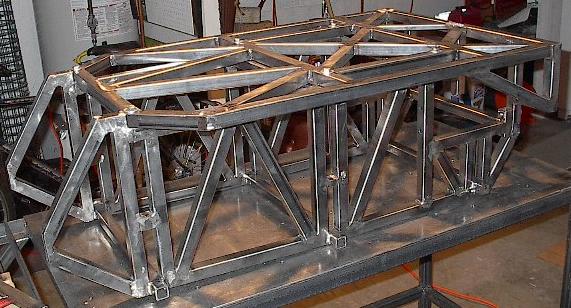
| After grinding and brushing, I've got something that looks like this. It's starting to look a lot like the stuff you can see in my solid modeling gallery. Now it's time to do something I've been worrying about for quite some time. |
 |
| It's time to take the lid off. The top panel has been bolted (very tightly) to the chassis panels this whole time. The idea is that if I build it bolted together, the bolts will line up perfectly on the finished structure. Well, it's time to see if I've been building a lot of tension into the structure or if things are actually going according to plan. Eight bolts came out, and the top panel lifted off. Things look pretty darn good and nothing went ping when I unbolted it. |
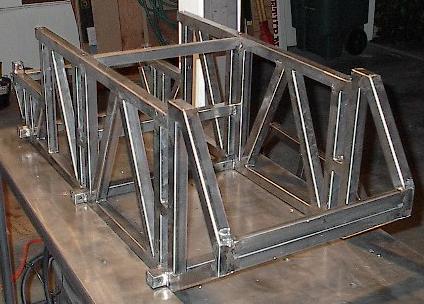 |
| Here it is from a different angle. It really looks like a robot. It took me a long time to get those eight members in, but they're really important. I'm a little worried about schedule (I have three build days left before I'm supposed to be done), but I've been pretty happy with my results thus far. |
 |