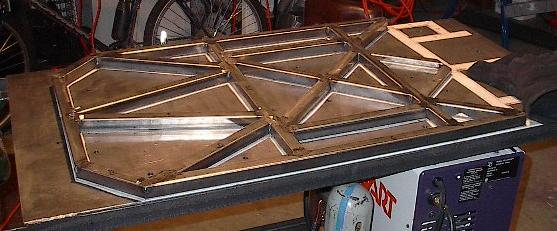
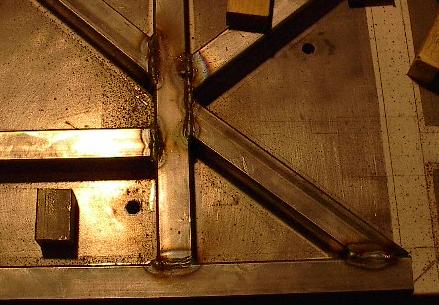
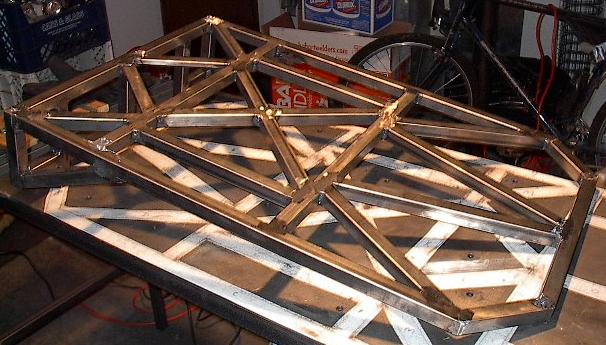
| Today, I started out by grinding down all the welds left last time. This didn't take too long -- I started with my coarse grit wheel, and finished it up with a finer one. There's a lot of warping seen in this panel, but I'm betting that's going to get better once I weld the other side. |
 |
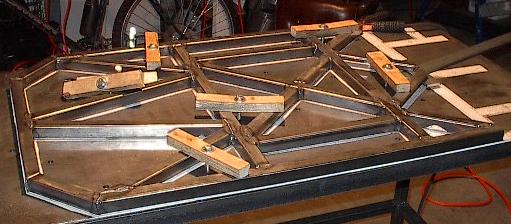
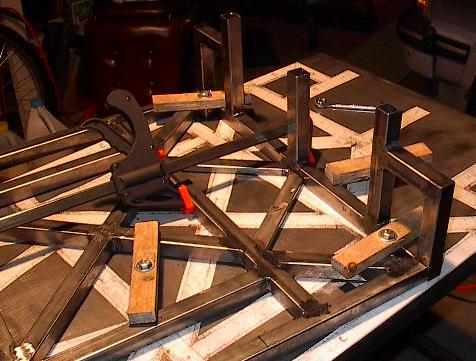
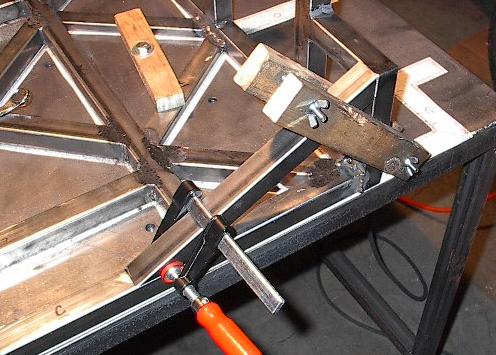
| Here the panel is flipped over and clamped down. I put a lot of torque on these bolts and clamp everything as flat as possible. This should take as much warp out of the panel as possible so when I weld it, it should stay flatter. |
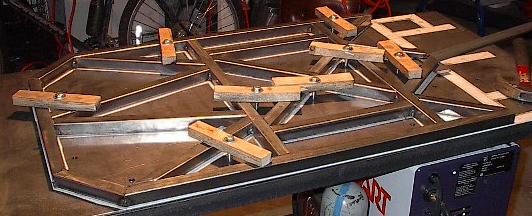 |
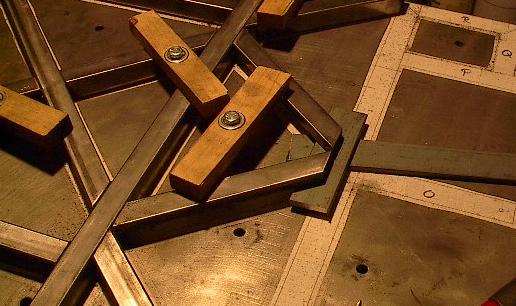
| Also to control the even level of the panel surface, I've slid two, quarter inch steel bars under the half inch thick members. This allows me to clamp these down to the right height. If I'd just left them unclamped and welded them, I'm afraid I'd get problems like I had last time. |
 |
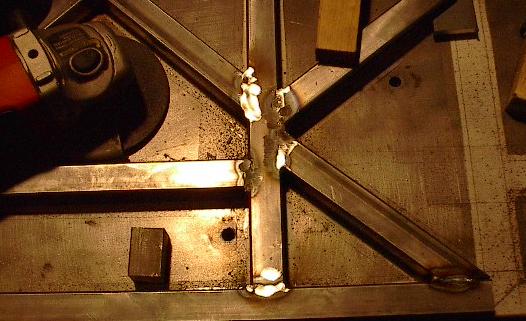
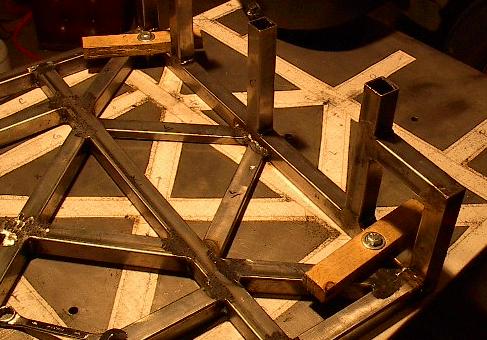
| With everything clamped nice and flat, I started welding. There are a lot of joints here, but welding always goes nice and fast. It's grinding that takes a long time. |
 |
| Speaking of grinding, it occurred to me that I've never actually taken pictures of the two stage grinding that I've been talking about. It goes something like this -- I start with some ugly, uneven weld beads like these. |
 |
| Then I go over them with my coarse grit wheel, taking the meat off the beads. I stop just as soon as I start to mark the unwelded surface, leaving any clean up for the other wheel. |
 |
| And then I go over these semi-flat surfaces with the finer wheel to bring everything level and smooth with the member surfaces. The finish still isn't great, but a few passes with a brush wheel and these will look just fine. |
 |
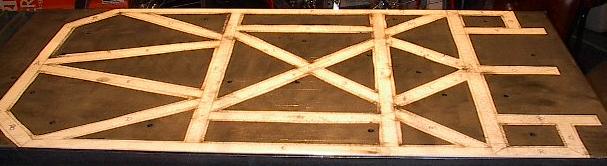
| Every joint on this panel got that treatment, resulting in a really nice looking top panel. |
 |
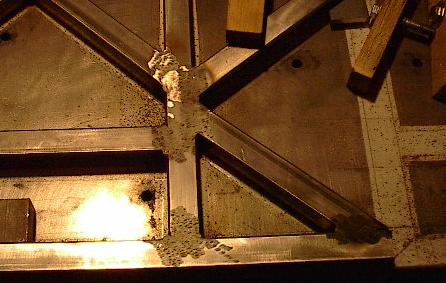
| I've been spending a lot of time cleaning the table top, but it really is necessary. You can see here the amount of grit that accumulates just grinding down the weld beads on a single side of the panel. This stuff can get into welds and joints or, even worse, get under members when I clamp them and throw everything out of alignment. So, every so often I take everything off the table and sweep it. |
 |
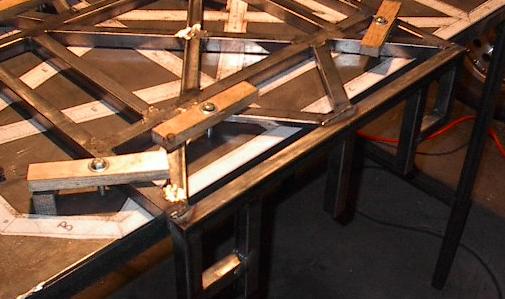
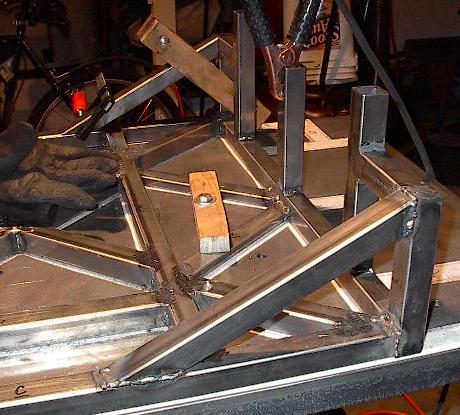
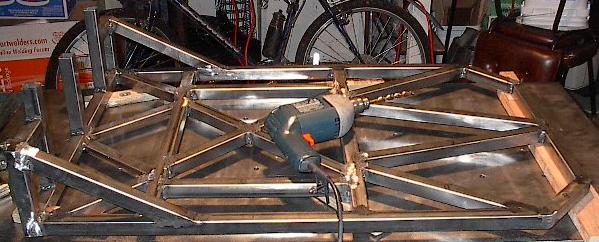
| Now that I've got the two parts done, it's time to make them one part. Here you can see I've clamped the parts at the appropriate angle. The match-up isn't exactly perfect, but it's close enough for government work. Time to weld. |
 |
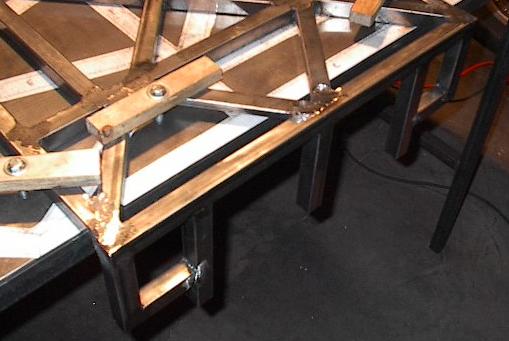
| And here it is welded. I had to lay some really big weld beads on the half inch thick members, as they didn't meet up quite close enough. It won't foul anything up (the motors don't reach that far), and actually didn't end up looking too bad. |
 |
| To get at the other side, I flipped the panel over, clamped it with the back portion over the edge of the table, and started welding. This part scared me quite a bit. I don't have the short part clamped into place at all, so there's nothing to prevent warping. I'm going to try to keep my heat fairly low and do the welds in an order that won't facilitate too much thermal expansion problems. I crossed my fingers and went for it. |
 |
| I welded the seams, ground the welds, and measured my angles. Looks like there wasn't any significant warping. Looks like I made it through that little process just fine. |
 |
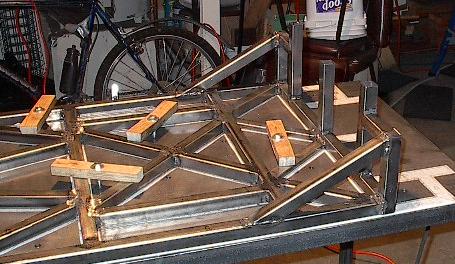
| Now that I know that everything is lined up just right, I can weld in my angle supports. I'm using the home-made clamp from the chop saw to hold things in place. I did something similar to align the flanges of the Mace of Sauron, and it worked great. |
 |
| Of course, I only have one of these clamps, so I had to weld one support into place before I could line up and clamp the other one. No big deal in this case, but I may need to make more clamps like this one for the internal structure work that I'll have to do later. |
 |
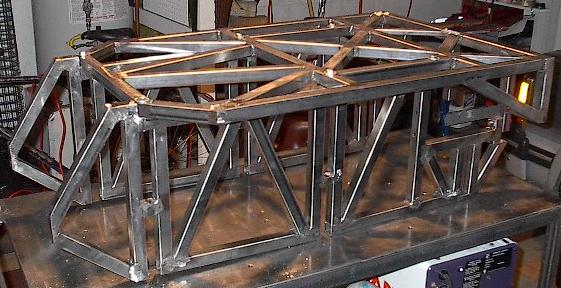
| And here they are both welded up. Finally, all the steel for this panel is in one piece. |
 |
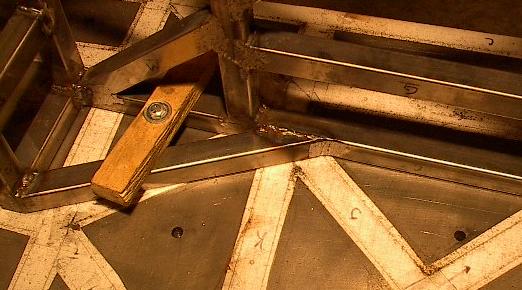
| Now that everything's welded together, it's time to go back and touch everything up. This includes all the corners, fillets, and rounds that I can get to, as well as a few little surfaces like this one that I can get to. A lot of the inside corner fillets, especially the ones in tight spaces, are just going to get left alone -- it just isn't worth the trouble to make it pretty. |
 |
| There it is, one top panel, custom made to order. Looks pretty good. |
 |
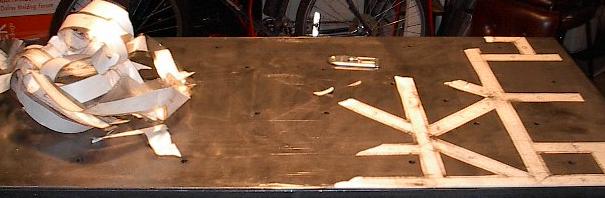
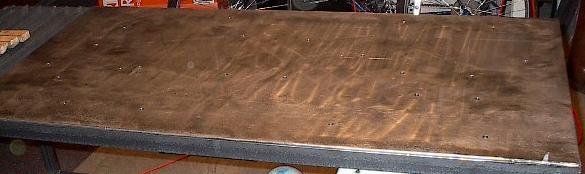
| Now that I'm done with the top panel, I don't need the template anymore. This one is in much better shape than the side panel template was after I was done with it. Regardless, it's time to scrape this one up. |
 |
| I don't know if this one put up more of a fight or if I just was a little less patient with the scraping (probably both), but it didn't come up in one piece. |
 |
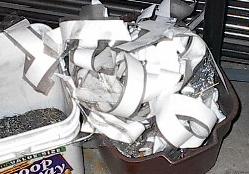
| There's three hours of my life crumpled up in the trash bucket. Oh well, it served its purpose. |
 |
| A little more scraping and a pass over with the wire wheel brush and the table top looks as good as new. It's like a Etch-a-Sketch, except instead of turning it over and shaking it, I scrub it with a carbon steel wire brush at 10,000 revolutions per minute. |
 |
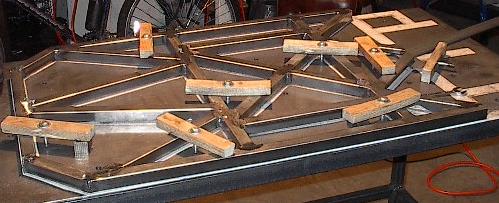
| Now, back to the top panel. All I need to do now is drill eight holes. These are going to be most of the mounting points between this panel and the rest of the chassis. With the slight warping and misalignment of the side panels as well as this one, I'm a little worried about getting it just right. Oh well, time to toss the dice. |
 |
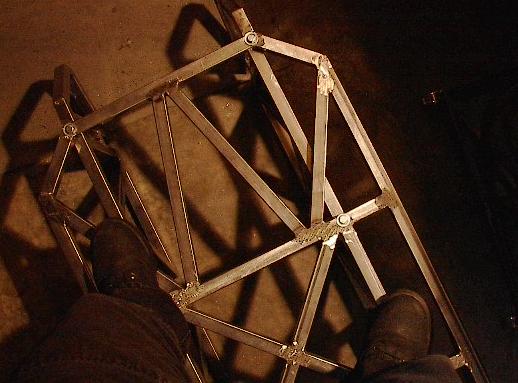
| I drilled the holes, lined things up, pushed, prodded, hammered, and managed to get seven of the bolts into the appropriate weld nuts. The last one I had to run the drill bit back through to make it work. Long story short, it's bolted together. |
 |
| It's good and sturdy too. Here's a shot of it supporting me no problem. During the design process I had what I called my "token fat guy." It's how I always described the required payload. This thing had to be able to take 300+ pounds with a variable, dynamic center of gravity, which was easiest described as a fat guy. Well, I'm not that fat, but it's a good start. |
 |