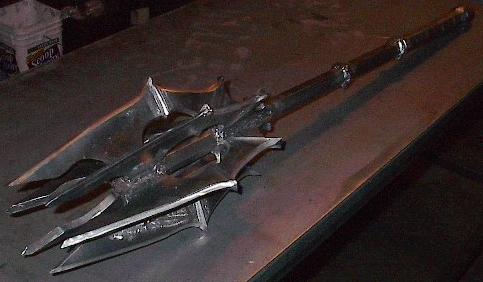
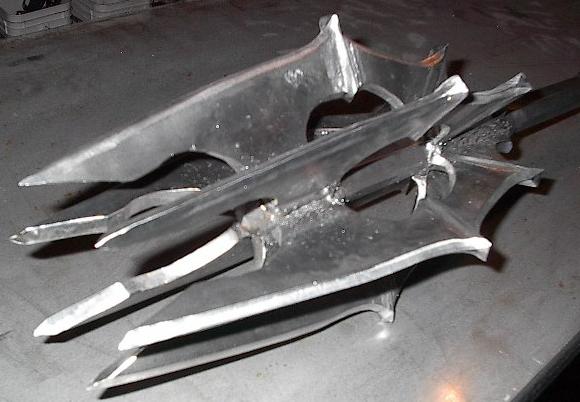
| This past October I threw a little "costumes mandatory" Halloween party for my family and friends. My brother attended garbed as the Witch King, sporting black robes, this helmet, and the mace shown above (a bit out of character, but you simply don't split hairs with someone wielding a 20 pound mace). The helm was made of tag-board and painted gunmetal gray. It came out very good, but I think I can do better. |
 |
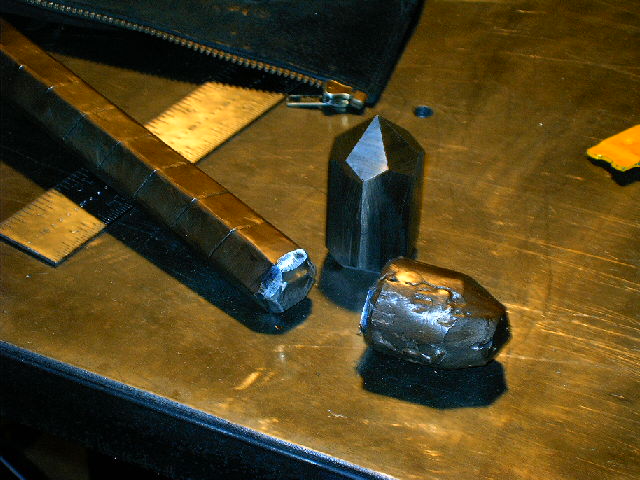
| I spent the majority of my time on the mace simply cutting and shaping my steel, so this time I decided to save myself a good bit of work and have my material cut at the mill. For this, I went to Farwest Steel. There was a bit of a mix-up and my first order got lost somewhere (likely in the Electroimpact weld shop), but Farwest cut me a second batch free and I was able to pick it up just in time (with just one day to get it fabricated before Christmas). |
 |
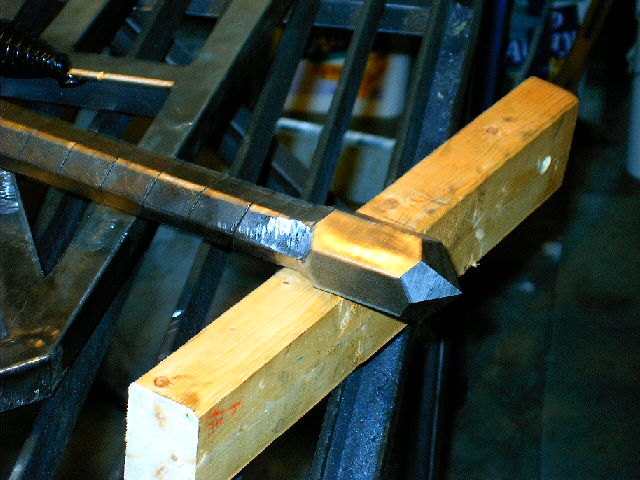
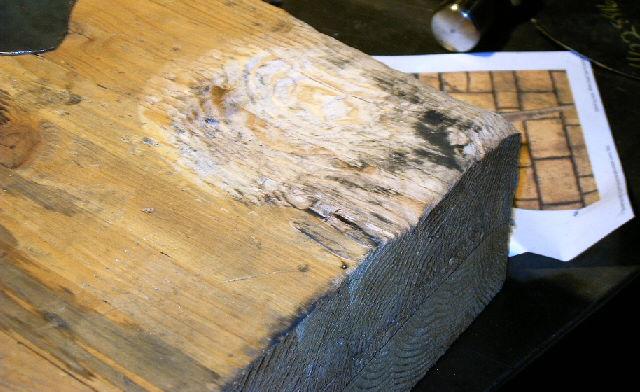
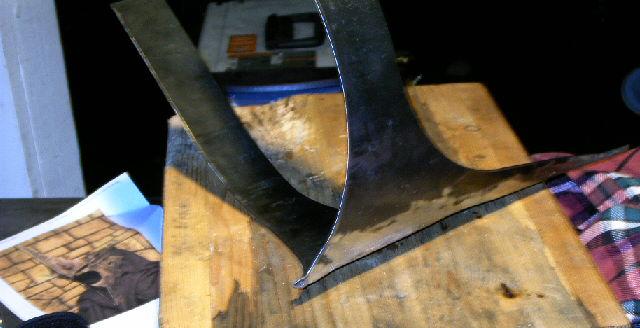
| As I said, I don't have a forge to play with, but I'll make do with a nice hefty ball-peen hammer and this chunk of wood. I took a hatchet and a grinder and cut this interesting little surface profile into the corner. This has spherical and cylindrical contours, both concave up and down. Using this, I should be able to hammer the steel plates into whatever shapes I need. |
 |
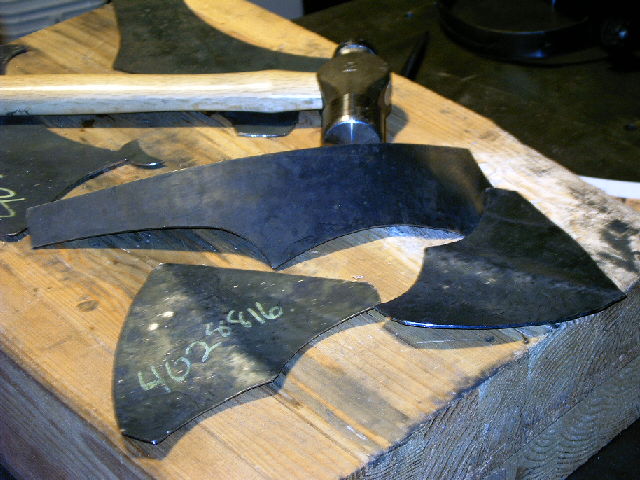
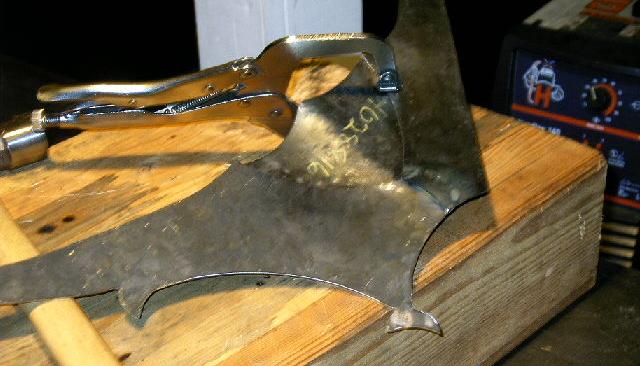
| After a bit of playing around with aforementioned hammer and wooden anvil, I'd gotten a pretty good feel for how this stuff was going to behave. Here you can see I've got the cheek bits just about how I want them to look in the finished helmet. Everything else is pretty much a simple curve, but these parts need that distinct bat-wing shape. |
 |
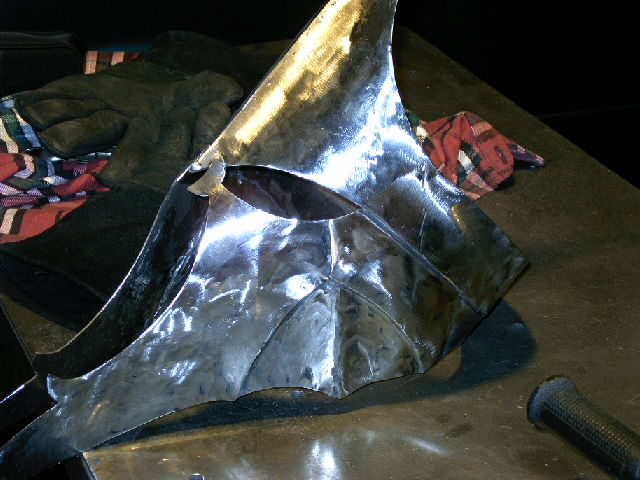
| Now I'm ready to do the first of the welding. I'm starting with the front crease in the forehead because it needs the most work. Pretty much all the other welds are fillet welds or inside the helmet, but this one needs to look good. I also need to be able to run it all the way out to the top and bottom spikes and clean up the extra with a grinder. I won't be able to do this later because the other plates will be in the way. |
 |
| Here's another shot of the same thing, but with the nose weld cleaned up into a point. You can see here how I've put just a little bit of contour into the bridge of the nose. |
 |
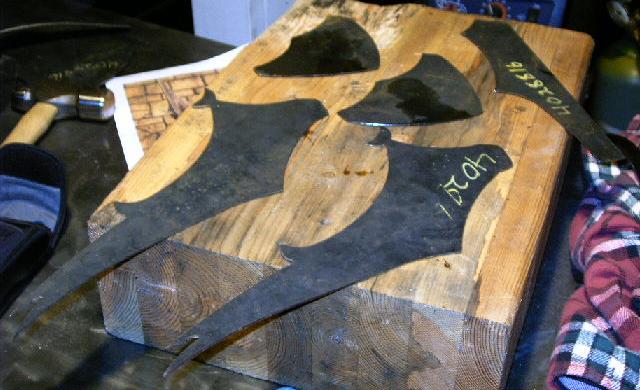
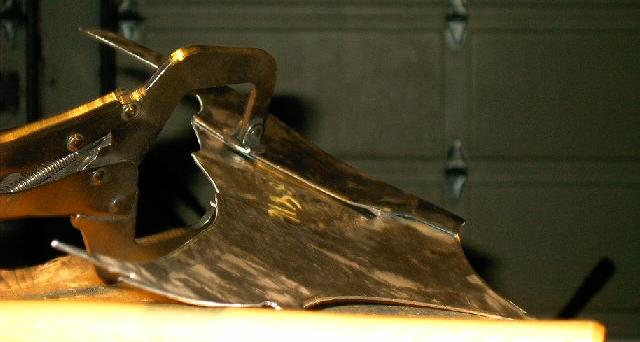
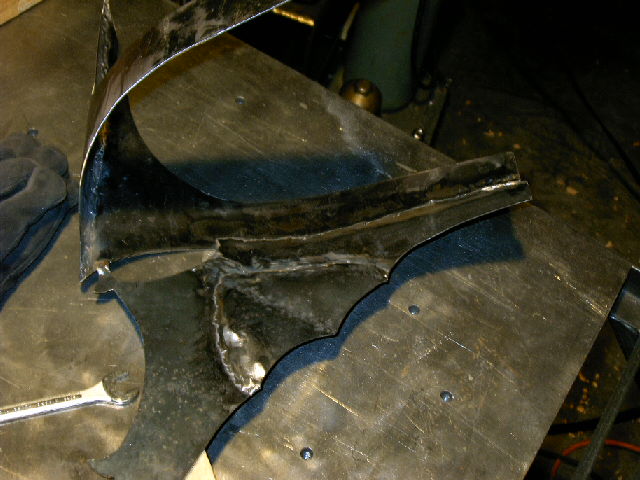
| Now it's time to get to work on one of the sides. They will each be made up of three different pieces, and then welded to the crown I've already made. After shaping the cheek piece into that nice bat-wing shape, I hammered the other two parts to match up with it and tacked them together. |
 |
| You can see here that I had to twist these bits into kind of a weird shape to get them to go together. This is just fine. After everything is welded up, I'll go after the whole assembly with the hammer and wood-block to get it into the shape I want. All I'm concerned about now is keeping the cheek in the right shape (it's a complicated shape and will be a real pain to achieve later) and making sure everything welds up nice and flush. |
 |
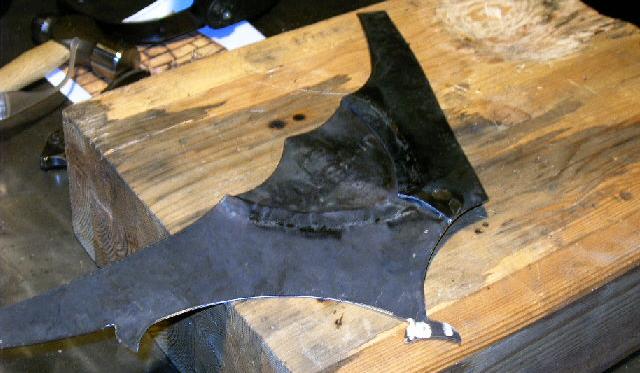
| And here's the side all done and ready to be added to the crown. |
 |
| Here's the assembly with one side welded into place. I'm doing all the welding for this kind of stuff on the inside of the helmet so that the outside has a cool articulated plate mail look. You can see the heat affected zone coloration where I've welded on the far side, but that will all buff out when I go to put a finish on the steel. Speaking of finish, you can get a good feel for what it will look like by looking at the first weld I did at the center of the forehead. That weld was ground flush and cleaned up with a flap wheel. Eventually, the whole helm will have a similar finish. |
 |
| This is a picture of what the inside looks like. I'm not putting too much work into getting it all pretty. I grind all the welds down nice and smooth so there aren't any sharp bits, but it isn't worth the trouble to make it look particularly continuous. |
 |
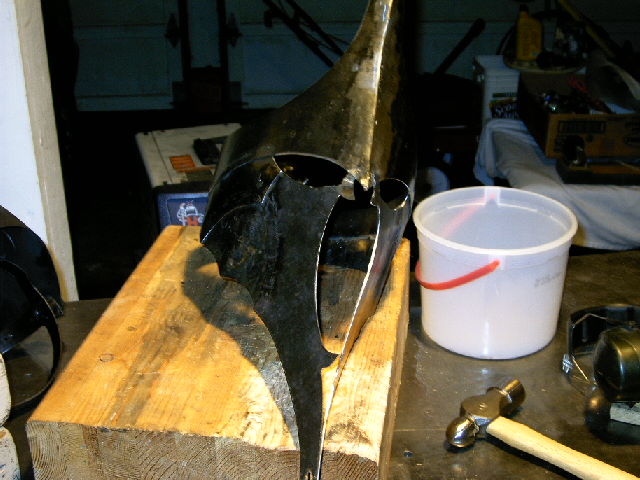
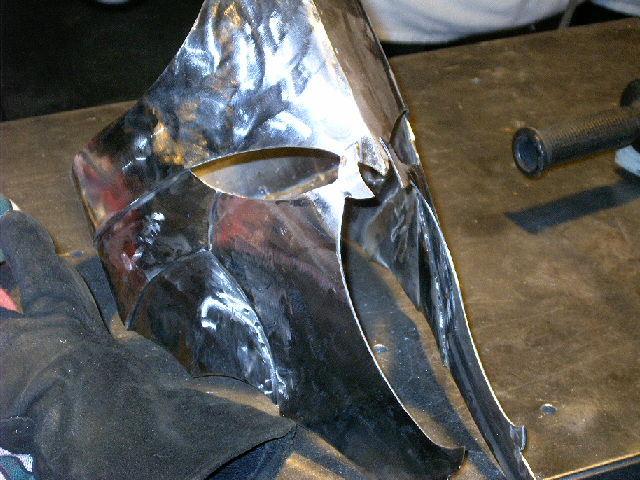
| Lather, rinse, repeat. An hour or so more work and the helm has another side. By the time they were welded up it was clear that the jaw gap is a lot smaller than it was supposed to be. I went with a concave-out shape to the face because I though it looked sort of gaunt and a whole lot meaner, but it needs a bit more work before it looks right. |
 |
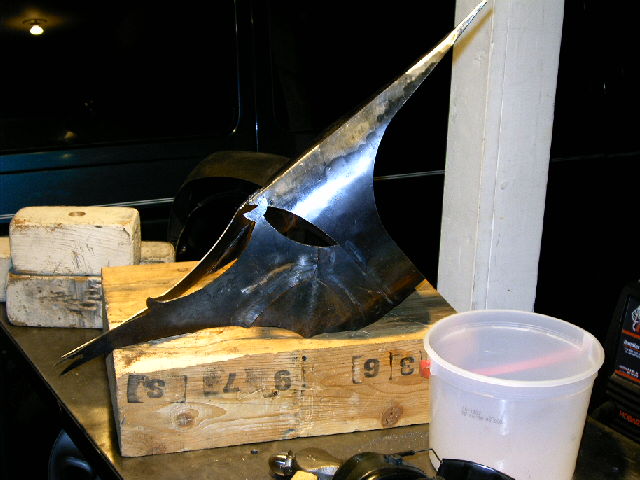
| The next order of business was to close the back of the helm. I realize that this picture doesn't look much different from the previous one, but trust me when I say it was a lot of work. I had to bend the ends around to meet, square them up, weld them, clean it up, and then bring the crown into a fairly even hoop shape. Most of this was pretty difficult thanks to the awkward shape of the helmet, but I got the job done. |
 |
| Now I get to start working on the finish. To be done right, this needs to have a very heavily antiqued finish like this, but I simply don't have time to make that happen. I've decided I'm going to leave a bit of an un-even, slightly pitted surface for effect, but a good burnished finish. This isn't exactly canon, but I think it will look good and shouldn't take too much time. The first step was to go after the whole thing with a grinder to add character. |
 |
| A detail shot of the sloppy grind-work. |
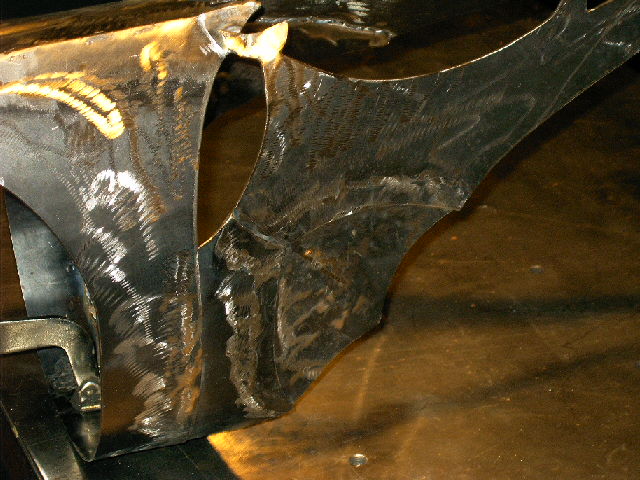 |
| Then I went back over the whole thing with a medium-grit flap wheel to take off the mill scale and heat affected zones. This leaves a great burnished-like appearance that I really like. I went pretty quick so that it left an uneven finish and even a few pits and bits of scale in hard-to-reach corners. I think that adds a lot of character. |
 |
| Another shot of the finish. |
 |
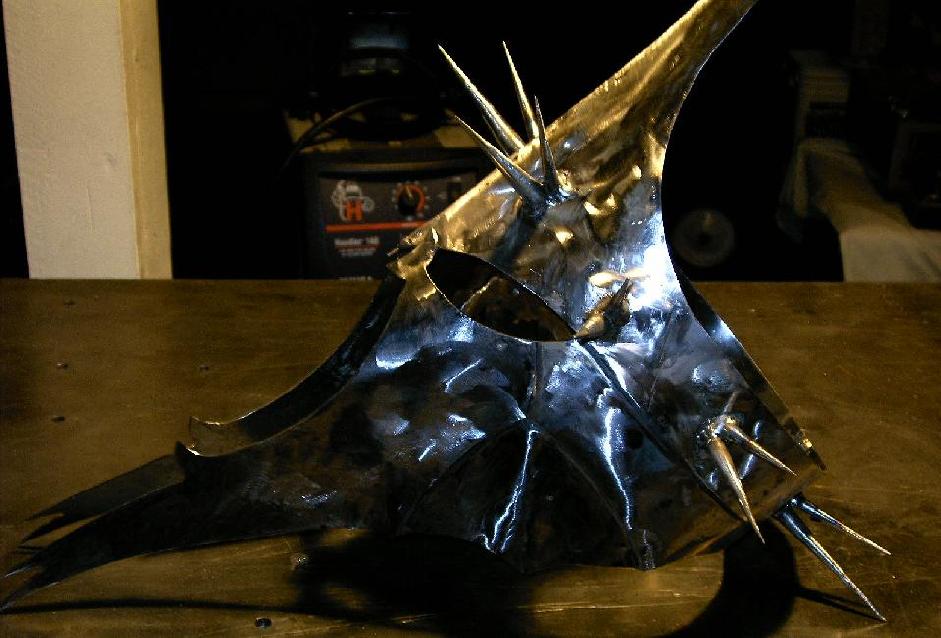
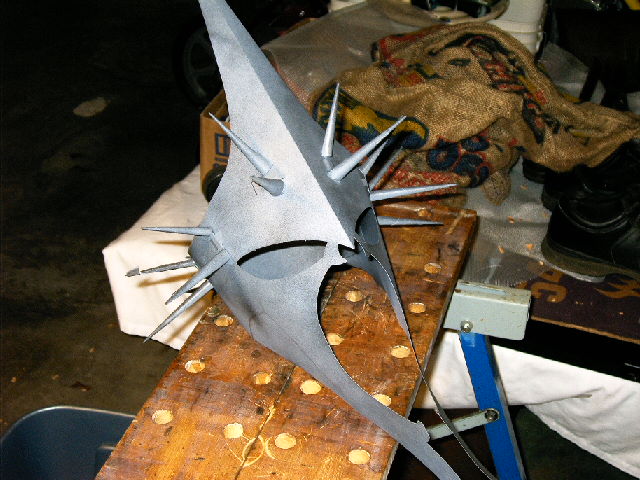
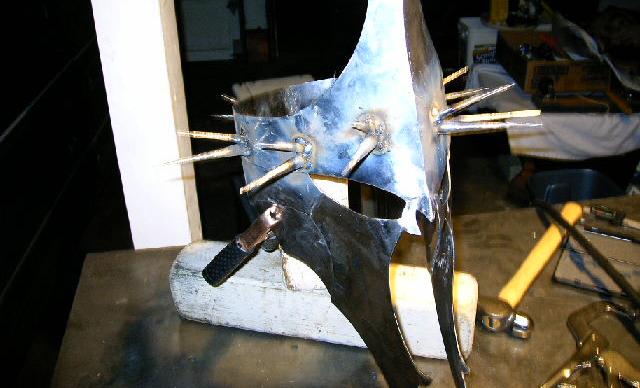
| Next I added the final pieces; the crown of spikes. I made these on a lathe at work the day before and they ended up taking quite a bit of time. I spent about five hours on the sixteen spikes. They were turned down out of half-inch steel bar and they came out really menacing so I'm happy. |
 |
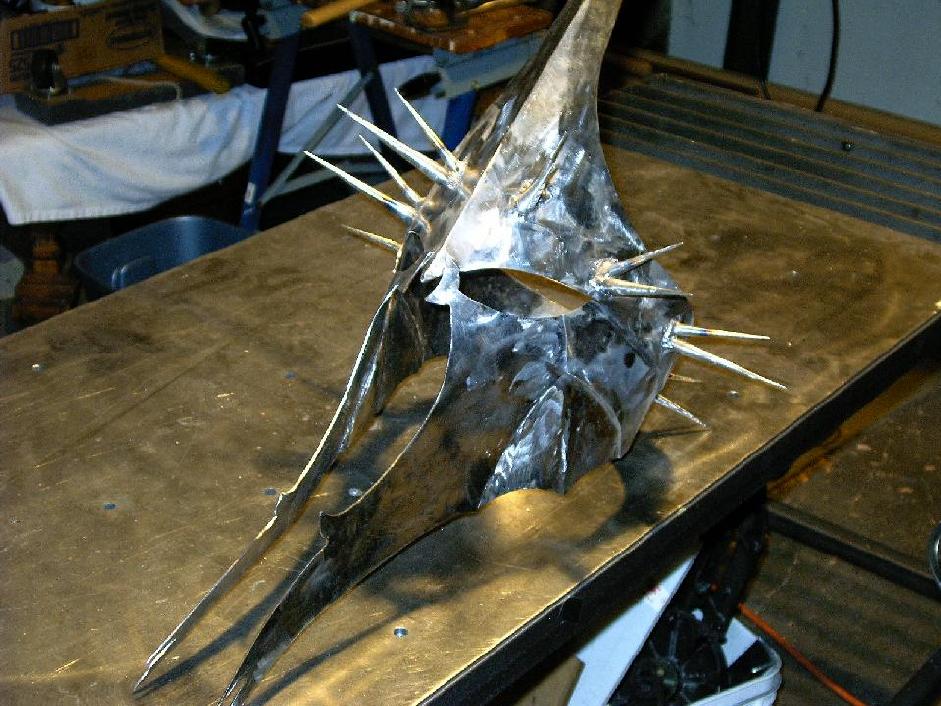
| Getting in around those spikes to clean up the welds was a real ordeal, but between the Dremel tool and my grinder I was able to do a pretty good job. I also sharpened the top point now that everything else was done. I should have done that before I put the spikes on, though, because let me tell you, sharpening that point was a little bit like trying to sharpen a porcupine. |
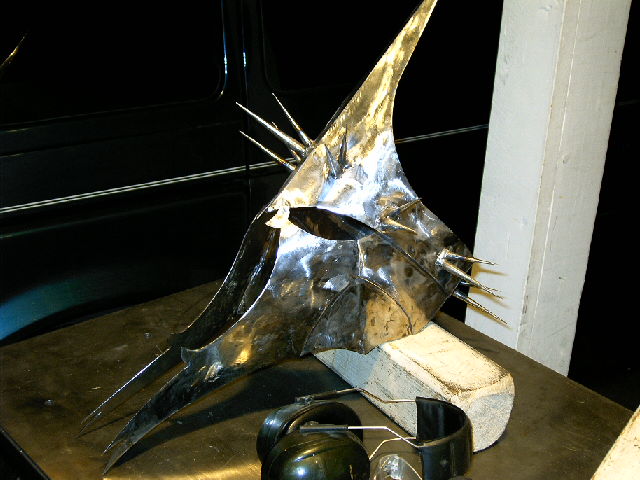 |
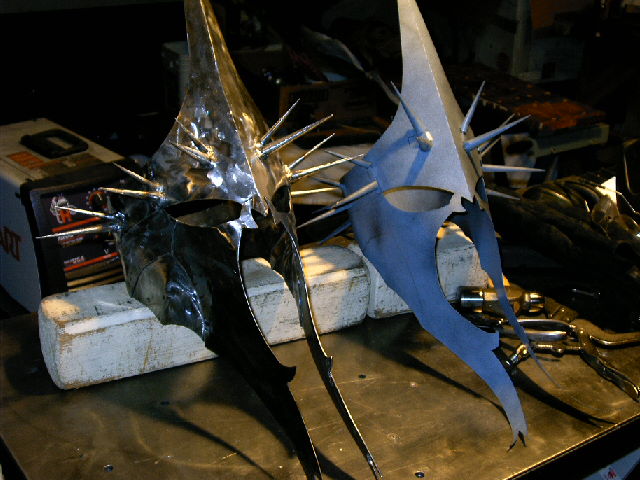
| Here it is along-side the original. I think it came out pretty darn good. |
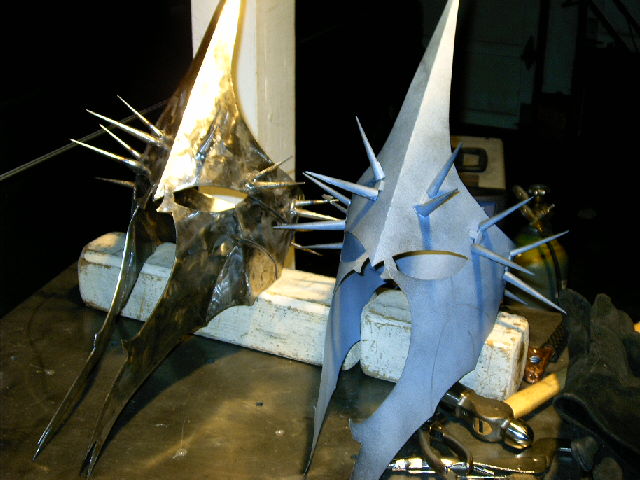 |
| Another picture of the same thing. I'm happy with my results, and it only took me the better part of two days this time around. Merry Christmas everyone! |
 |