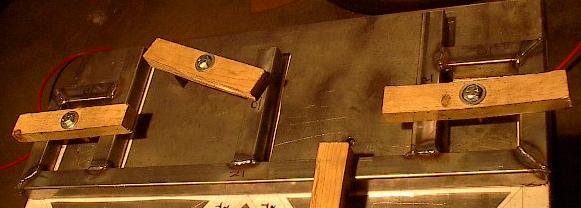
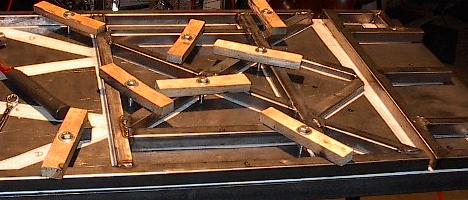
| After my last days work, all the pieces were all ready to weld together. The only problem was that I needed some more clamps to hold everything down. The top panel is the biggest planar piece that I'll be building, so I'm going to need seven additional weld nuts mounted to the table in order to get all the clamp points I need. |
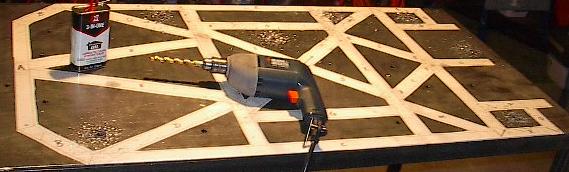 |
| After drilling the seven holes, I flipped the table over (no small task -- that thing is heavy) and welded the nuts to the bottom. Now I've got a pretty good distribution of mounting points across the entire table's surface. I doubt I'll need to mount any more ever again. |
 |
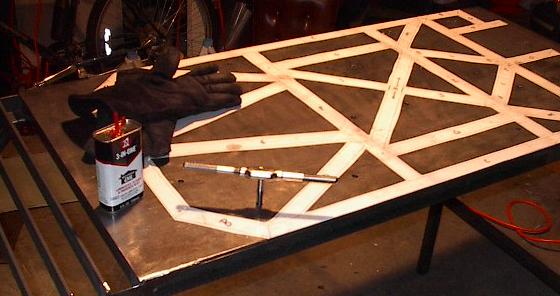
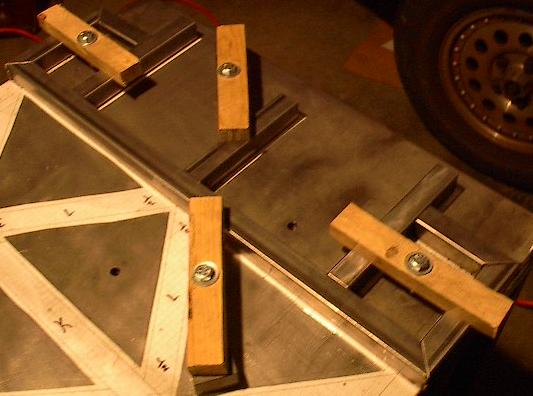
| And, as always, the new weld nuts had to be tapped out in order to clean up the threads. I've been having a little trouble with my weld nuts catching on fire when I weld near them, but it's just the oil I use when running the tap through them burning off. Nothing to worry about. |
 |
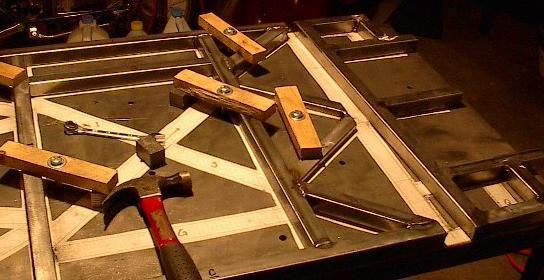
| Now I'm all ready to start welding. I'm going to begin with this little section right at the back of the panel. This portion is actually going to be in a different plane than the top panel, folding down to support the limited back panel structure provided by the sides. |
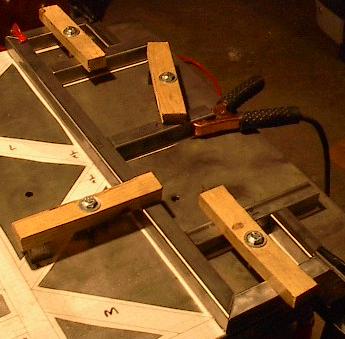 |
| This was fairly easy to weld up. I had a little trouble with getting the clamps to line up just right and keep everything strapped down flat, but I managed with the help of a few C-clamps. |
 |
| The nice thing about a symmetrical panel like this one is that I can use the same template when I flip things over. Time for weld pass number two. |
 |
| Of course, with both sides welded and ground flat, I have to take care of the corner welds. These always come out really ugly because I'm still not any good at welding on a vertical surface. Anyway, these are going to have to be ground as well. |
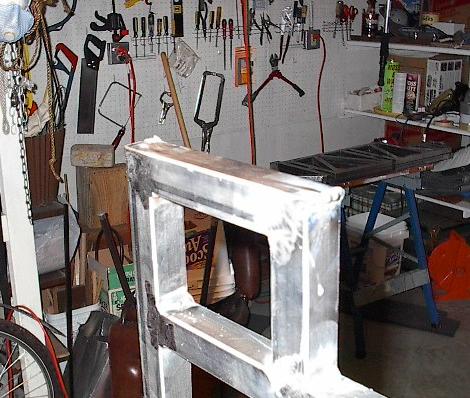 |
| That finishes up the back panel. I've accumulated quite a mess in the process. Time to clean off the table and start on the top panel. |
 |
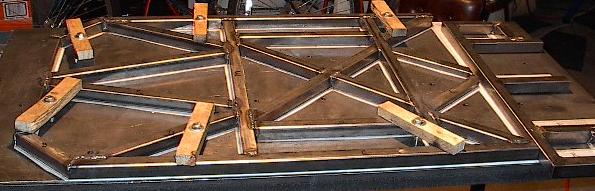
| I started off by lining up and welding the aft portion of the top panel. I got this far, and then uttered some choice words which, seeing as my mother reads these reports, I don't think I'll repeat here. |
 |
| This picture didn't come out, which is really a shame, because this is what inspired my colorful little tirade. The steel tube on the right warped up before I welded that seam, so it's way out of line. This one is too bad to just grind flat, I'm going to have to cut it apart and try again. That can be a whole lot of work. |
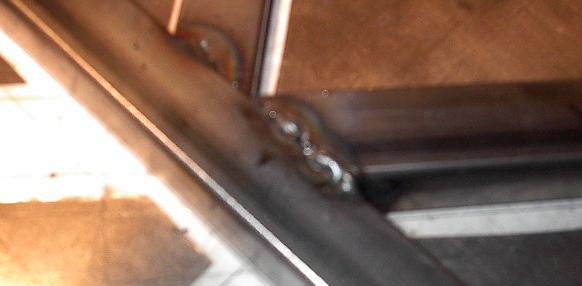 |
| There are two ways to separate a bad weld that I know of. I can grind it apart, which can take hours. But, if I'm lucky, I might be able to break it. In order to try to break it, I've ground the crap out of the weld. Note that this isn't like normal, where I just grind the bead down to be flat with the surface. Here I'm trying to remove as much metal from the joint as possible. Then, after the joint is as weakened as possible, I just go after the thing with a hammer. Looks like this one cracked. Thank goodness -- that saves me a lot of work. |
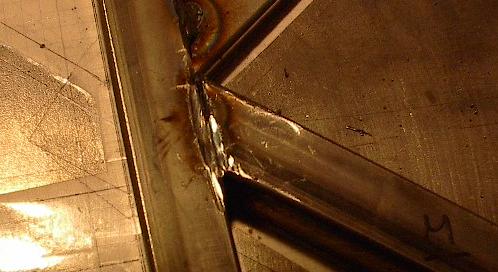 |
| Of course, that left one ugly and very weak joint. This is going to take a little more than a normal weld. I took my welder and cranked up the voltage to its highest setting, which should make the weld extremely hot, suitable to weld quarter inch steel. I also put the wire feed speed high, which should pump a lot of material into the weld. Then I went over the joint, running a really big puddle of molten steel over the seam. This melted the steel in a really wide area and really fused everything together. After this treatment, the joint should be just fine. |
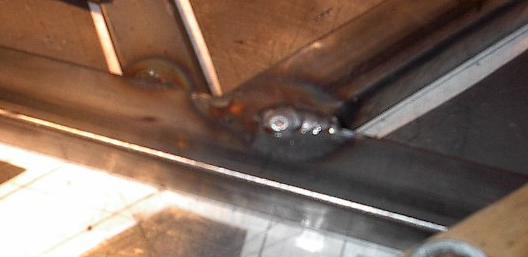 |
| With that taken care of, it's time to move on and weld some more. I was so happy with the results of the high voltage weld that I've left this setting higher than I was using before. I have to be more careful of burn through, but I'm getting better fusion. This portion went fairly well, but I did have some warping problems in the long members that run along the sides. |
 |
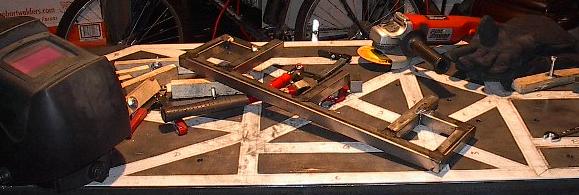
| Moving right along, I welded up the last few members of the top panel. Looks pretty good. |
 |
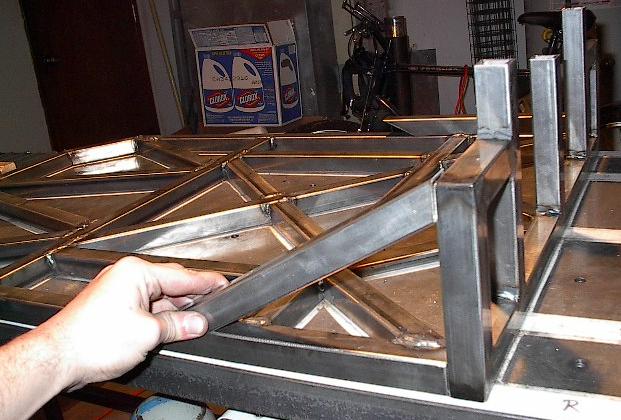
| Just in case you were wondering about the two unaccounted for members, they're going to support the joint between the top and back planes, like so. I may make as many as three more of these, depending on final fit and strength of the assembled structure. |
 |
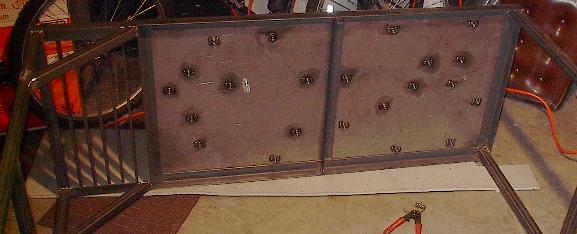
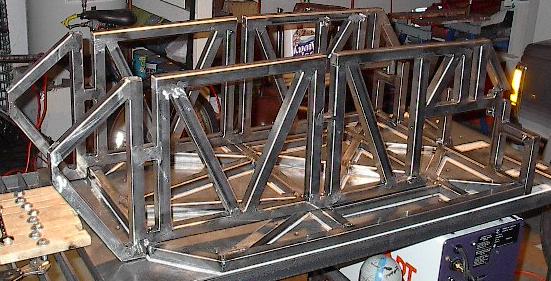
| Here I've placed the two side panels on the top to make sure everything lines up. Looks pretty good. |
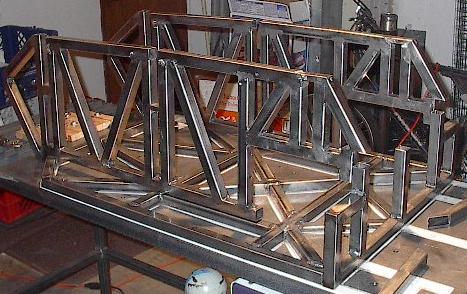 |
| Another angle of all three panels lined up. This thing is going to be rather large. I'm really looking forward to getting the top done so I can weld in the cross members between the side panels and get a good stable structure I can jump up and down on. |
 |