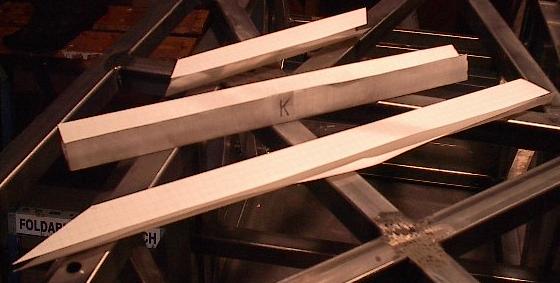
| If you've been reading my past reports, you'll recognize these little paper templates. Last night I made two new ones and dug out an old one. These three will help me get started today. |
 |
| Before I get started building new stuff, I've got a bit of touch up work left to do. First, I was really unhappy with how rough the bolts were going into the weld nuts, so it's time to break out the tap and die set again. |
 |
| Eight more bolts cleaned out and I'm still loving my nice new tap. I don't know if I can ever use a carbon steel tap again. |
 |
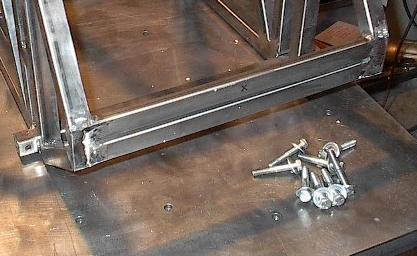
| You can see here two seams that I'll need to touch up before I can move on. I couldn't get to these the other day because the top panel was in the way. Now I'll just weld them up really quick and grind everything back down. Shouldn't take took long. |
 |
| With the touch-ups done and the top panel bolted back on, I'm ready to start adding new members. |
 |
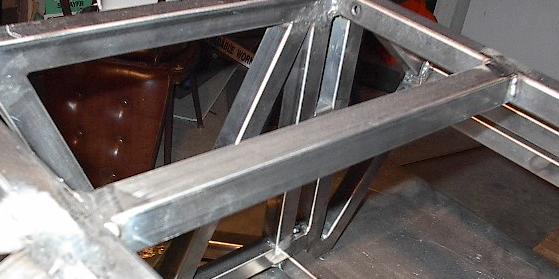
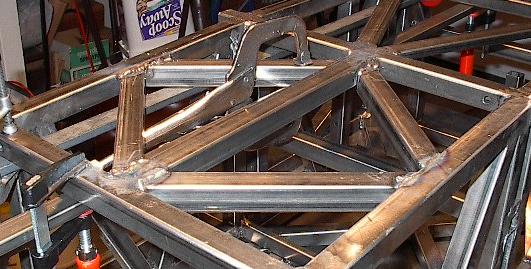
| The first two new members are going to go here, in the bottom of the back half of the chassis. These will support the back battery and provide good structure in the horizontal plane. A little tweak grinding and they fit pretty good. |
 |
| And here they are welded into place. These are only 1 x 0.5 inch members, but they should be rock solid because of all of the mounting points. They're going to connect to several different cross members along their lengths, reinforcing them. |
 |
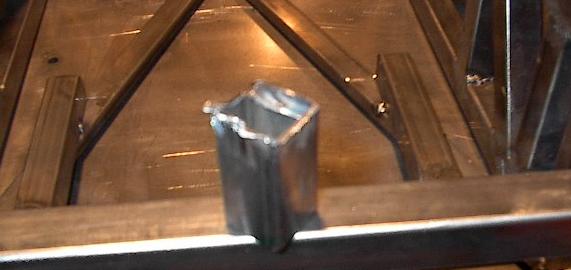
| Here's another member all clamped into place. It may not look it, but this piece doesn't have square ends. It is at a slight angle. This angle will become clear when I add the next four members. |
 |
| Third piece, welded and ground. Things are going pretty smoothly. |
 |
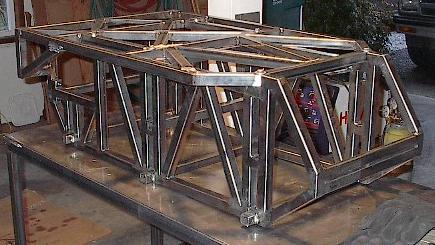
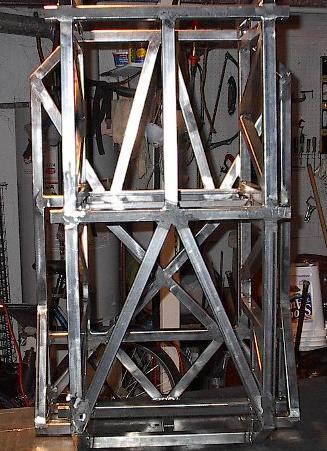
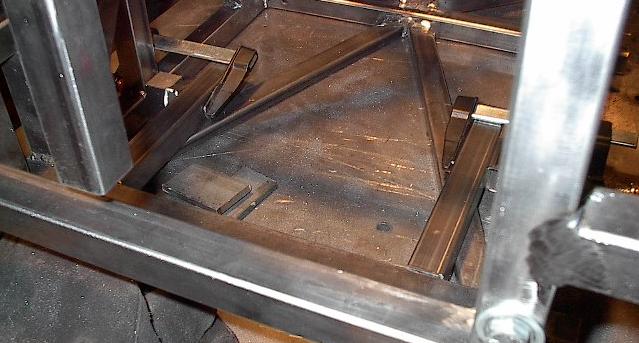
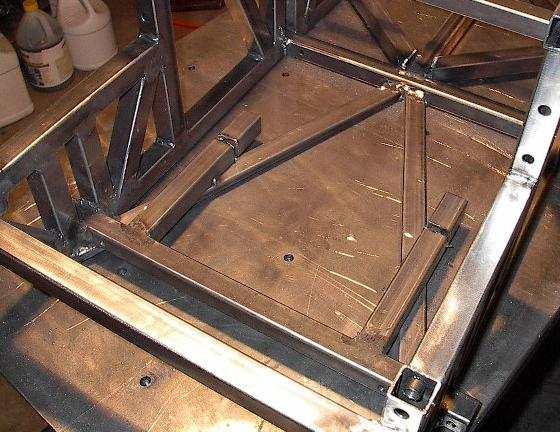
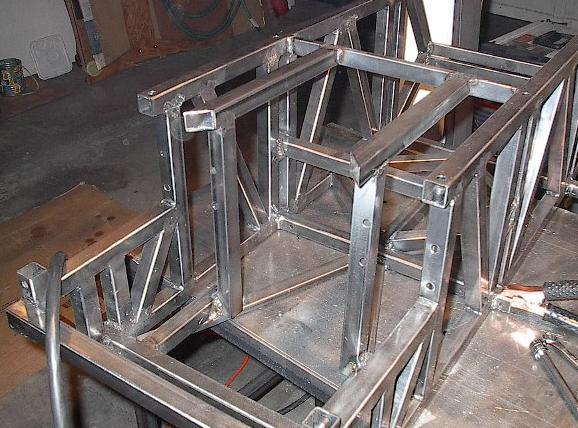
| Here's a picture of the bottom structure at this point. I'll be adding a diamond-shaped set of supports in the front to support the batteries there. Once that's done, the bottom panel will be almost complete. |
 |
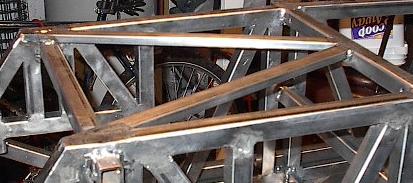
| Speaking of the diamond support, here are the four pieces that will make it. They go in almost even with the structure that is already there, but at just enough of an angle to make it a real pain. |
 |
| Here are the first two clamped into place. See how they're level on the left, but half an inch offset on the right? That should make them in a level plane the way the final structure will sit. The angle is to accommodate the suspension system that I've designed. |
 |
| Here are all four members welded up. It looks a little weird, but if you look at my solid models, you'll see that everything is according to plan. |
 |
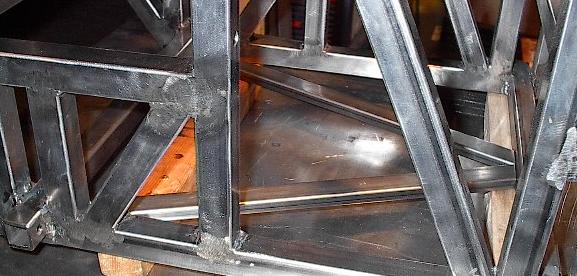
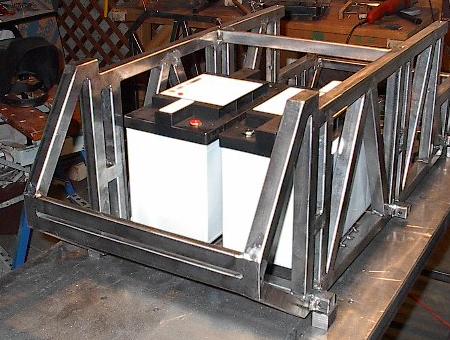
| With the bottom battery supports in place, it's time to have a look at how everything is going to fit. Here's two batteries in the front compartment, as they'll be in the final build. Looks like I'll be able to beef up one of my support planes -- there's just enough room for 1x1 tubing. |
 |
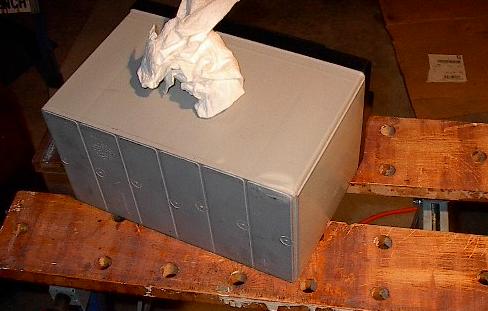
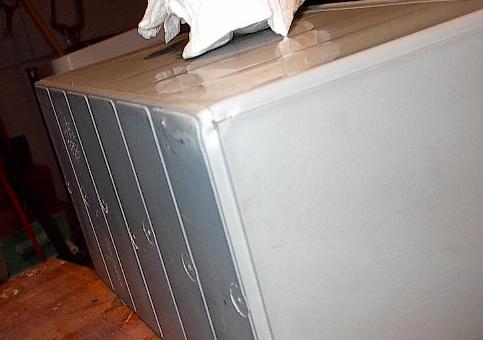
| As I was lifting out the batteries (no easy task), I noticed something a little weird -- my hand was wet. I put the battery down to find what looked like water on my hands, table, floor, and battery. Then my hand started to burn. It wasn't water. See that discoloration on the corner of the battery? There's a tiny crack there, and it's leaking. These are AGM batteries, they aren't ever supposed to leak! |
 |
| Yeah, it's cracked, and I'm pissed. This is really bad. |
 |
| It got on my hands, my table, and the garage floor. I wiped up the drops (which, at the time, looked like water), and the residue on the cement turned this sort of frothy white. Glad I washed my hands. |
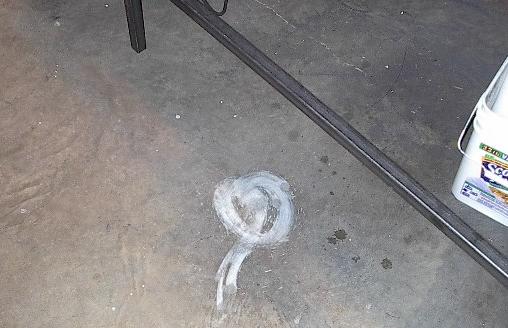 |
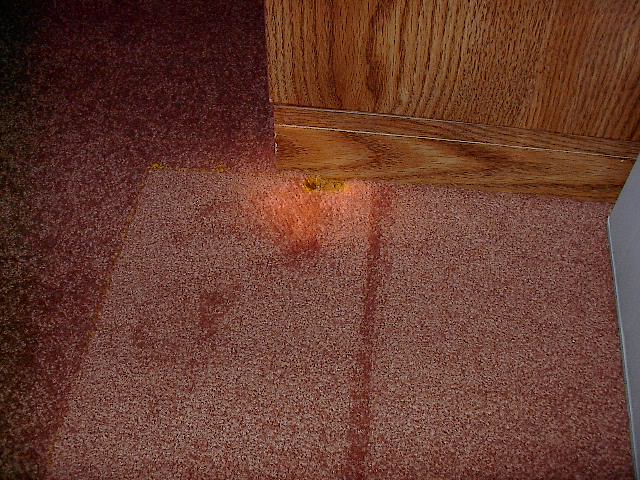
| But this is the worst part. That's the carpet in my den. The new carpet. That hole goes all the way through. The only reason I ever stored batteries in the house was because they were sealed, non-spillable, immobilized electrolyte batteries. There was no way they could spill. Well damn was I wrong. |
 |
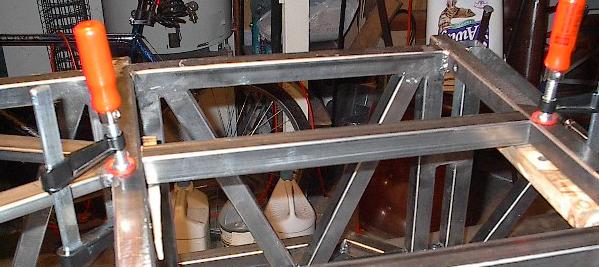
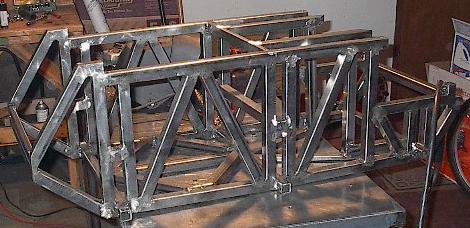
| I took a deep breath, washed up, ate some dinner, and got back to work. Northern Arizona Wind and Sun is going to get an email when I'm done tonight, and there isn't anything else I can do about the acid problem for now. The batteries now live in the garage, and I've got to get back to work. Here I've clamped two new members into place (keep an eye on these ones -- I screwed them up, so we'll be back). |
 |
| Here they are welded into place. It went nice and smooth -- you always lay the nicest beads when you're welding something in the wrong place. |
 |
| It finally hits me. These members are each two inches too long. My tape measure's end is screwed up, so I usually measure starting from the one inch mark. I measured these on a one half scale drawing I had, forgot to subtract one, and then doubled it. Well, I measured once, so now I get to cut twice. |
 |
| That is easily the ugliest cut I've ever done. I was able to cut most of it with the grinder, but I couldn't get the last bit without damaging other members, so I did the last wall of the tube with a hammer and my bare hands. It worked, and I was able to get the edges ground to reasonably square. Once again -- nothing I can do about it now, so I'll just push forward. |
 |
| These two members get some off-center holes. I'm drilling the mounting holes for the bearings off to one side so that the battery will mount flush against the tubing on one side. |
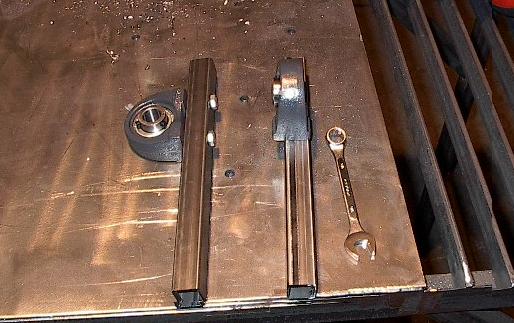 |
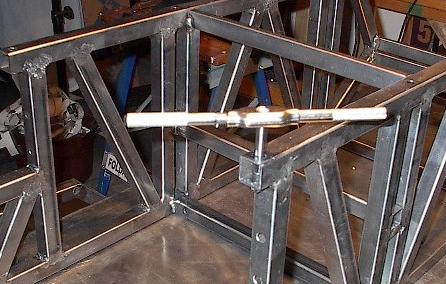
| The alignment of the members that the bearings bolt to is critical. The drive axles have to be lined up just right. In order to get it on the first try, I've run an axle through all four bearings, and I'll weld the members with this in place. You'd think even I couldn't screw that up, but keep reading and you'll get to see me do just that. |
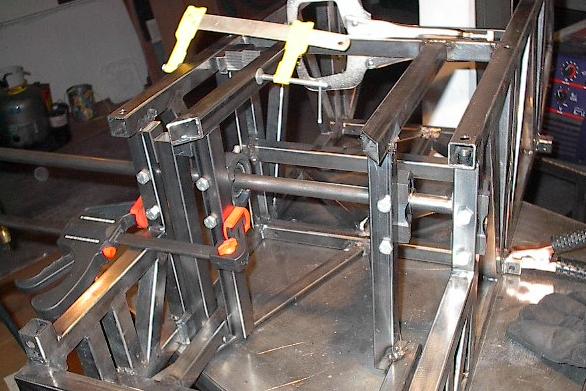 |
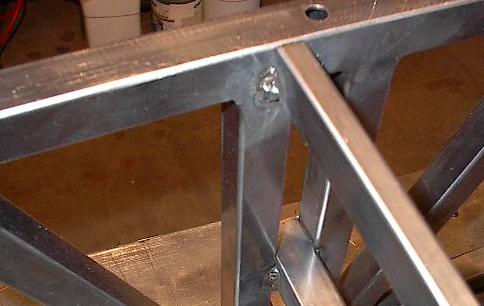
| There it is, screwed up. When I clamped the vertical members, I clamped them to spacers and other members, but I neglected a single degree of freedom. I thought everything was OK so I just went ahead and welded the crap out of them. Now I see that they're not vertical -- I didn't clamp anything to prevent them being off in that plane. Because of the shaft and bearings, they'll still support the drive axles just right, but they're not straight. I'm going to have to adjust my other members to account for this, but that shouldn't be too big a deal. Also, as you can see, they aren't bad enough that you notice just looking at it. Regardless, I will always know, and that kind of thing bugs me. |
 |
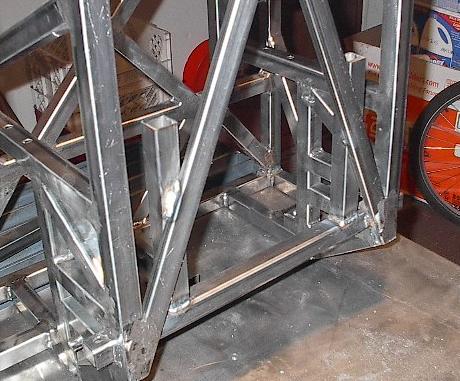
| Well, I'm going to have to call it quits here. It's been a really long day, it's really late, and I didn't get nearly enough done. Things just went wrong today. I'm coming up on a deadline, so I'm trying to get a lot done fast. Of course, rushing means I keep screwing things up, which in turn means things go way slower. On top of that I get stuff like that defective battery that I have to deal with. This has been a really rough build day -- even if things go better this weekend, I don't think I can make the deadline. |
 |
| It's still looking really good, and looking at it you'd say it's almost done, but it isn't. There's still so much that has to be welded in, and I have so little time to do it. |
 |