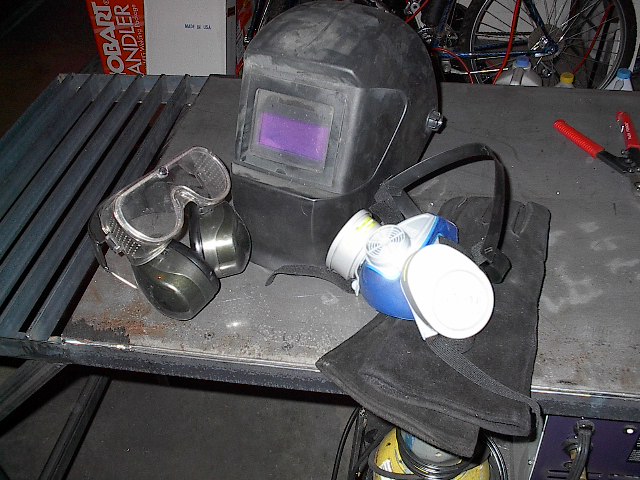
| Alright, you're setting up your shop. First thing's first, kiddo: Safety gear. There isn't hardly anything I do in my garage that I would do without safety glasses, but that's just the start. Here we have some of the things I use to protect my vitals while I work. |
 |
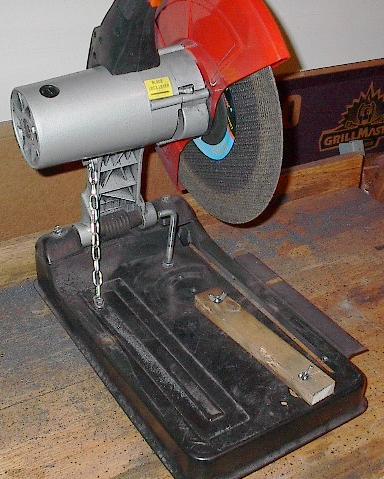
| Early on during this project I decided that I was going to plan to do everything with a very limited set of tools. This was, of course, to save money. One of the few tools that I just couldn't do without was an abrasive cutoff machine. I bought this one for $50 practically out of the back of a van. After working with it for a few months, I'm thinking I probably should have shelled out the cash for a nicer one. The work clamp was worthless, and you can see here where I've bodged my own with a 1x2 and some wing nuts. I've also had to bolt some angle iron to the side to create a passable work surface. |
 |
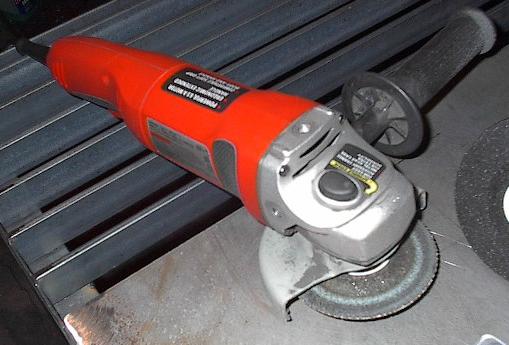
| Fortunately for me, I wasn't quite so tight-fisted with the money when I bought this grinder. A very wise man by the name of Keith once told me to buy the cheapest tools I could find with the single exception of a grinder. Thank goodness for that advice; I have put this poor little tool through hell and it still cranks up every time. |
 |
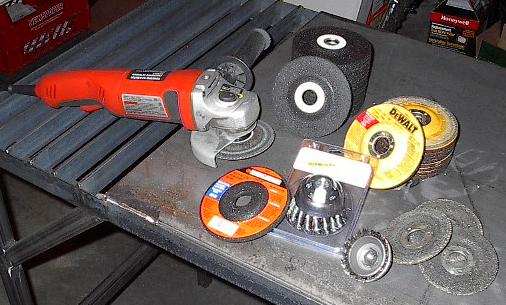
| Of course, a grinder isn't very useful without grinding disks. This little stockpile is what I have left, and I hate to think about how many I've already burned. I've already spent more on disks than I did on the grinder. |
 |
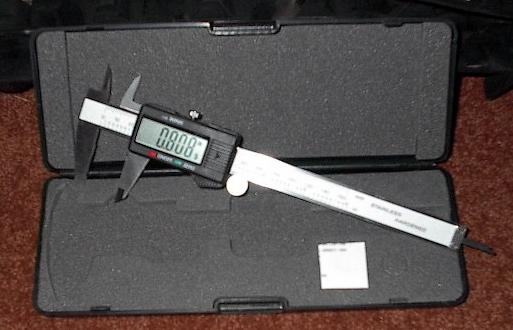
| One of the many tools I was going to need for this project was a caliper. I picked up this nice little digital one on eBay from the same seller who sold me my welding mask. |
 |
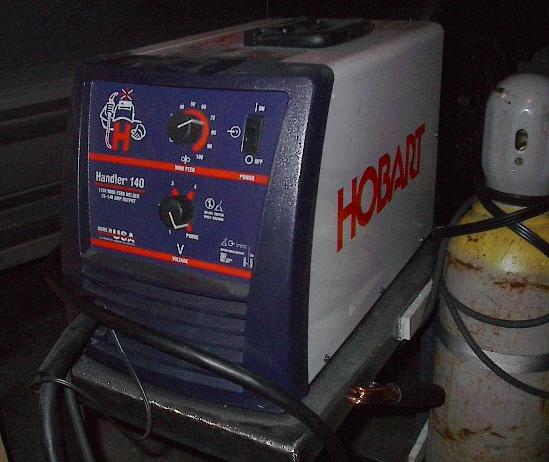
| And, of course, who could forget the tool that makes a metal shop? Almost all of my work is going to be on 1/16 or 1/8 steel, so this Hobart 140 should be plenty for this project. Of course, it came up a bit short when I was working on other projects for practice, but despite a couple setbacks, it still made a perfectly passable Mace of Sauron -- what more do you want? |
 |
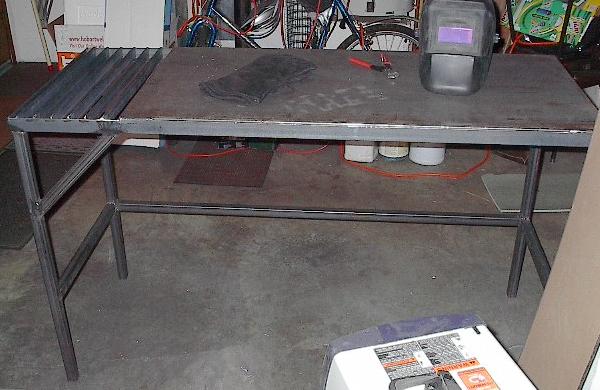
| The great thing about setting up a metal shop is that, once you get yourself a welder, there's a lot of it you can make. Keith, my welding guru, suggested just buying the cheapest welding cart and table I could get my hands on and then reinforcing it with my welder, but I did him one better. My cart and table were made from scratch, and made for great practice. A lot of the workmanship leaves something to be desired, and some of the steel was quite costly, but I learned a lot making them, and now I have a cart and table. |
 |
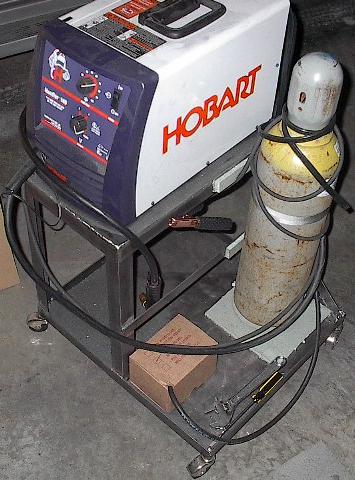
| You can see the cart here. This was the first thing I ever made with the welder, and considering, I think it came out pretty well. My welding experience before this consisted of reading about it online, and two, 1-inch welds on a piece of scrap. |
 |
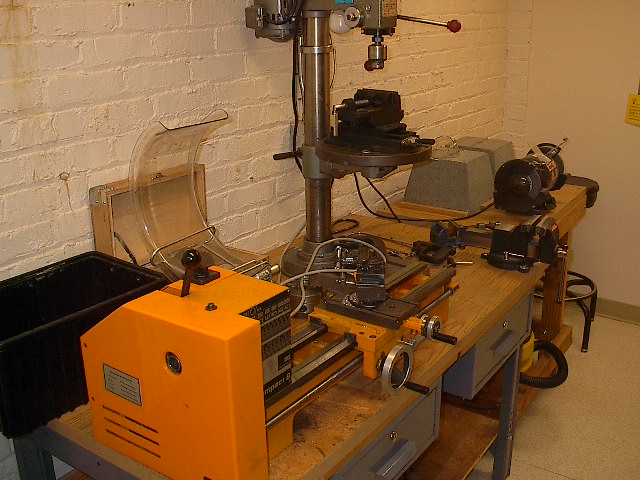
| Also at my disposal for this project are some tools in the mechanical engineering lab at Henry Cogswell College. This isn't a machine shop by any stretch of the imagination. They just have some simple tools for students' projects and to maintain and repair lab equipment. You can see here a small lathe, drill press, and bench grinder. |
 |
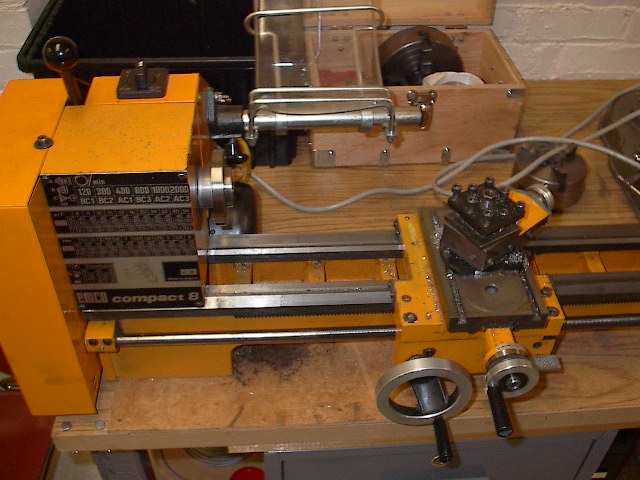
| Here's the lathe, the nicest of the tools pictured. It's small, but it is great as long as you don't want to turn anything too big. I won't need to use this much, but it is nice to have in case I need to reduce the diameter of a shaft or something. I'm trying to figure out now if there's any way I can use it to machine out the racer in my smallest wheels, but that doesn't look like it's going to be possible. |
 |
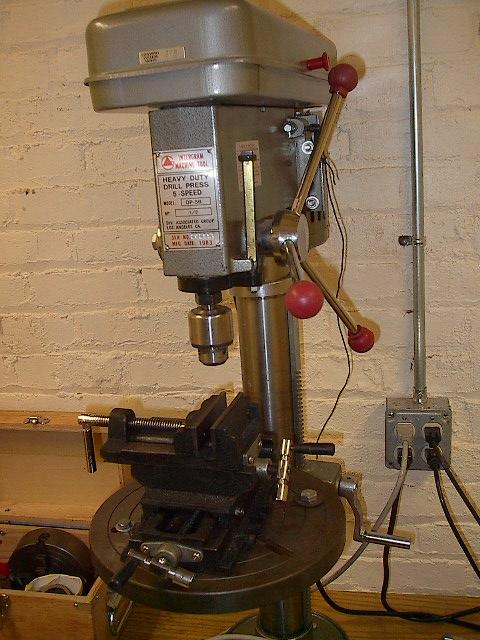
| Here is the drill press, with a cheap-o cross-slide vice. I will grow to hate both of these devices before the day is out. After my first hole I consigned the vice to door-stop duty (it has something like a quarter of an inch of slop -- I'm trying to keep things to 1/32 or less). The press itself isn't great either; I spent a lot of time etching nice precise cross-hairs for all the holes I wanted and I just can't seem to hit them with this thing. There's way too much wobble between the vice and the tip of the bit. |
 |
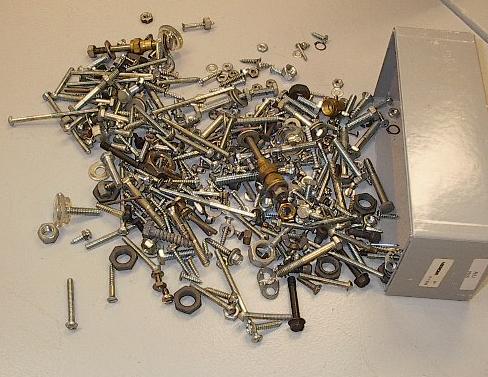
| The engineering lab shop is a really nice place to work in many ways. It's a big room with much better light and ventilation than my garage, and there's lots of table space. Unfortunately, when it comes to some things, it is somewhat less organized. The bolt I want is in there, it's just a matter of finding it. |
 |
| In addition to tools, the mechanical engineering lab has a lot of really good test equipment available. This is a picture of the tensile tester, taken while I was testing my compressed nitrogen extension springs. The blue cylinder at the top is the load cell, and is essentially a fancy scale that reads up to 5000 pounds in tension or compression. The bottom bar (the one with the big orange "WARNING" sticker on it) moves up or down on a screw jack. Here, I'm slowly compressing the spring, which is taking a force of 176.2 pounds. |
.JPG) |
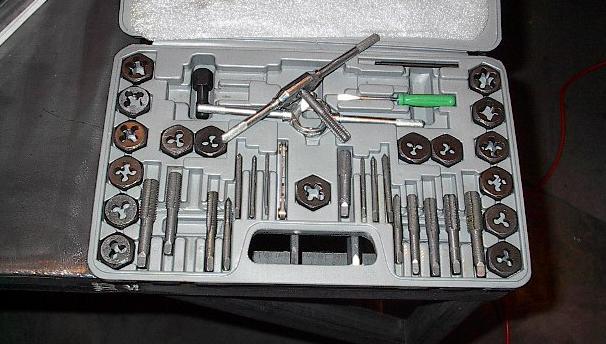
| Yet another tool kit that I bought for really cheap and will probably live to regret. I figured I'd buy a set and then spend the money on individual taps for the sizes I'm going to use a lot. It will be nice to have a variety of sizes in case I ever need just one or two holes tapped, but this set performed even more poorly than I expected. |
 |
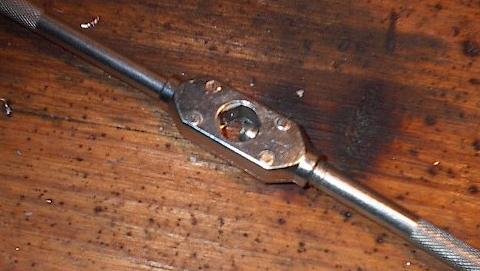
| First of all, the tap handle doesn't actually clamp onto the tap very well. The tap started slipping in the handle when I was just cleaning out dirty threads on a weld nut. |
 |
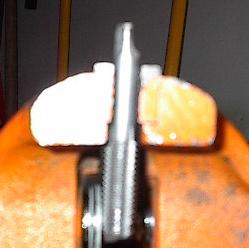
| One of the nice things about working with really cheap tools is that you don't feel bad about grinding them down until they work better. Here, I've ground a corner off of the tap so that the handle should hold it better. |
 |
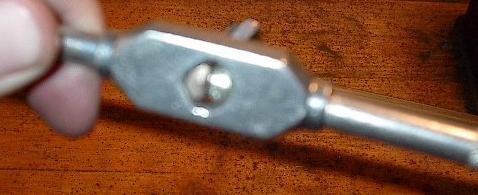
| Much better. This shouldn't slip anymore. It still isn't great, but I work with what I've got. |
 |
| After working for a couple weeks in the garage, I, of course, found that there were a number of tools that I could use but didn't have. So, I put in another order to McMaster and Carr, and it just showed up. First out of the package were these ten jigsaw blades. I'll use these to cut up my snowmobile track. |
 |
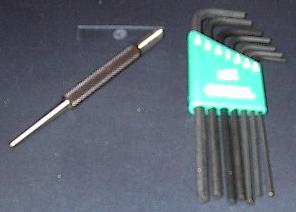
| Also, in response to my, well, let's just call it "limited success" drilling a few simple holes, I ordered a center punch. Hopefully this will help me keep my drilling on target. Also pictured here is a little set of hex wrenches. I needed a few sizes that I didn't have for my shaft collars and bearings, so I went ahead and dropped a couple bucks on this set. |
 |
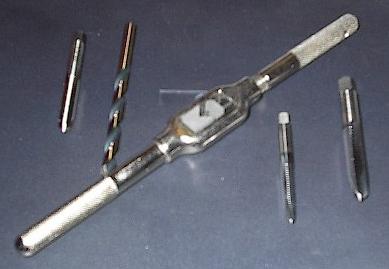
| I also ordered some good taps and a wrench. These are great! After working with those skussy little carbon steel ones I had before, these things are really fantastic. The taps are titanium carbonitride coated high speed steel and worth every penny. The wrench actually has jaws to keep the taps from spinning. This stuff will really make my life easier. Also pictured here is a 6.7mm drill bit. This is for the mounting holes for my compressed nitrogen springs, which have metric fittings. |
 |
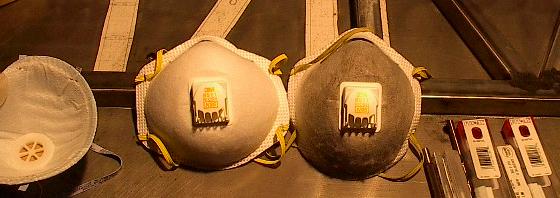
| Finally, I picked up some dust masks to replace my old ones. Looks like they really needed it. The old ones were getting so black that they were probably doing more harm than good. |
 |
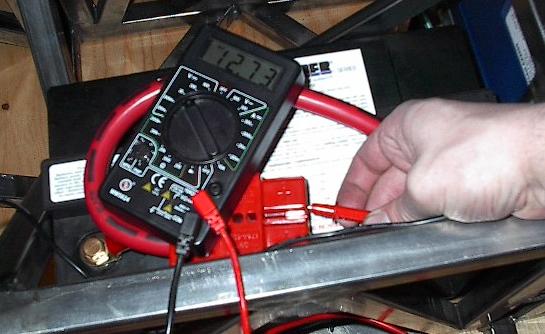
| As I start doing some serious wiring on this robot, I'm starting to really rely on this little multimeter I picked up quite a while ago. It isn't much, but it gets the job done. I check the voltage on the batteries to see how good my connections are, I check the resistance in crimps to see if they're good enough, and I've even used it to check the voltage polarity on my motors. Very handy indeed. |
 |
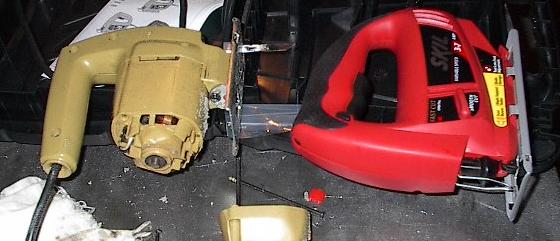
| Well, after some extensive efforts, I've finally thrown in the towel and bought a new jigsaw. The old one gave up the ghost, so today I went to Lowes and picked up this nice little Skil saw. It has a 3.7 amp motor, which will be nice change of pace from the old 2.1 I was using. |
 |
| A little "before and after" shot of my jigsaw situation. I liked the no-frills angle the old one offered me (it had an on-off switch, and set screws for the blade and foot), but that doesn't do me much good when it overheats and doesn't go. The new one has all kind of no-tool bits that can go wrong, variable speed trigger and dial, trigger lock mechanisms, and all kinds of little frills I could do without, but they don't make any that don't these days. Regardless, this one has the power I need and it works, which puts it head and shoulders above the old model. |
 |
| It's been a while since I've added any new tools to this page, but today I assembled and tested our PAK-V PWM Coprocessor board, which required some new facilities. You can see here a vice designed to hold sensitive components, solder, wire clippers, and the nicest soldering iron I've ever had the pleasure of working with. It's got variable temperature control and everything you could want in an iron. |
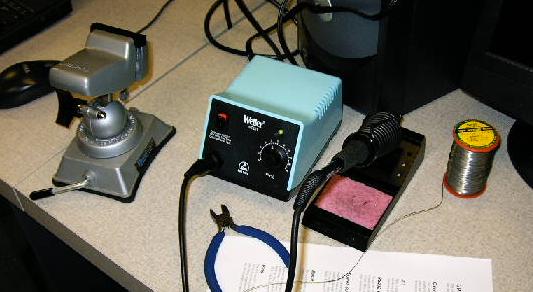 |
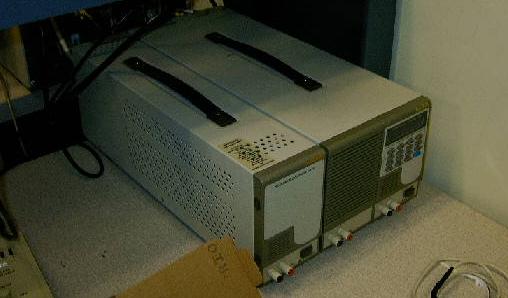
| Also, for testing purposes, we used this DC power supply. Nothing fancy here; it gives us five regulated volts to power the board with. |
 |
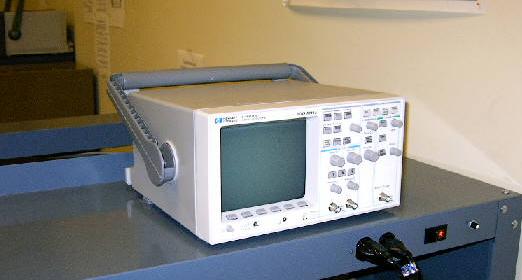
| The other tool used to test the circuit was this oscilloscope. This is a slightly more impressive bit of machinery (they cost around $3.5k new), and it is used to capture and display signals. You can see it plotting our PWM waveforms in Build Report #51. |
 |
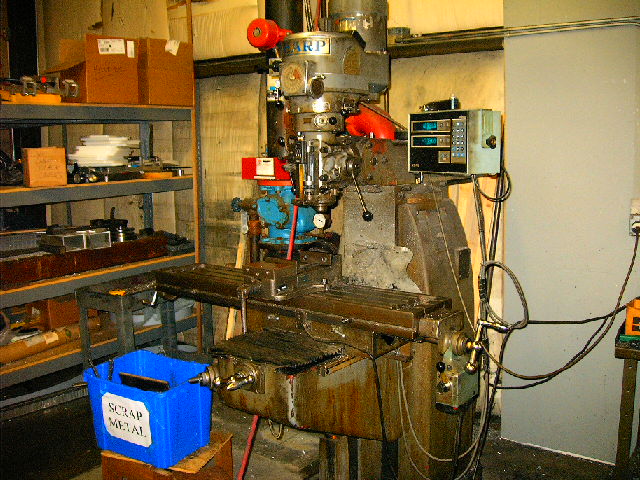
| And I thought the toys I got to play with in college were cool. Heh, now that I'm a working man I get all kinds of new weapons in my robot-making arsenol. The most notable on list is probably this, a mill. We have several of these at work, four of which are devoted to letting engineers like myself make things (we get the old ones the real machinists don't want anymore). Give me a few years and I'll have one of these in my garage. |
 |
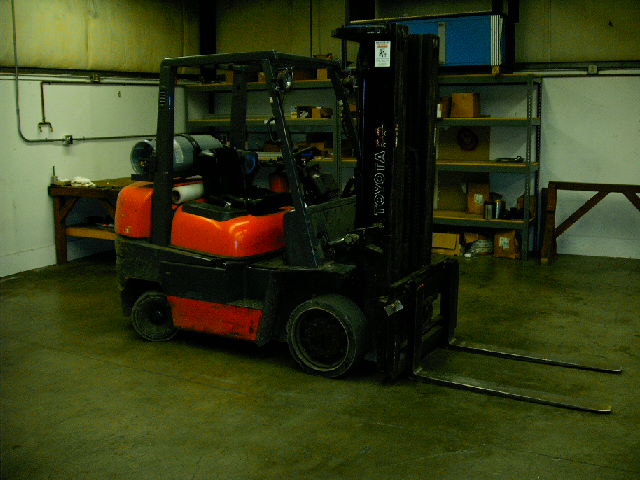
| Speaking of fun toys, did I mention the forklifts? I don't know how much I can elaborate on that. Let me just say that they're even more fun than they look. |
 |
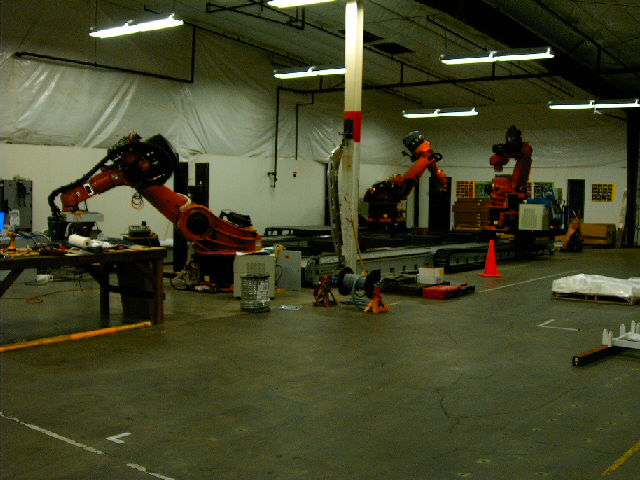
| Oh, and while I'm on the subject of cool toys, there's these. REAL robots. They aren't shop equipment I'll be using by any stretch of the imagination, but I thought they were cool so I took a picture. Look! REAL robots! |
 |