|
Build Log, Day 44 (03.26.2005)
| One final test before I give up on the six volt batteries. I wired these in reverse order, let them charge all night, and wired them back up. Again, about ten minutes of life before low-voltage death. A quick check with the multimeter shows that the same battery is dying, even while at a different point in the circuit. |
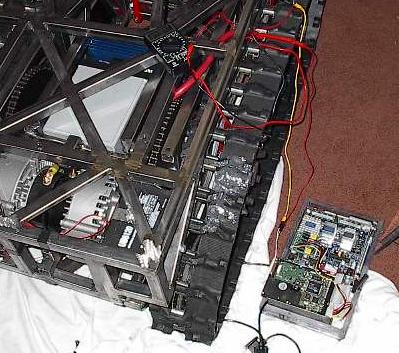 |
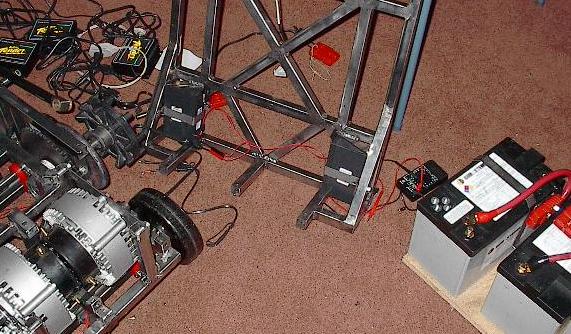
| Well, those batteries are out. I've tapped another big battery to power the laptop, but this time I've been very careful to make sure that everything shares a common ground and that there isn't any way for a circuit to exist where there shouldn't be one. We cranked it up and crossed our fingers. Well, actually, all our fingers were holding wires testing for even the slightest heat problem, ready to kill the whole system. Luckily, we didn't have to. It looks like it's running just fine. |
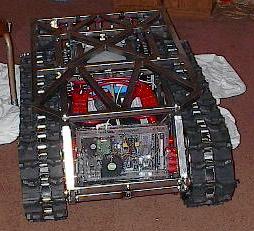 |
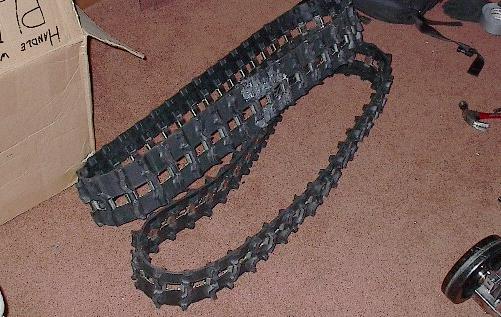
| So, I picked up the front end, and leaned the whole thing back against a chair. This is a 400 pound robot, so this wasn't easy, but it was a fairly simple procedure -- bend from the knees, give it everything you've got. Now, set up like this, we should be able to test the track a bit without any risk of the thing running away from us. Hopefully we'll have some video up here for you within a few days, but long story short, it went pretty well. They're really loud, and they catch on the tensioner arm quite a bit, but they go. |
 |
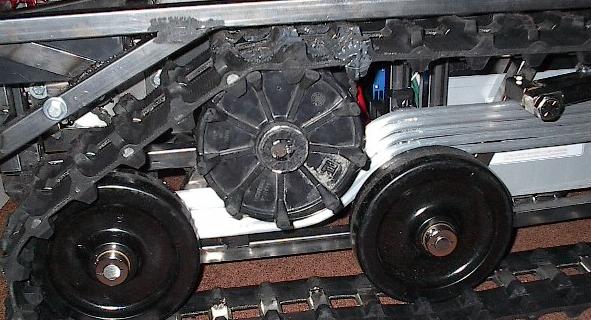
| Of course, who could stop at that? We had to lift it back down and drive it just a little bit. You can see in the carpet where the tracks have gripped. This isn't damage or even significant wear -- it'll vacuum right out. It went pretty well. It grips too much, making turning on carpet pretty difficult. Also, the low angle of wrap on the snowmobile sprocket isn't really cutting it. The track slips when I try to transmit too much torque -- this does give us a bit of a clutch effect, which is good for protecting the carpet. Unfortunately, it does make a lot of noise, it's probably hard on the track and the sprocket, and it will limit what the robot is capable of. I'll work on this later. |
 |
| Well, I guess it didn't limit the torque enough. Two of the three pins that hold the sprocket in place sheared right off the axle. The fact that it happened now is really disappointing. We were going really easy on everything -- the pins weren't anywhere near enough to hold things in place. I re-welded them, just to have them shear again. I'll work out a fix for this tomorrow morning before the test. |
 |
| Nothing to do now but stow it in a corner and charge up the batteries. I'll get up early tomorrow to fix the axles. |
 |
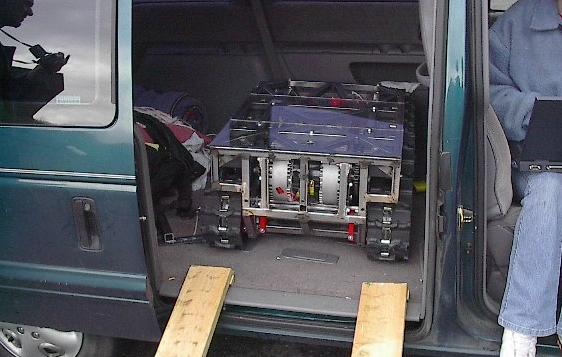
| Well, the day of the big test has rolled around. I guess I forgot to snap any pictures of the two hours I spent on the drive axles. I took the grinder, cut a slot into the axle and the sprocket hub, and welded a quarter-inch steel slab into the thing. This should give me even more shear area on the snowmobile sprocket than I have on the chain sprocket -- of course, the plastic of the sprocket itself will fail before either of those things do. Here's the robot, loaded up in the car, and ready to begin its demonstration. This is where the video in the test section starts. |
 |
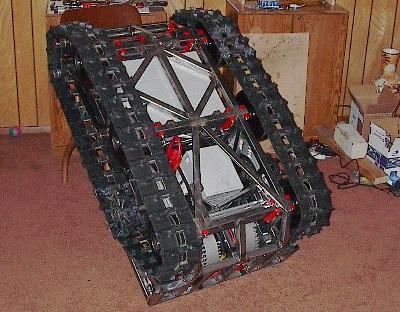
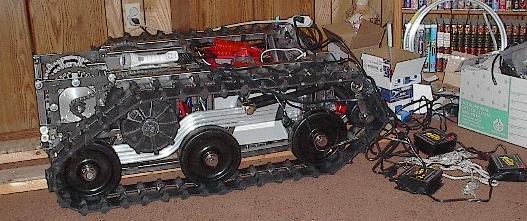
| During all the trouble-shooting that followed the testing disaster, we almost completely disassembled the thing. Here's the gutted robot, a mere shadow of its former glory. It is a lot easier to move, though. |
 |
| Here's the six volt batteries all wired up to their chargers. I'm still waiting to hear back on getting a replacement for my dud. |
 |
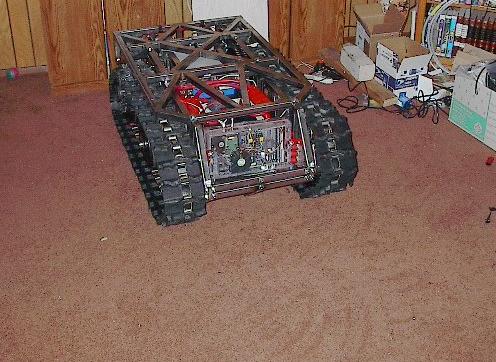
| And the track, that I worked so hard to get on to the robot, is back on the ground. It was, for the record, almost as hard to get off as it was to get on -- hopefully that means that I don't have to worry about throwing tracks anymore. |
 |
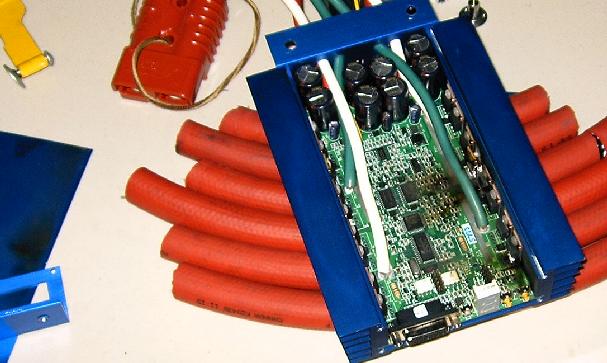
| And, of course, the damages. I still cringe every time I see this picture. That is the most expensive single component in the robot, and it is fried. |
 |
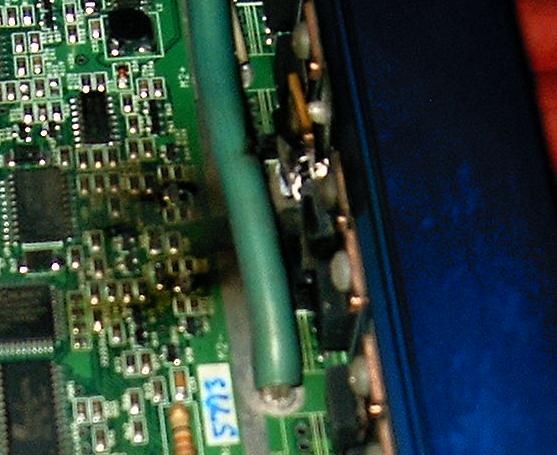
| There's the component that lifted away from the heat sink. Each of these little things is fastened to the wall using plastic rivet-things, and these middle ones are also doped with thermal compound to aid cooling. This one's plastic fastener is all melted, the thermal compound is scorched and running, and the board traces that lead to it are all black. This is very bad. |
 |
| End, Build day #44 (03.26.2005) |
| Progress: |
Fixed drive sprockets, major test, broke drive sprockets, many hours of diagnosis, discovered cooked speed controller. |
| Time: |
19 hours |
| Total Time: |
295 hours |
| Next Steps: |
Find and buy new sprockets and mounting hardware. Talk with battery and ESC vendors for replacements. |
| Status: |
Behind schedule, ten days |
|