|
Build Log, Day 45 (03.31.2005)
| Yesterday, I bought fourteen 3/4-10 (I think) nuts from a little place called Champion Bolt and Supply in Everett, WA. I then took them to the lab and drilled 3/4 inch holes through them (essentially cut out all the threads). I did most of the first one on the lathe, which worked wonderfully, but then the drive belt broke and I was forced to finish the job on the drill press. It was a lot harder, but I got it done. These will get welded to my drive axles to transmit power to my new, anti-ratchet snowmobile drive sprockets, which should be on their way to my house right now. Hopefully this solution will hold up a lot better than either of my previous two. I first used three round keys per axle, which sheared right off. I then welded in a big, flat paddle, but that compromised the sprocket too much, so it failed. |
 |
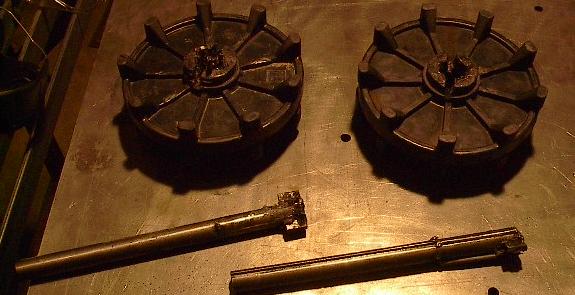
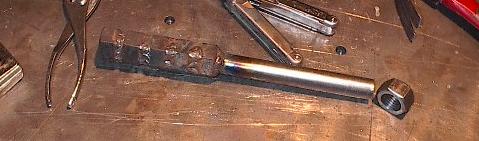
| This took a lot more work than I was anticipating. Getting the axles free of their trappings was really rough going, and required quite liberal application of my high-precision carpenter's hammer. Here I've finally got them separated out, and you can see for the first time the paddle that I used to transmit the power during the last test. That square bit on the end tore right through the reinforced plastic of the snowmobile sprocket, whipping the molten material into a froth. When I let it cool, it solidified around the axle, making it really difficult to remove. |
 |
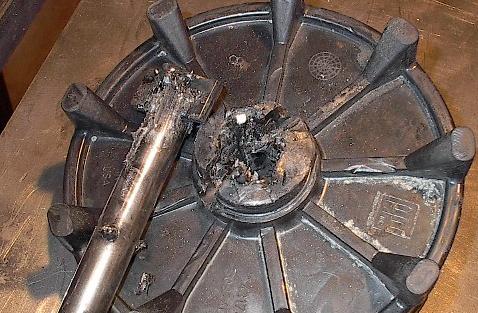
| Here you can see the aftermath of the failure. The axle isn't really damaged, just a little messy. The sprocket, however, has been gutted. It isn't salvageable, but that's OK. I've got new, better ones in the mail already. They cost $100, but I wasn't really happy with these old ones anyway, so their destruction gave me a good excuse to upgrade. |
 |
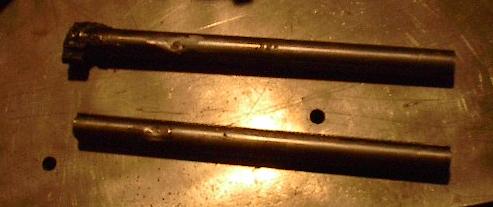
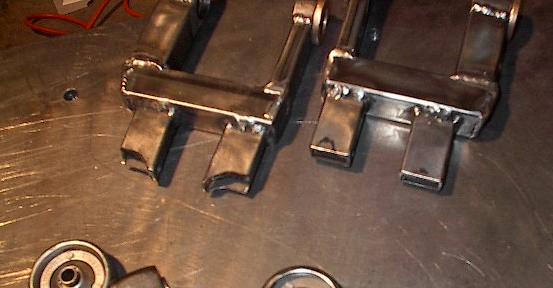
| Here's a bit of a "before-and-after" look at how I was able to salvage the axles despite my modifications. Because the new sprockets interface with the track in a slightly different place, I can afford to trim the paddle portion of the axle off. I've also ground the welds that held the keys back into round. It isn't perfect, but this whole area will have the nuts welded over it. After the trimming, I was able to save 9.375 inches of useable axle length, which should cut it. |
 |
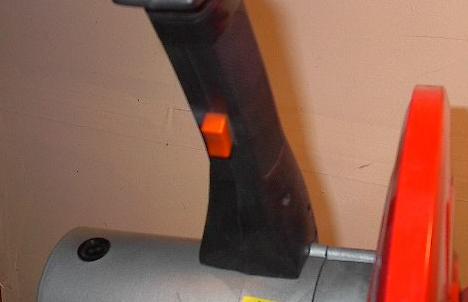
| It's a shame this picture didn't turn out. Suffice it to say that I found a new way to break the chop saw. The handle started getting a little hot (which is weird, because there's only wiring there). I only had a little more to do, so I pushed it, and I smoked it again (I've lost count of how many time's I've let magic smoke out of this tool). However, this time the smoke came out of the trigger, not the motor. I don't have time to deal with it, so I'm just going to move on. I'll see if I can fix it later. |
 |
| Well, before I get the welder set up to work on the axles, I've got some more grinding to do in order to bring the tensioner arms up to snuff. I need to make sure I don't lose another wheel, and I also need to fix the problem I was having with the track clearance (it caught on the ends of the arm just enough to cause problems). |
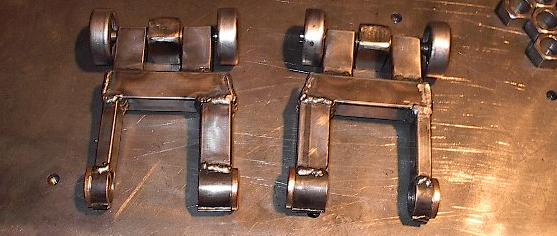 |
| Here's the new shape the arm ends are going to have. You can see on the un-cut one where the track was hitting (those little black marks were made by the rubber -- like scuffs on a floor), and you can see how I've removed that portion of the arm from the other one. |
 |
| Here's one of the drive axles, with five nuts welded onto it. You can see that this will be much more robust than either of my previous (failed) attempts. I was planning on using seven per axle to get enough to cover the entire hub-length of the sprocket (just over four inches), but I didn't take into account the thickness of the welds. I've left a significant gap between each nut so that the shear area of the welds is good and high. |
 |
| Once again, whenever I weld a lot on a solid piece of steel this big, there's just a lot of heat to deal with. I'm going to need new welding gloves soon, as I've really cooked both of my pairs handling this thing. I haven't even welded in about ten minutes, and it's still sitting there smoking. |
 |
| Here's one that hasn't been sitting idle for ten minutes. I just finished welding the last nut, and dribbled a little bit of oil on it to help it cool off a little faster. That's a lot of heat. |
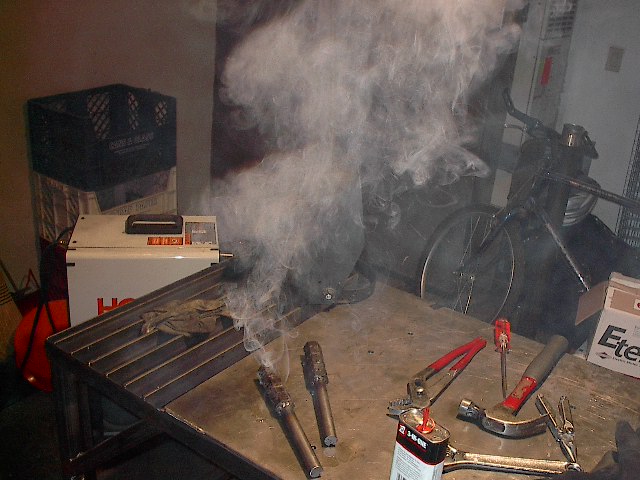 |
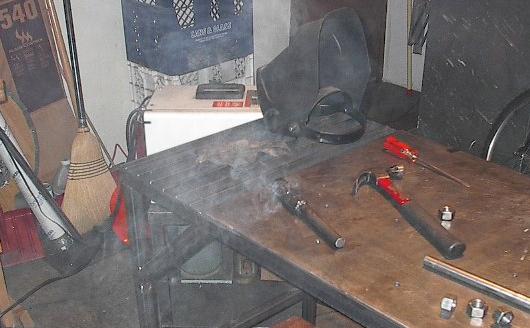
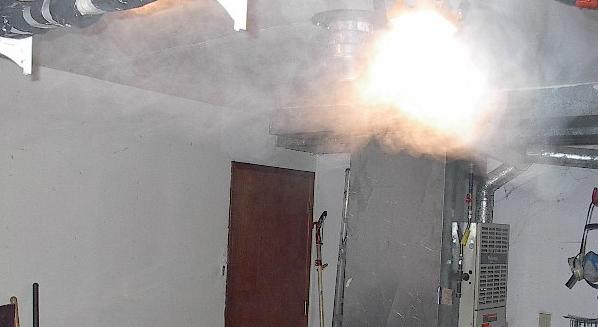
| I really wish I had a higher ceiling in this garage. I had to step outside and get some fresh air while the shop cleared out. That bright spot you can see is my shop light -- you can't even see the fixture the smoke is so thick. |
 |
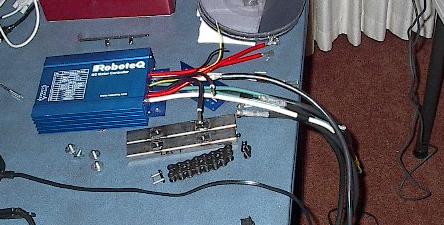
| With the garage work finished, I came inside to start with the mammoth wiring job I have ahead of me. Of course, I can't really do the majority of it until my new speed controller gets here (RoboteQ didn't replace it, for the record -- there goes my budget), but I can get started. I cut and spliced new 18 gauge wires for the computer system, picked a switch for a manual emergency shutdown for the new controller (if only I'd had one last week), and unwired the smoked controller. I think I'm going to be able to salvage my crimps. Here's the old controller, with all of the connectors and motor cables un-crimped. |
 |
| End, Build day #45 (03.31.2005) |
| Progress: |
Rebuilt drive axles, modified tensioner arm, un-wired the smoked controller. |
| Time: |
10 hours |
| Total Time: |
305 hours |
| Next Steps: |
Mount new sprockets, mount and wire new speed controller, re-assemble robot, install tracks. |
| Status: |
Behind schedule, ten days |
|