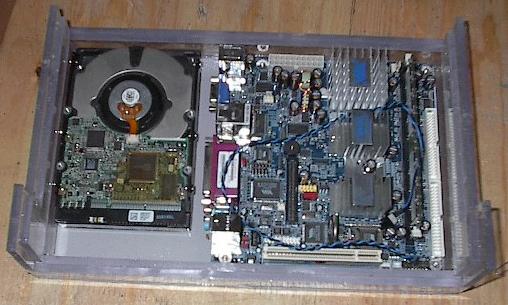
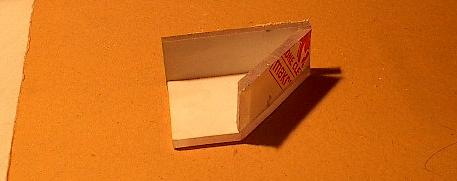
| Before I headed out to the garage for the bulk of today's work, I thought I'd check up on how my VIA box was doing. The glue is setting up nicely, and it looks like everything still fits. |
 |
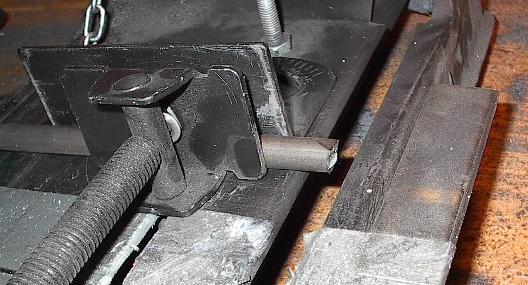
| I'm starting today off with making the axles. This is actually what I'm supposed to be making this week. Of course, that doesn't mean I'm back on schedule or anything. As of today, I'm supposed to be done with all the battery mounts, all the wiring, and all the enclosures. I think I can still make up the time -- I've given myself a lot of slack at the end of the schedule. This is a picture of the end of a half-inch steel bar as it came from the mill. They used a shear to cut this, so the end is all pinched off. I'll have to trim it up if I want it to run on my Teflon glides like it's supposed to. |
 |
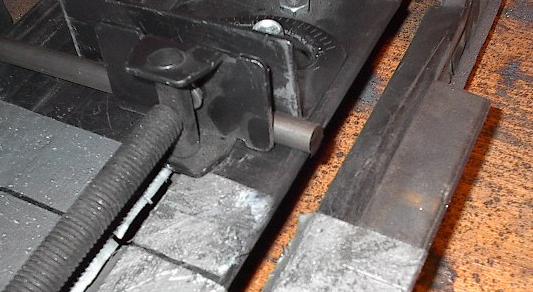
| Here it is trimmed up. Looks a lot better. |
 |
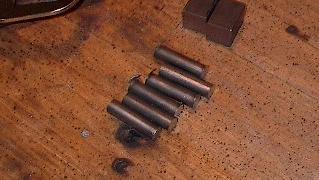
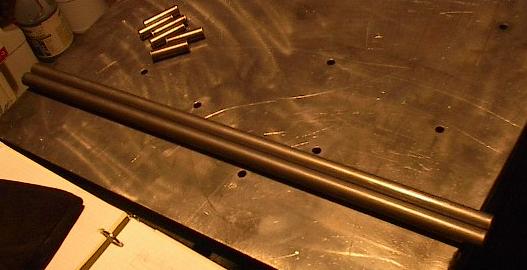
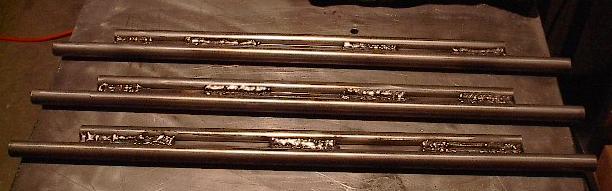
| Here are six two-inch lengths of the steel rod. Two of these are going to be bolted to each axle to keep them where they're supposed to be. |
 |
| With the stops cut, I'm ready to start cutting the 3/4 inch axles. Here are two 25-inch lengths cut and trimmed. Each ground axle will consist of one of these, one 19-inch length, and one 19-inch long square bar. I'll weld these three together to make a kind of hybrid I-beam axle. I'll also need an axle for the front wheels, which will just be a 3/4 inch rod. |
 |
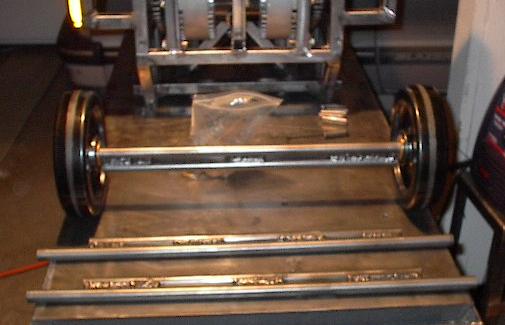
| Here are all of the round bar sections I'll be using for these axles. You can see the top one, which will be the front axle, is slightly longer than the ground axles. Don't worry about it, I meant to do that. |
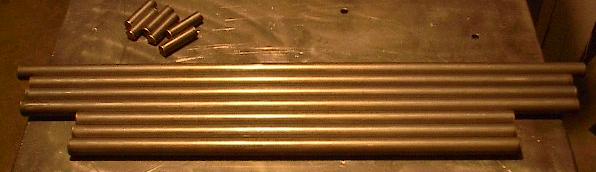 |
| Here's another picture that looks rather similar to the previous one. Here, however, the 19 inch bars are trimmed to exact length. Doesn't look like much, but you're looking at over half an hour's work. |
 |
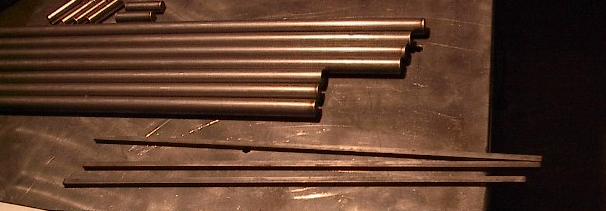
| The last three pieces are cut up. Time to get to the welding. |
 |
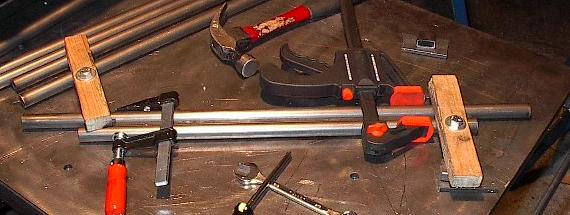
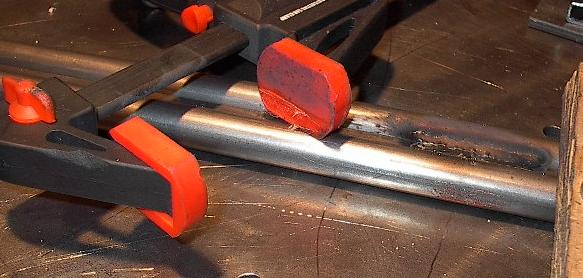
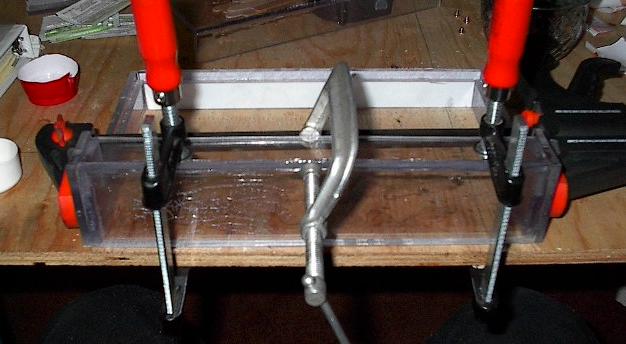
| Here is one of each piece clamped into configuration. It took quite a few clamps to get everything into place, but it should be ready for at least some of the welds. I'm not going to weld the entire length -- this would cause way too much thermal distortion and built-in stress. I'll be laying a few inches of weld, and then skipping a few inches. Because this area is essentially the web of the I-beam, it should only have to support a small amount of shear flow and very little tensile or compressive load. |
 |
| Whoops. I melted a clamp. Well, I'll be able to brush off the orange goo with my steel brush wheel, and I can take the pads off the clamp so they don't melt any more. No big deal. |
 |
| The first weld. Looks pretty good. I'm going to be laying down seven weld pairs like this for each axle. |
 |
| One axle down, two to go. That went really well -- I'm really happy with the welds and strength I'm getting out of this procedure. |
 |
| A bit more work and I've got two welded axles. For the record, yes, that is smoke. There is a lot of metal in each axle, and they get really hot. I oil each one up to cool it off a little bit, but it still takes around half an hour before they get cool enough to hold even with welding gloves. |
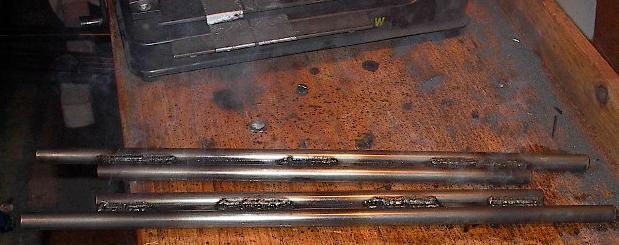 |
| Now that I have two axles, you can see the weld pattern I used. One side of each axle is welded like the above axle, while the other is welded like the lower of the two. This means that the welds alternate sides to distribute the heat distortion evenly. |
 |
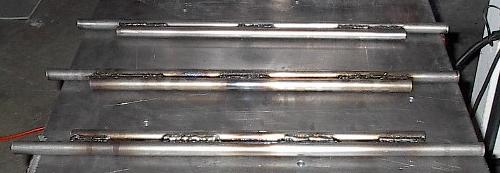
| Third axle down, and some more smoke. These things suck up so much heat energy they're starting to remind me of a previous project that gave me the same problem to the nth degree. |
 |
| I'm going to leave these axles laid out on my metal table where they can't catch anything else on fire. While they cool, I think I'll go wash up and grab some dinner. |
 |
| After I let them cool off enough the handle, I went after each of the axles with the steel brush wheel. Here they are all cleaned up. It doesn't really show in the picture, but they look a lot better. |
 |
| Here I've mounted two wheels to one of the axles, just to make sure everything came out alright. Onto each side of the axle, I've threaded a 3/32 inch thick bushing, the 8-inch diameter wheel, another bushing, and a clamp-on shaft collar to hold everything on. I stood up on this one and rolled around for a while -- they're good and strong. |
 |
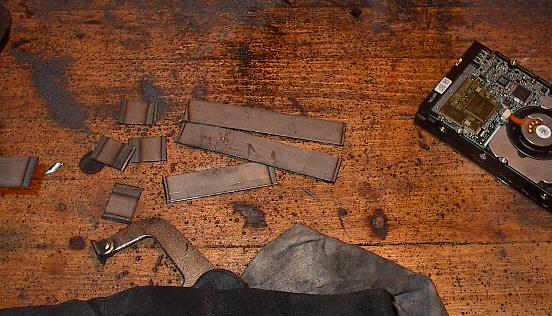
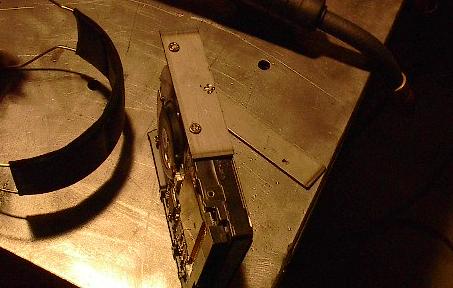
| With the axles all cut and ready to be drilled (a project for another day -- whenever I can get my hands on a drill press), it's time to move on to other things. These little metal bits will get welded together to make the hard disk mounts. Ideally, these would be made out of plastic or some other insulating material, but I don't have the space for that. Steel will do in a pinch. Oh, and the hard drive you see there? The one sitting in all the steel grit on my filthy work table? Don't worry, that's a dead pigeon. The disk we'll be using is safely stowed away inside. This little number got plugged into a power supply mistakenly set to European voltage levels, and the magic smoke got out. It's still mighty useful as a template, but it'll never store data again. |
 |
| Here I've drilled two holes in one of the plates, and screwed it to the hard disk. This will be one of my two rails, and the holes line up just fine. I guess this is kind of like my first case mod. |
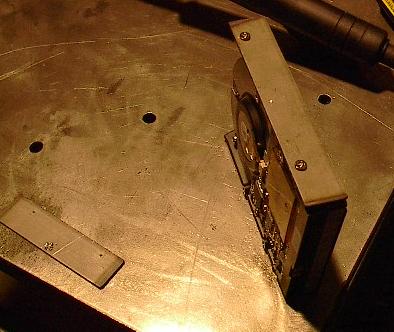 |
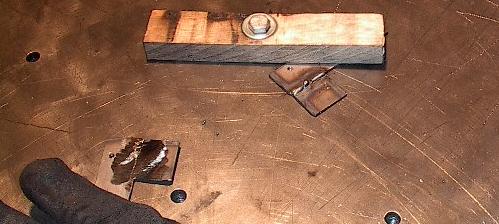
| Two more holes and the other rail is fitted up just right (yes, it's supposed to be shorter). |
 |
| A few quick welds and things are starting to shape up. This is a big change of pace from the day's previous welding, so it's going really quick. I just have to drop these on the metal table for a few seconds and they cool right off. |
 |
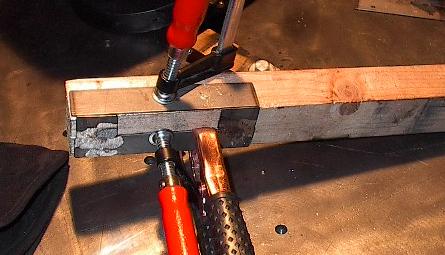
| Now I need to weld in the angle I will use to mount the hard disk. I wanted to just buy some angle iron for this, but I couldn't find any smaller than eighth inch, so I've got to make my own. As you can see, I had to do a little creative clamping to get it done, and this sacrificial bit of scrap wood caught on fire a few times, but nothing a quick pat-down with welding gloves couldn't take care of. |
 |
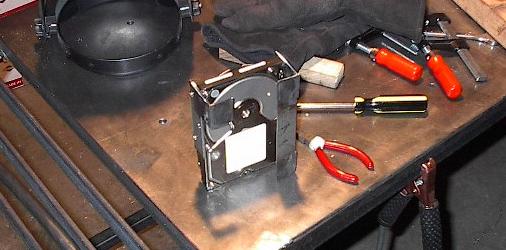
| A bit more welding, some grinding, and finally some time on the brush to clean everything up. Here's the hard drive bolted to the mounts, just as it will be within the enclosure. The three-legged design will allow cables from the VIA board to route underneath the drive. |
 |
| Another little project for today's little potpourri build schedule was cutting these three little Lexan bits. These are going to get glued over the blower exhaust to diffuse the flow into the heat exchanger. |
 |
| Here's the top panel of the VIA enclosure. The big hole is for the blower intake, while the smaller hole will accommodate the power cord for the blower. |
 |
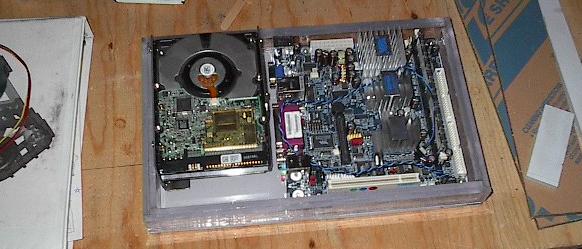
| And with this, we're back where we started -- checking the fit in the VIA box. This time, however, we have the hard disk mounts incorporated into the design. Checking everything out, it looks like there's enough room to prevent the steel from shorting anything, and there's still enough room for all of the necessary cables to route under the disk. If we have to use the parallel port for some kind of sensor kludge-job, we may have to solder directly to the pins, but that's a risk I'm prepared to take. |
 |
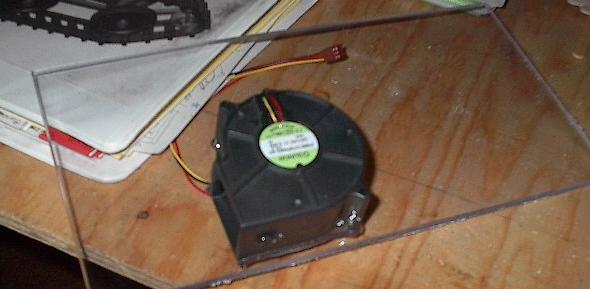
| Here I've peeled off the paper from the top panel and bonded the blower to it. The blower is sealed to the Lexan so that the only way for air to pass through is if it goes through the blower. |
 |
| I also did a little more epoxy work today. Here's a good chunk of the top half of the enclosure clamped together. I think I may have to modify the cover just a bit, so I haven't glued it in yet. |
 |
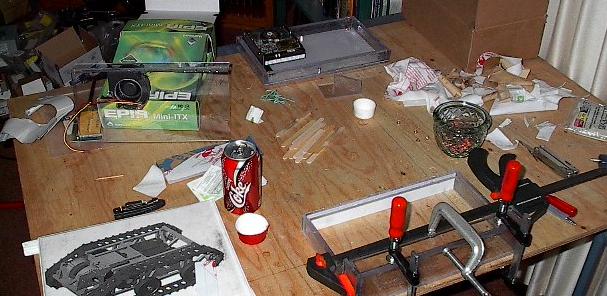
| I'm going to call it quits here for the day. This is my indoor work table. It's right up against a window (which is ideal for working with glue), and has a nice big chunk of plywood to catch all of the stray glue. At the top, you can see the bottom half of the enclosure with the hard disk mounted in it. The mounts have been glued in and I'm leaving it set up while the epoxy cures. Also, propped against the EPIA box is the top panel with the blower mounted in it. In the middle, if you look closely, you should be able to see two of the pieces I cut today setting up. Finally, at the bottom, there's the majority of the top half clamped while it sets. I'll leave all of this overnight. |
 |