|
Build Log, Day 23 (02.20.2005)
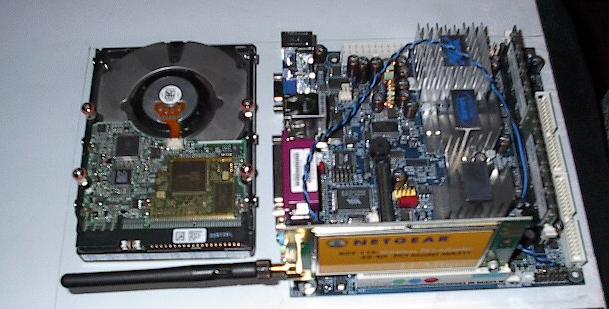
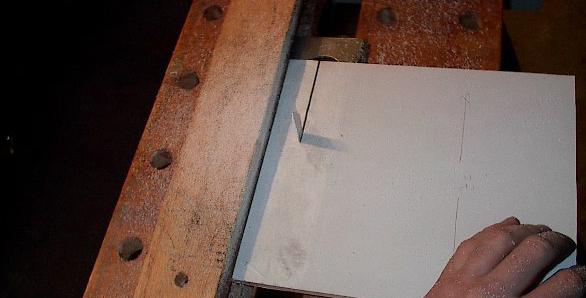
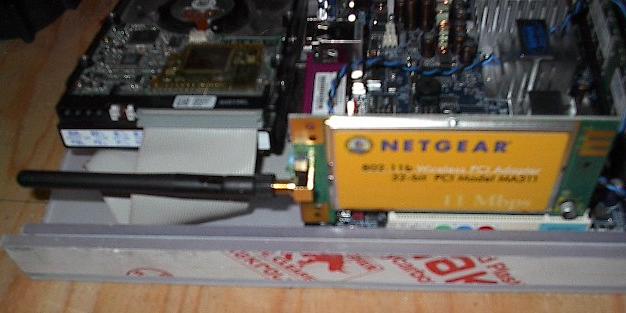
| Today I spent some time working on the enclosure for the computer system. Here I've laid the VIA board (with wireless card) and hard disk out on a sheet of Lexan polycarbonate to make sure it will fit in the marked space. This is just a final check before I go out and cut it. |
 |
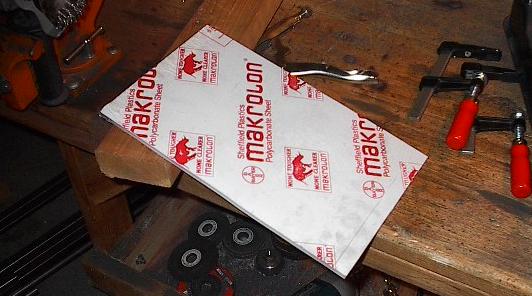
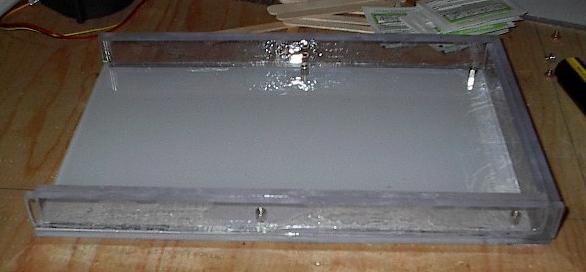
| Here it is cut to size. This went really well. I wasn't sure how easily the polycarbonate sheet would cut. I used a jigsaw blade designed to cut metal, but I've been told that as long as it has a fairly high teeth per inch count, it should be fine. I didn't get any melting or anything, and it went pretty quick. The white and red, by the way, is just a protective sheet. All of the Lexan is clear, but it is coated with paper sheets to protect their surfaces. |
 |
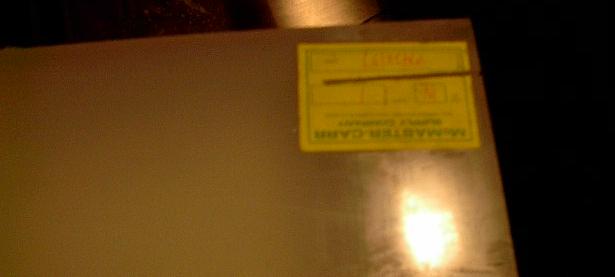
| The ABS plastic, on the other hand, didn't go so well. I was surprised at how much trouble this stuff gave me. That line along the sheet, near one edge, is where I "cut" it with a jigsaw. The plastic melted while I was cutting it, so it fused back together right behind the blade. As a result, I passes a blade all the way through this sheet, but it's still one piece. |
 |
| After a lot of work, I've finally got the plastic into two pieces. I used the jigsaw, three kinds of hand saws, hammer, chisel, and anything else I could think of. Finally a plain old carpenter's saw cut it easiest, but the edge leaves a lot to be desired. This plastic was going to be the side panels of the enclosure, which have to seal along the gasket, so the cut surface is really important. I might not be able to use this stuff at all. |
 |
| I tried again, this time with a wider toothed jigsaw blade and a lot of patience. This is a good cut, but it's about three inches long and took me 20 minutes. With the amount of cutting I'm going to need to do here, that's just unacceptable. |
 |
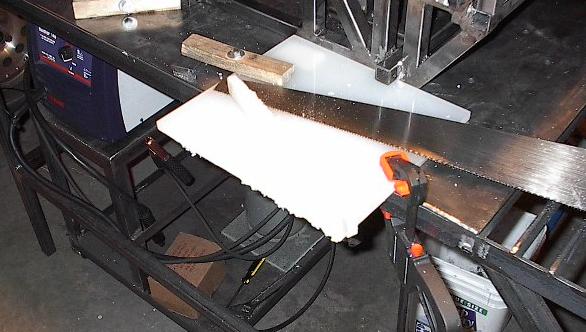
| This is a picture of how the Lexan cuts -- much better. I've made a crude little table saw out of a saw horse and a jigsaw, but it's working just great for me. I think I'll just cut two layers of quarter inch thick Lexan and epoxy them together to get the sides of the enclosure. This is way overkill, but I've got so much Lexan that it's just the best solution I can come up with. |
 |
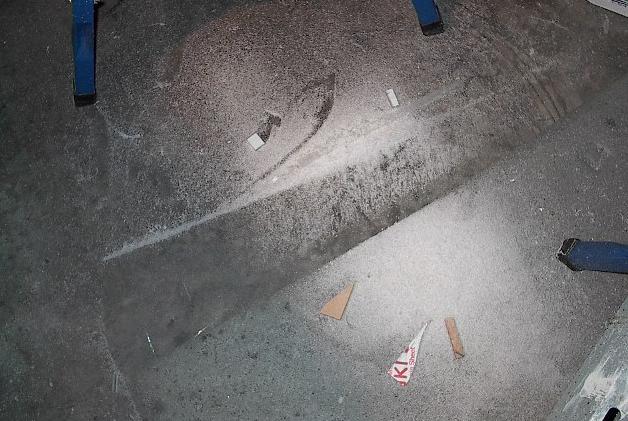
| I did a whole lot more of the same thing to cut up the plastic for the enclosure. Not really much picture-worthy (hence the pictured pile of Lexan dust on the floor), but I made all the pieces I should need to form the general layout of the VIA box. |
 |
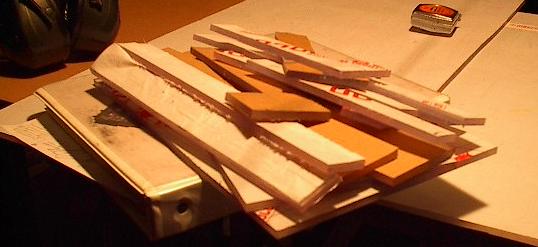
| There they all are. I still need to make just a few more for the junction between the blower and the heat exchanger, but that's most of it. |
 |
| I brought in the polycarbonate pieces, and starter laying everything out for gluing. I've got some optical epoxy that I'll be using the hold all this stuff together, so the enclosure should stay nice and clear, letting everyone see our adorable little computer. Here's the computer, hard disk, and IDE cable laid out to check alignment (particularly of the mounting screws for the computer, which you can't really see here). |
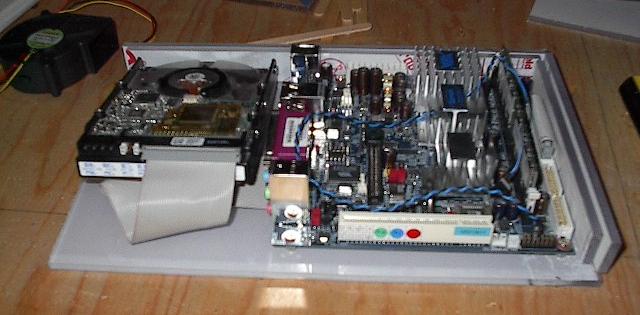 |
| When I plugged in the wireless card I found that the antenna on the NetGear cards we bought is on the opposite side as the D-Link one I used to design the box. That is going to be a mighty tight fit, but I think I can still make it work. |
 |
| Here I've joined three of the walls together and set up a lot of the lower half of the box. Now that I've removed the electronics, you can see the mounting points for the VIA board. I glued in the fourth wall, banded everything together, and piled some text books on top of it while it sets up. This stuff begins to harden in an hour, but it takes seven days to fully set up. I used the last of this batch of epoxy to glue two of the walls for the top half, and called it a day. I'll get the top plate modified for the blower and heat exchanger stuff, and then finish the box. |
 |
| End, Build day #23 (02.20.2005) |
| Progress: |
Cut all the plastic for the VIA enclosure, glued the bottom half. |
| Time: |
5 hours |
| Total Time: |
124 hours |
| Next Steps: |
Finish the VIA box, mount blower, wire 12V electrical system, shock mount computer. Battery mounts and ESC sealing. |
| Status: |
Behind schedule |
|