|
Build Log, Day 22 (02.19.2005)
| I spent a few hours today doing a few things in the garage. First, I got these four weld nuts in. These will be the mounting points for the electronic speed controller. Once again, I don't actually have it on hand, so I'm just going to have to eyeball it. I'm pretty sure everything lines up, though. |
 |
| A few quick passes with the welder and they're all set. While I was at it, I also went back over some of my old welds that looked pretty sad. I've gotten a lot better, especially at laying fillet welds, so when I see one I did a long time ago that looks weak, I'll just run back over it to get a better joint. |
 |
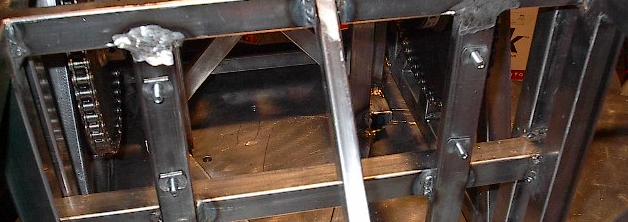
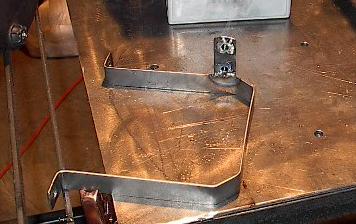
| With the speed controller mount points all welded up, I'm ready to move on to a battery mounting point. The aft battery (the one that stands on its side) needs to be bolted down, otherwise it will run the risk of shifting forward and damaging the speed controller. I've decided to bolt a metal strap over the battery, and this strap will provide a nice mounting point for a connector that is too close to the drive train to leave free. In any case, here are the two holes in the chassis where the strap will bolt down. |
 |
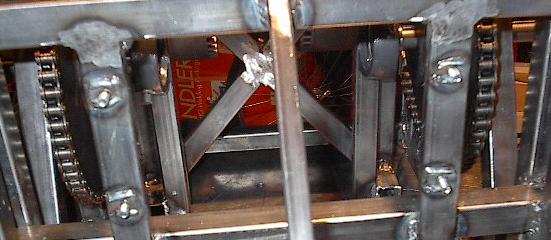
| Here's the same holes from the other side. This picture is taken looking under the motors, through most of the aft structure. This is actually the access route I had to use when drilling the holes. The drill didn't fit into the battery compartment the other way. These were a huge pain to drill, as I had to apply a lot of pressure to the drill while still maintaining a lot of control over it all while in a very awkward position. While I was doing it, I think I pulled something in my back. I didn't think anything of it at the time, but it still hurts. It really made the rest of the night's work a lot less fun. |
 |
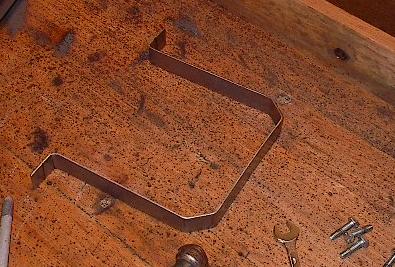
| I welded a pair of weld nuts over the holes above, and then got to work on the strap itself. Here, I've bent the general shape of the top of the battery into the strap. I just did this with a carpenter's hammer, a bench vice, and my bare hands. It came out pretty good. |
 |
| It will fit over the battery like this, except the battery will be on its side. Now I just have to bend the ends, drill them, and bolt it in. |
 |
| I lowered the battery into the chassis (it's a good thing my table is built well enough to support the robot, the battery, and me because just about the only way to get the battery in involves standing on the table), measured the length of the bracket needed, and bent the ends. |
 |
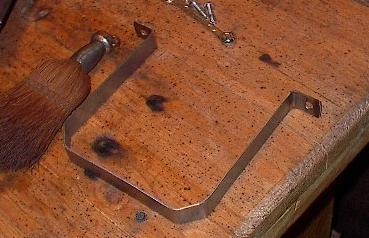
| Then I drilled holes in the little ears and finished up the edges. This involved grinding off the excess, rounding the corners, and brushing off my marks. |
 |
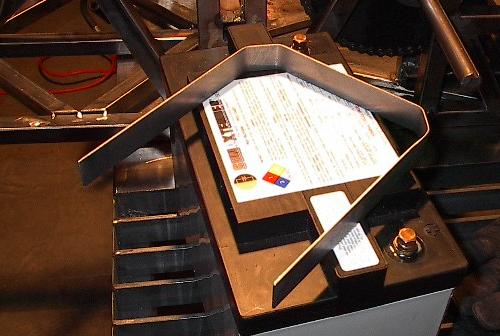
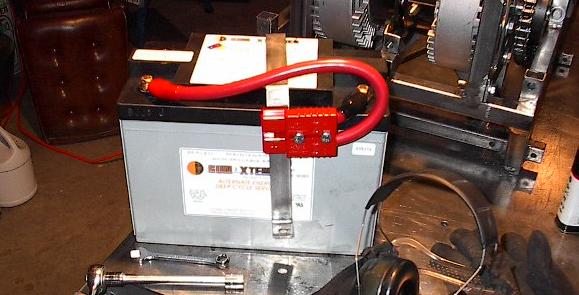
| It was almost impossible to get a picture down in there where the battery fits, but there it is. The mount fits over the bottom of the battery like this, and should keep everything in place nicely. |
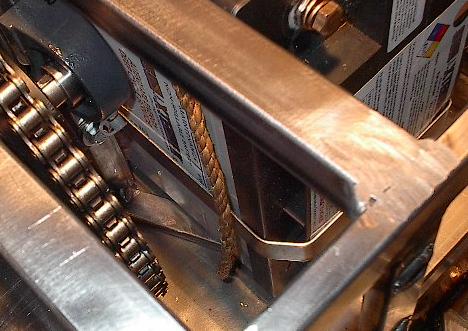 |
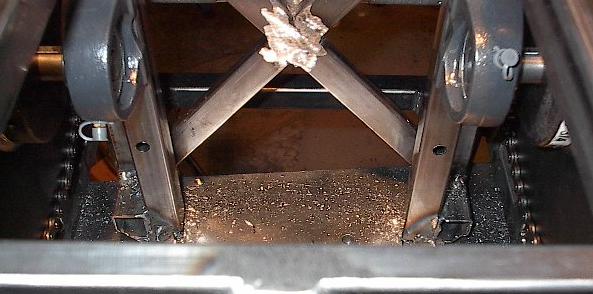
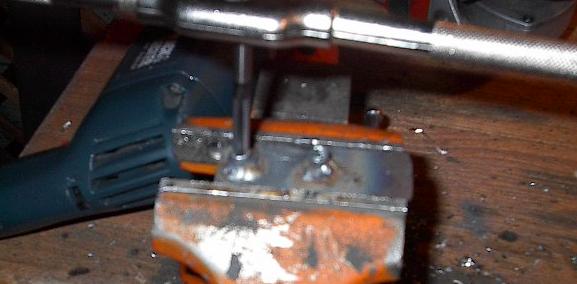
| Now I'm ready to work on the mounting points for the connector I was worried about. If I leave the connector for the aft battery free, I'm afraid it will drift into the drive chain, and nobody wants that. This little tab will have two weld nuts, which I can bolt the connector to -- that should keep everything in line. I tried to weld these on this side, along the barrel of the nuts. This would have been ideal if it had worked, because the weld bead wouldn't have gotten in the way of anything. |
 |
| Unfortunately, it didn't work. The barrel walls were too thin, the welding burned through, and the threads got screwed up beyond repair. I tried to tap them out, but to no avail. |
 |
| The holes in this plate were spaced just right, and I didn't want to make another one, so I just drilled the weld nuts out. This plate should be ready for another try. |
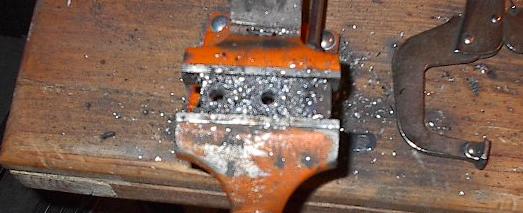 |
| I welded two new weld nuts on, cleaned up the welds, trimmed the tab, and welded it onto the battery mount. |
 |
| Here it is on the battery with a connector bolted to it. This should keep everything clear of the drive train. This is all I got done today. Tomorrow I'm going to dive into manufacturing the computer enclosure, but there isn't too much more I can get done today. I need to add a structural member to the chassis, but I can't do that until I make my six volt battery mounts, which I can't do until I get them back from Christina. All of the rest of my next steps involve plastic work, which should be interesting, but I don't have time to get into that tonight. |
 |
| End, Build day #22 (02.19.2005) |
| Progress: |
Welded speed controller mounts and manufactured aft battery mount. |
| Time: |
3 hours |
| Total Time: |
119 hours |
| Next Steps: |
Build the computer enclosure, wire the 12V electrical system, make power switch mounts, make battery fit shims, make front battery mounts, mount 6V batteries, seal electronic speed controller, shock mount computer system. |
| Status: |
Behind schedule |
|