|
Build Log, Day 9 (01.29.2005)
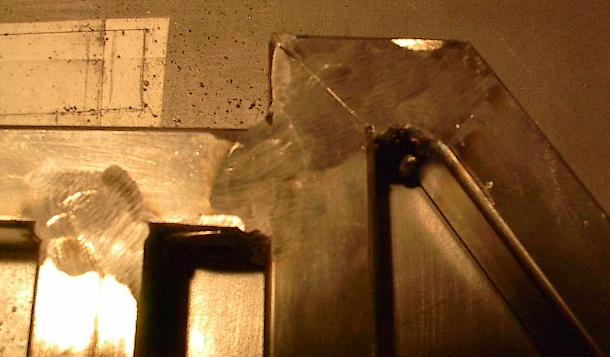
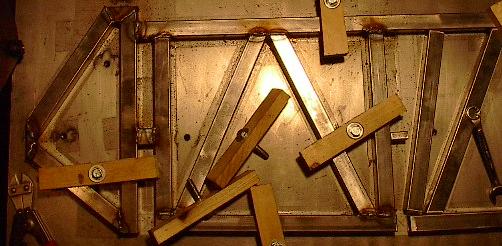
| Today I got to start my work with one of the really fun parts of the job -- abuse testing. I didn't want to do this when I finished the side panel because it's really loud and it was late, so I left it for today. First, I laid the panel flat, took a hammer, and started hammering. Nothing too hard, just enough to put some good shocks through my welds to make sure none of them were too brittle. This also allowed me to listen to the ringing sound the hammer made as it hit welds, giving me some information about the penetration levels I was getting. Everything held together and sounded just fine. Then, after the hammering, I started dropping the panel flat onto the table top. This put a good, sudden shock through all the critical joints. I started low, and worked my way up to four feet of drop before hitting the metal table dead flat. Let me tell you, it made one hell of a sound. Anyway, after three or four good drops on each side, I found one cracked weld, shown here. This is just a little fracture, and I should be able to patch it up without too much trouble. I'm glad I found this now rather than later -- of course, that was the whole point of the tests. |
 |
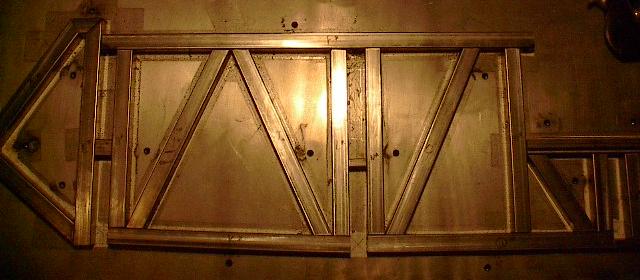
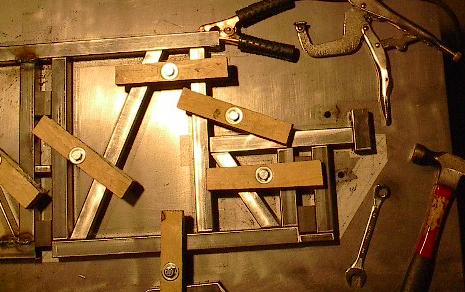
| After I finished playing around with my finished panel, it was time to get to work on the other one. I laid all the pieces out, and did some final fine tuning of the angles to get all the fits just right. Here they all are laid out, but they aren't ready to be welded yet. As you recall, way back on one of my first build days, I ran out of time when cutting pieces, so I wasn't able to clean them up. Well, these are them. These all still have the mill scale on them, so they're all going to have to be scrubbed down with a wire wheel before I can weld them. Otherwise, all the crud and dirt on the steel will contaminate the welds and I'll have weak joints. |
 |
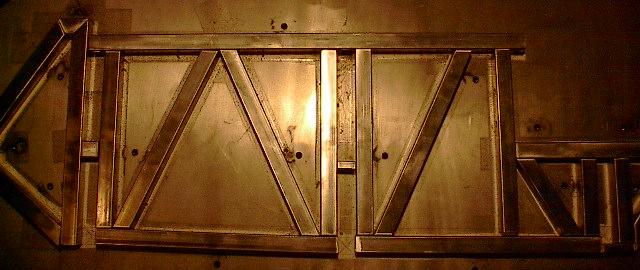
| And here they are cleaned. It doesn't look like it, but there was almost two hours of work between the last picture and this one. It's slow going, and it doesn't make things look much different, but it has to be done. I brush the entire surface, not just the patches I'm going to weld on. Hopefully, I'll be able to keep everything clean enough that I don't have to have the thing sandblasted before I get it powder coated. |
 |
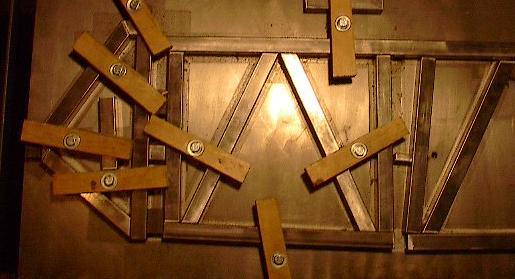
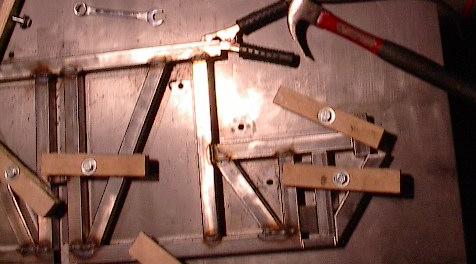
| I'm going to do this whole panel at once. Last time, because I wasn't sure of my process and I wanted to test it in short iterations, I did a few members at a time. This time, I know it all works, so I'm going whole hog. I'm going to weld every piece on this side, then grind them all, then flip it over and repeat. This should make things go much faster. Unfortunately, I didn't make enough clamps, so I am going to have to stop and move clamps as I go. Here's the front structure all clamped down and ready to weld. |
 |
| And here it is welded. I'm not even going to stop to grind these down before moving on. I'll save all the grinding on this side for one go, so it should go much faster. I had a lot less burn through this time, and I think my penetration is pretty good for almost all of these joints. This took much less time than I thought it would. |
 |
| With the front all welded up, I can remove most of the clamps and use them on the back. I almost got all of the members clamped down, but I'll have to shift one more time to get the last two members. Things are moving right along. |
 |
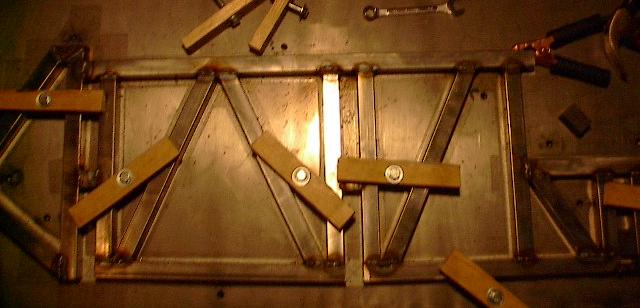
| Here I've welded some more and clamped down the very last members. A few more joints, a little bit of touching up in those hard-to-reach places, and this whole side will be all welded. Then I just grind, touch up, flip over, and repeat. I should be able to finish this whole panel by the end of tomorrow (the first panel took me over a week). |
 |
| And here it is. In just three hours I've cleaned all these pieces and welded this side. Things are moving right along. I should have no problem finishing this panel by tomorrow night. |
 |
| End, Build day #9 (01.29.2005) |
| Progress: |
Cleaned second side panel members, touched up fits, completed first side welding. |
| Time: |
3 hours |
| Total Time: |
47 hours |
| Next Steps: |
Grind down the welds, touch up, flip over, weld, grind, touch up. Construct top panel. Cut cross-members and assemble into rough framework. |
| Status: |
On schedule |
|