|
Build Log, Day 10 (01.30.2005)
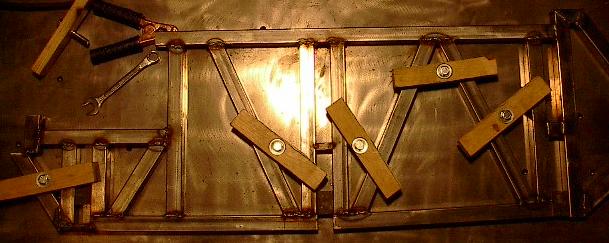
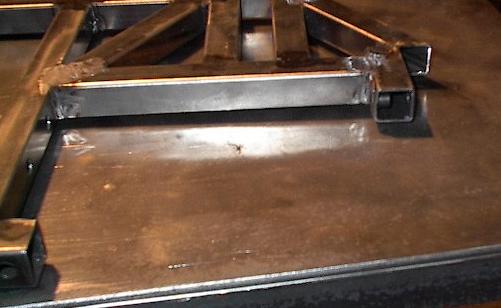
| Today, I picked up right where I left off yesterday, and ground down all the welds I did on the first side of the second chassis panel. Here's a shot of the panel with the welds all ground flat. I've done the grinding in two stages -- first with the coarse disk to remove most of the material, and again with the fine disk to take off the last layer and bring everything flat. This prevents the deep gouges I got when I used only the coarse disk, but still goes pretty quickly. That being said, this was a lot of grinding, and it was pretty rough going. It was quite a bit easier to do it in small chunks than all at once. |
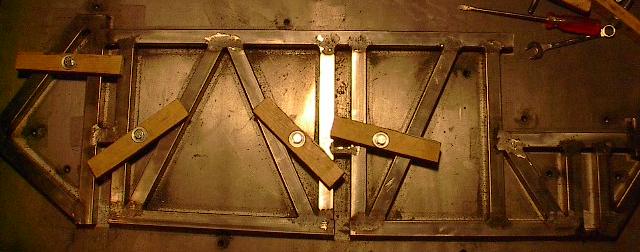 |
| Now it's the moment of truth. Time to unclamp the second side panel from the table and see how close it is to the first. I still haven't welded the back side of this panel, but if there's anything that needs to be fixed, it's better to know right now. Both sides fit the template really closely, but the final check is here -- simply stacking them up and seeing if everything lines up just right. |
 |
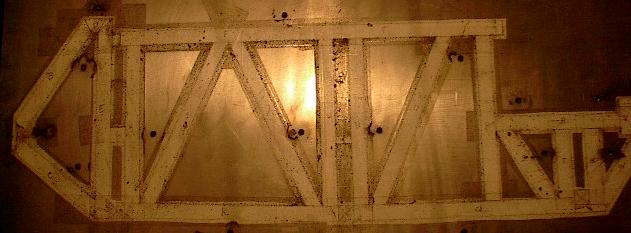
| Things are looking really good. Note in particular the holes drilled in the upright members. These will be where I bolt the bearings for the drive axle, so their placement is really important. Everything, including those important holes, appears to match up just fine. |
 |
| Here's the fit in the middle. Again, everything is lining up just fine. However, note the gap between the two panels here in the middle. The top one (the one I just finished half-welding) is bowed up slightly. At the time, I didn't worry about it too much -- I figured this would correct when I welded the other side. As we'll see later, this does end up being a bit of a problem. |
 |
| Finally, here's the fit check for the front of the chassis. This was the part I was the most worried about, because this was the point of the greatest error for the first chassis panel. We see here a slight deviance, but it is pretty minor. This is a deviation of less than 1/16 of an inch, which, over the 16 inch distance between these two points, will result in less than a 0.000068 degree angle. This should be just fine. |
 |
| Well, the template made it through. It's looking pretty beat up, but it served its purpose and survived the abuse. I'm really happy with the level of precision I was able to achieve with this thing, and I'll definitely be making another one for use while making the top panel. However, now I'm done with it, so it's time to scrape it up. |
 |
| Boy, did this thing put up a fight. It's been subjected to weld splatter, lots of heat, and hot grind for days. Now, what used to be laminated paper has become a plastic, adhesive, and metal grit composite material. It was all melted to the surface, and it really held on. |
 |
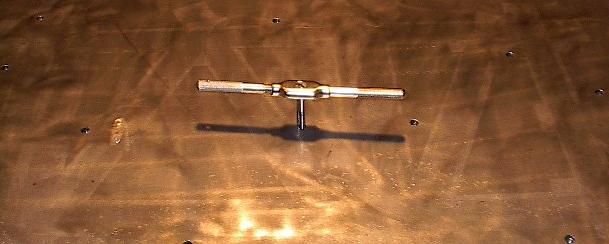
| With the template up, I ran a tap through all the weld nuts. They've been getting really gritty lately and it was time to clean them out. I wish I'd gotten slightly longer bolts for my clamps so I'd have better thread engagement. I'm starting to really worry about grit wearing down the threads and ending up with stripped nuts. Oh well, I can always grind them off and put new ones on if I have to. |
 |
| Time to get to the second side of the panel. Here it is all clamped down and ready to be welded. At the time, I was hoping that by clamping it down all flat while I welded, the heat would take all of the warp out of the panel. |
 |
| And here it is all welded up. Of course, this means another long round with the grinder. Oh well, it has to be done, so there's no sense complaining about it. |
 |
| And here it is all ground flat. Again, I did this in two stages, just like before. I knew at the outset of this project that there was going to be a lot of grinding, but that doesn't make it any more fun. Oh well, I'll just look at it as incentive to get better at welding. |
 |
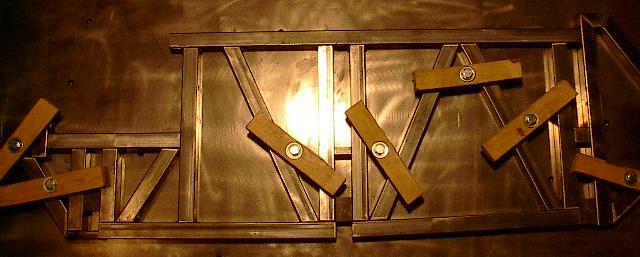
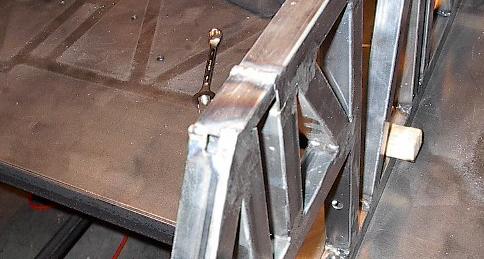
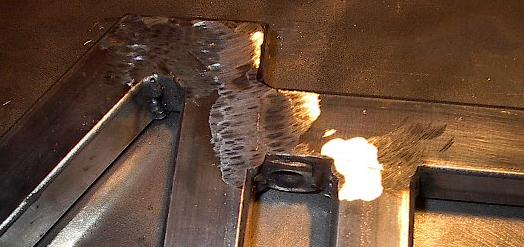
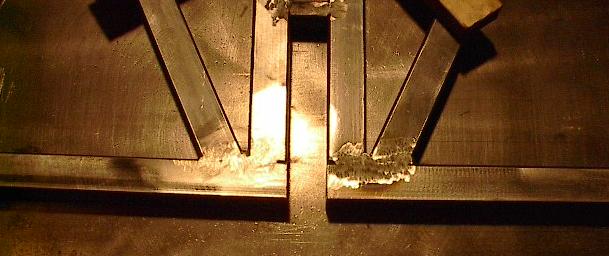
| There's always more grinding to be done. Now it's time to get after the edges that I couldn't grind with the panel clamped flat. Here you can see the welds before I grind them down. |
 |
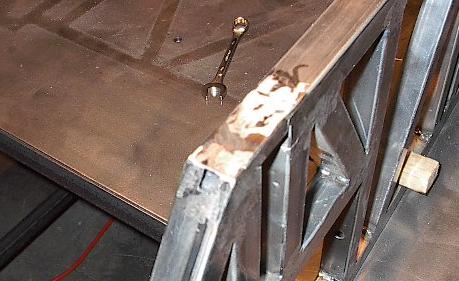
| And here it is after I ground it flat. This was a tough one, because the 1 x 1/2 tube wasn't quite lined up with the 1 x 1 tube, so there wasn't a common flat to grind to. I just had to kind of work at it, taking off material until I had a reasonably even surface. I'm not too worried about the strength of this joint -- there's going to be a very heavy cross member here. |
 |
| Now, after all my diligent grinding, I get to the fun part -- more abusive testing. It's time to break out the hammer and start beating on this thing. Then, after everything held together through a good hammering, I started dropping it. Just like with the other panel, I started low and worked my way up to around four feet. It makes one hell of a noise hitting the metal table, but it tells me exactly where my weak welds are. Speaking of weak welds, here's one the cracked. |
 |
| And here's one that broke all the way through both sides. This is by far the worst failure I've had. This is a thin member in the middle, and the panel is warped, so when it hit the table all of the stress flowed through here. This, like all the other cracks, propagated from stress concentrations that just won't be there when I'm done. This small member is just a spacer that will hold this gap until I weld in the cross member that will go here. All of the stress that went through this point will be supported by much stronger structure at this location. |
 |
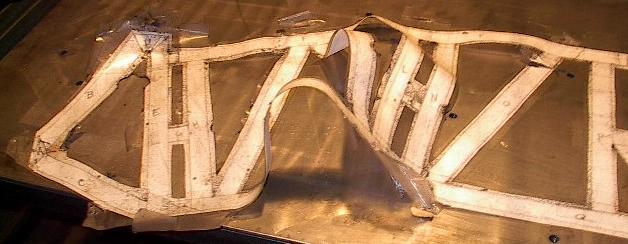
| Speaking of warp, here's a shot of just how bad this is. The far end of the panel is bolted down, so this end is lifting off the table surface. This is why I had more cracking during the abuse testing on this panel. It looks like it didn't flatten out during welding like I'd hoped. I guess it's time to go get my hammer. I clamped it flat, hammered on the joints, flipped it over, and repeated. A few rounds of this and I had reduced the curvature quite a bit, but I wasn't able to get it totally flat. I think it is close enough that I can work out the remaining warping as I add cross-members. |
 |
| Now I just have to clean everything up and I'll be done with the side panels. Here's a picture of what, exactly, brushing does for me. The left weld is brushed, the right one is not. It removes the surface textures and scratches as well as the fine layer of oxidization that forms when the metal gets hot (from welding or grinding). It looks better and should have better corrosion resistance. |
 |
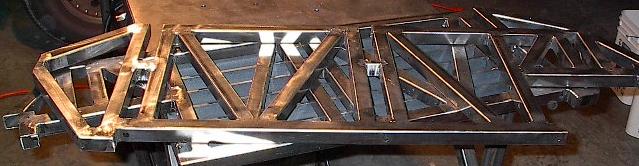
| I've patched up all the cracks, ground all the welds, and brushed all the grinds. Here are both side panels all ready to go. Now I should be ready to start developing templates for the top panel. |
 |
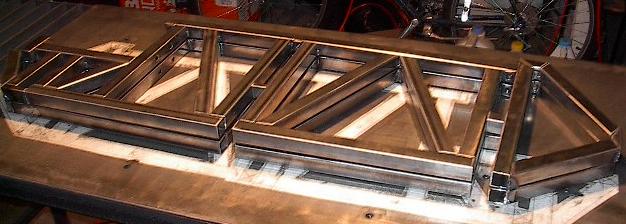
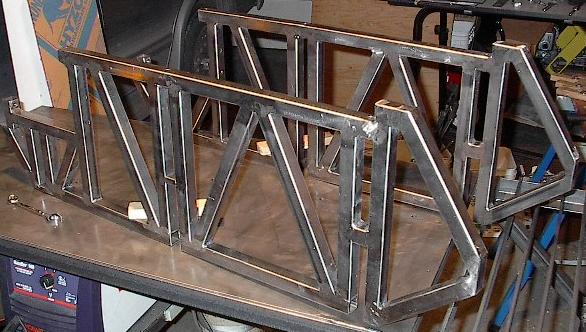
| It's starting to look like a robot. Here I've clamped the two panels to the table 16 inches apart, which is how they'll line up in the final assembly. It's going to be nice. |
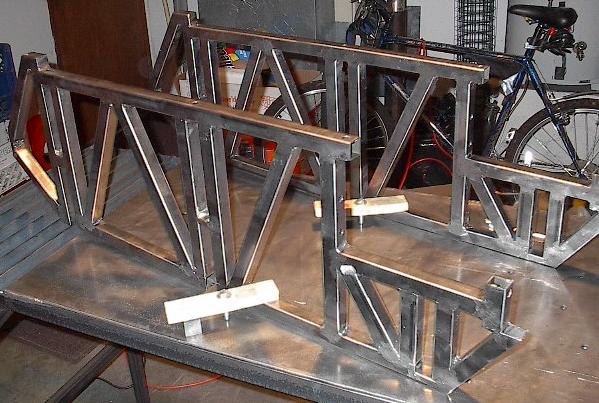 |
| The same thing from a different angle. This is the first time I've had a real, physical model that gives a really good impression of exactly how big this is going to be. Once I weld together the top panel, I'll be ready to bolt the three pieces together and start welding in cross-members. Once a few of them are secure, I'll be ready to start lining up components and building mounts. Things are all falling into place. |
 |
| End, Build day #10 (01.30.2005) |
| Progress: |
Ground welds, flipped over, welded, grounded, and brushed second side panel. Abuse tested. Patched up cracks and evaluated results. |
| Time: |
4 hours |
| Total Time: |
51 hours |
| Next Steps: |
Construct the top panel. Cut cross-members, assemble into chassis framework. |
| Status: |
On schedule |
|