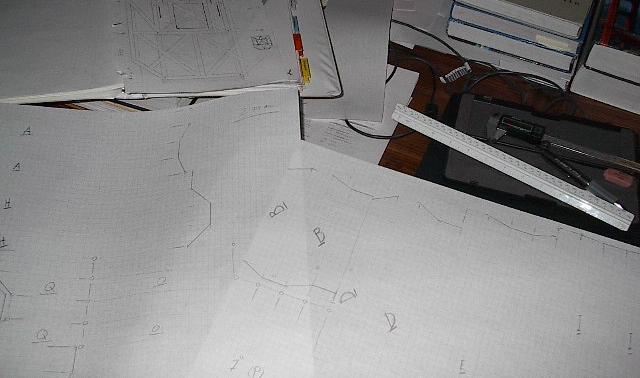
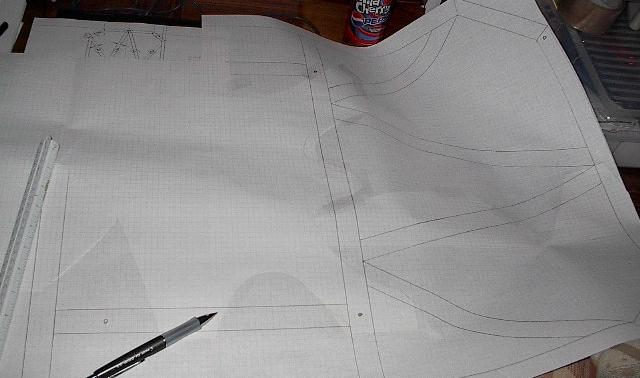
| Today, I made templates. This wasn't a normal build day -- no grinding, no welding, nothing like that. However, it is an important part of my process, it took a lot of time, and it produced some deliverables that I could take pictures of, so I figured I'd include it here. This is a picture of the first step -- drawing the shapes. You can see here large sheets of graph paper on which I've drawn the shapes of the steel members. These will be cut out, folded into square tubes, and wrapped around the steel to transfer the pattern. |
 |
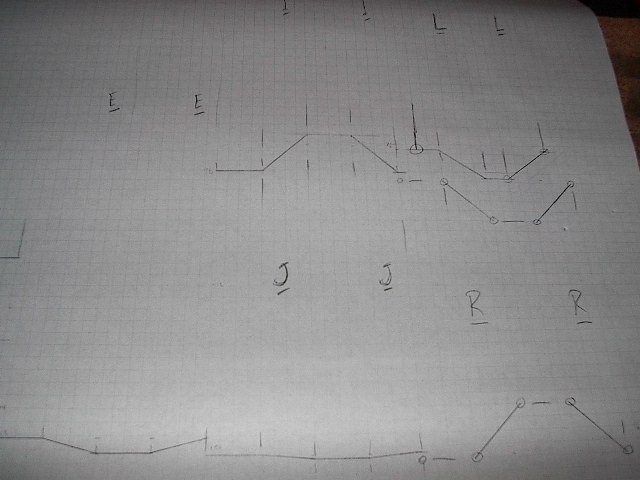
| Here's another picture, and you should be able to see the shapes better. All of the shapes are four inches wide (to fit around the four one inch sides of the steel tube) with one exception. Member L in the upper right is three inches wide. This is a 1 x 1/2 inch tube. This member will fit across right above the motors, which will need the extra half inch of space. |
 |
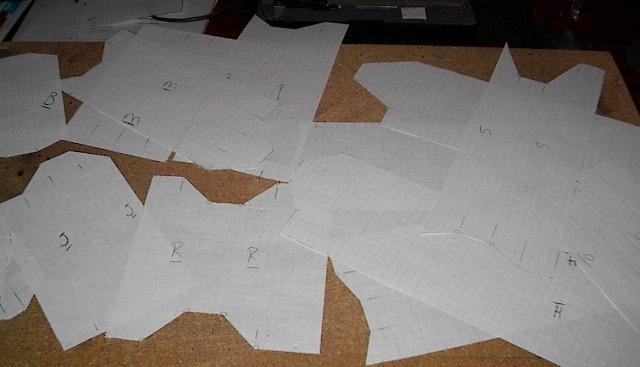
| Once I had everything drawn out, it was time to cut them. Here's the heap of paper bits that will make up all of the individual templates for the top panel. I still have to fold these and make the master template for the panel. |
 |
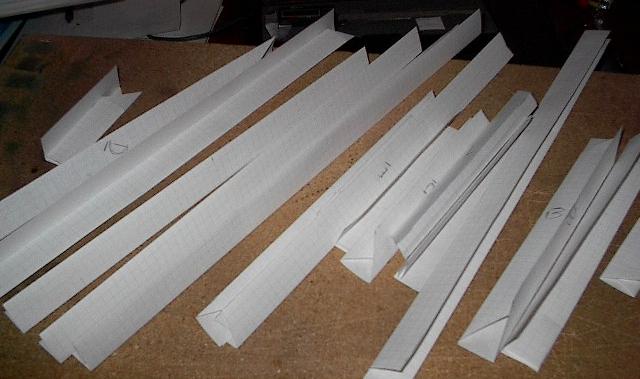
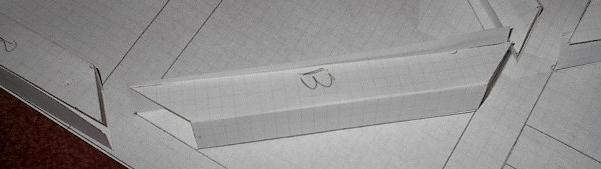
| A little engineering origami and I've got myself a stack of templates. These should be really easy to wrap around the steel and line up the edges just right. |
 |
| I moved my drafting table out to the garage so I could have an extra work surface, so I'm left with less-than-ideal conditions in drafting out my big, 24 x 43 inch master template. The side panel master templates took two sheets of blotter paper -- this one takes five. I'm doing everything I can think of to keep things all lined up just right. You can see how I've cut the paper up along long curves. This should give me a whole lot of points to line up the graph lines and increase the number of degrees of freedom I'm able to constrain. So far things are going fairly well, but we'll see how flat everything sits when I've got all five sheets done. |
 |
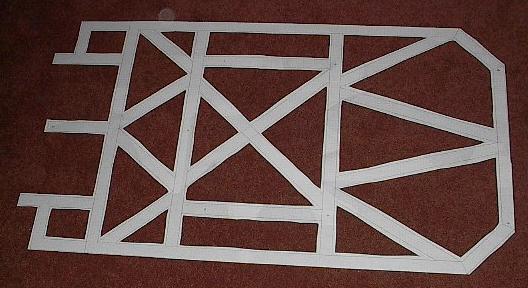
| And here it is. I'm surprised at how well it ended up. Everything sits nice and flat and the grid lines are all damn close to perfect. |
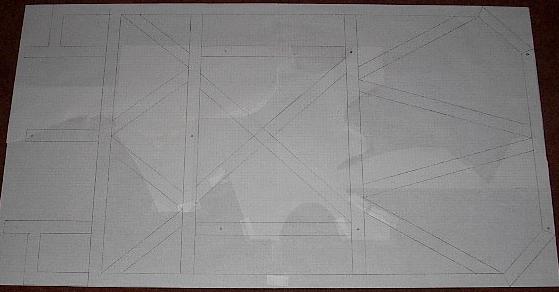 |
| Now that both the individual and master templates are done, it's time to make sure they agree. Here I've laid out the individual templates in their locations on the master template to check all their fits. |
 |
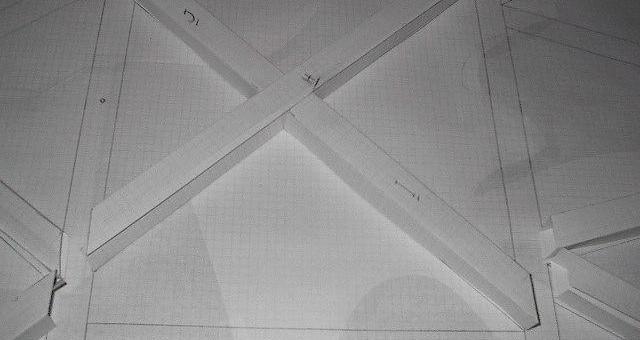
| Most of the fits are just right. Here three templates come together to form a rather complex joint of crossing members. Looks like these should work out perfectly. |
 |
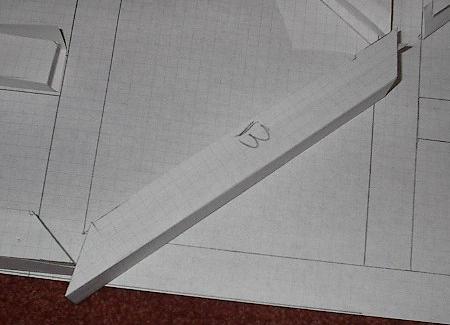
| One of them, however, has a problem. This is why I do this -- it looks like I dropped a negative sign when I was drawing this thing out. The angle is right, it's just measured in the wrong direction. Fortunately, it's a lot easier to fix paper than steel. |
 |
| Two minutes with a straight edge and a good, sharp knife and I've got everything back on track. This would have taken ten times as long with a grinder and steel. Glad I checked my work. |
 |
| Much better. |
 |
| Before I laminate the master template to my table, I have to cut it out. By the time I was done with this my good, sharp knife wasn't so sharp anymore, but it got the job done. This should make a good guide to assemble the top panel. |
 |