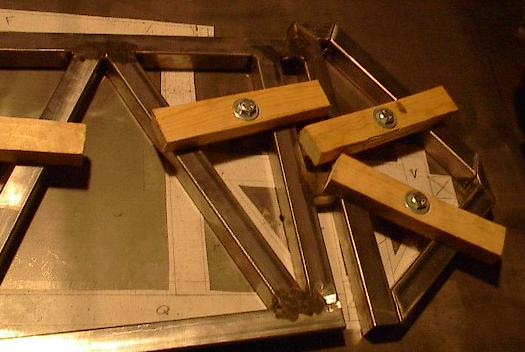
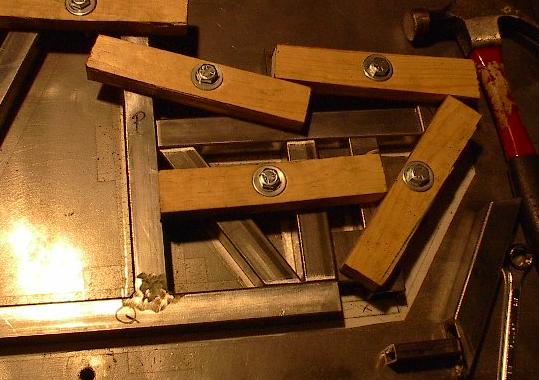
| I'm really happy with my clamping system, so it's time to install more. I only drilled enough holes to do the little part I was working on before, but now that I'm sure I want to use this method, I'm going to need more of them. After working with them, I've been very happy with the clamps, and their versatility has thus far been indispensable. |
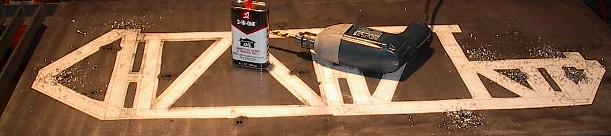 |
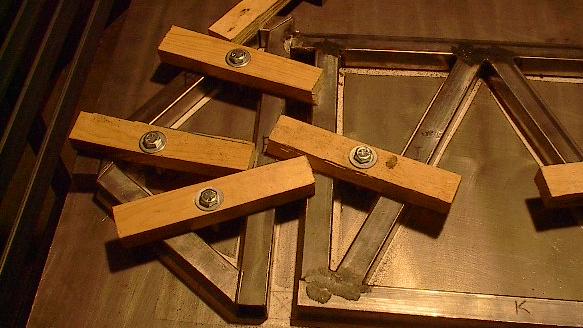
| That, of course, means more ugly welds living on the bottom of my table. Seven more weld nuts should give me enough mounting points for the rest of the side panel. I'll keep adding more as I need them. |
 |
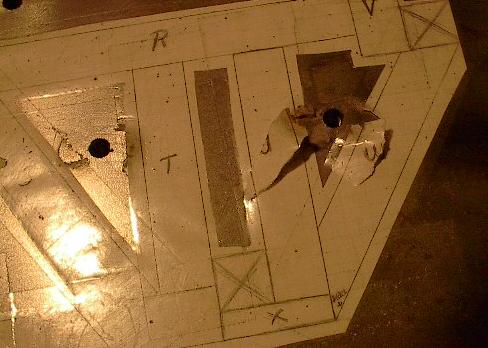
| And I thought the template damage was bad before. I made the mistake of taking a little breather after I welded the last nut, and when I went to remove the clamp is really ripped this thing up. Welding melts the lamination, but usually I pull the clamp off right away. With this one, I let it cool, and that turned out to be a bad idea. Oh well, now I know. And, according to G.I. Joe, knowing is half the battle. |
 |
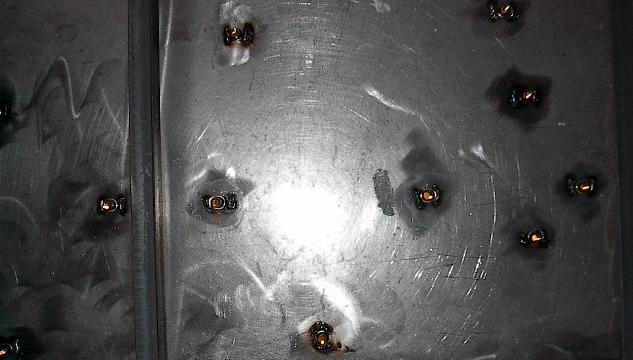
| The new weld nuts gave me a chance to try out my new taps. Man these things are great. I spent a little extra to get some nice, high speed steel, titanium carbonitride coated taps, and they were worth it. This thing pushed through the dirty threads with almost no effort at all. |
 |
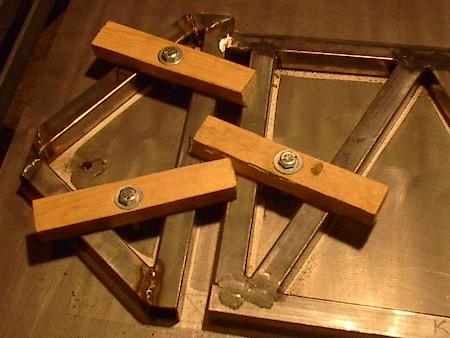
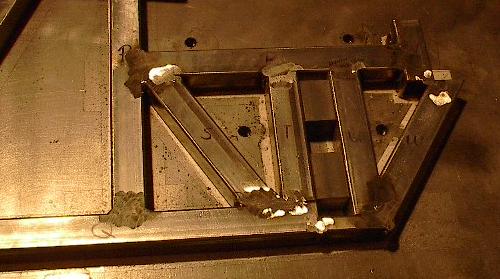
| Now that the clamps were ready, I cleaned up the dirty pieces, did a little touch-up grinding, and bolted everything down. The front end should be all ready to weld up. |
 |
| Here it is welded. This is getting easier with practice, but I still have a little trouble with burn-through. One of the welds on the top joint was a real pain, but a few passes with a grinder and everything should come out just fine. |
 |
| Here's everything all ground down. I switched to a much lighter grit grinding wheel, and I'm a lot happier with the results. The rougher wheels went a lot faster, but they'd take big gouges of material out all at once, leaving a really rough surface finish and thinning the tube walls too much. |
 |
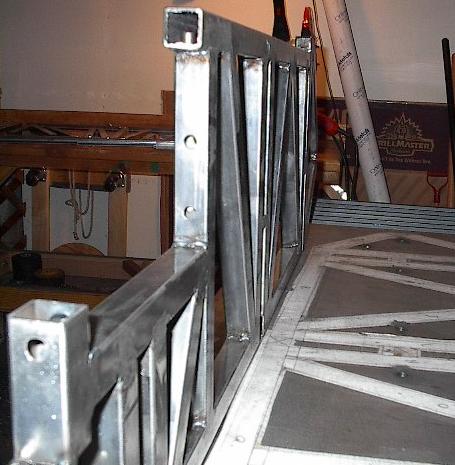
| Now I just have to grind the edges, which I can't get to when it's laying flat. This would have been a pretty difficult angle to pull off in the vice, but my little clamping system saves the day again. This should be no problem. |
 |
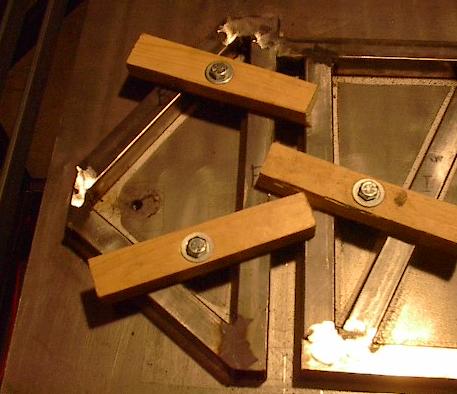
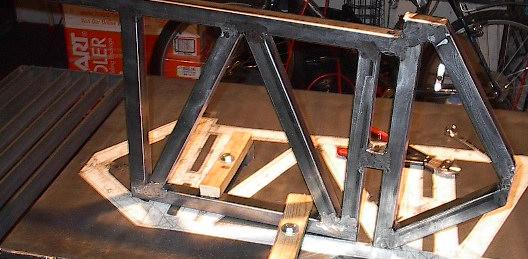
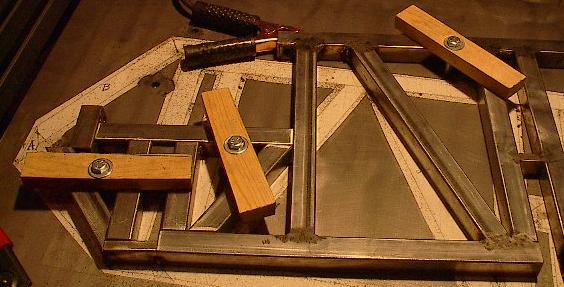
| It's time to weld the other side up. The front doesn't approximate symmetry like the middle panel did, but I was still able to line it up with enough clamping holes to hold everything good and flat. |
 |
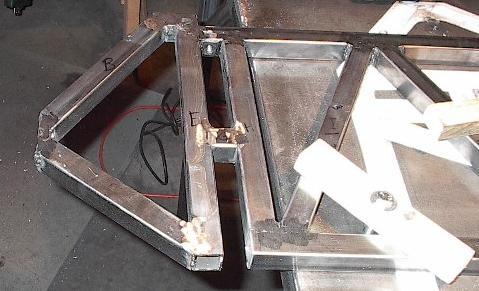
| To grind off more of the outside corners, I clamped what structure I have to my table so I could get to the welds. Now that I've got the front half all together, it's time to keep building it up. I'm hoping to get this whole side panel finished by the time I stop tonight. |
 |
| Here are the pieces for the aft portion of the middle structure all laid out and clamped down. These each had to be cleaned, brushed, and touched up to fit just right. Now they're all ready to weld. |
 |
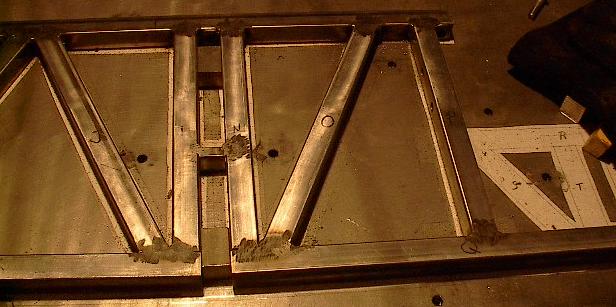
| And here that section is all welded up and ground flat. None of these welds had to be touched up after the frist grind. I'm starting to really get the hang of working with metal this thin. I've turned the wire feed speed up quite a bit from what was recommended. This allows me to keep a nice slow travel speed without burning through. I just have to be careful not to get the contact tip too close to the workpiece. |
 |
| Now I just have to flip it over and weld the other side. Again, I had to get kind of creative to get the clamps to line up just right. Note the bolt through the weld nut on the upper left. This weld nut is right next to a fillet weld I have to lay, and I don't want too much spatter to get into the threads. |
 |
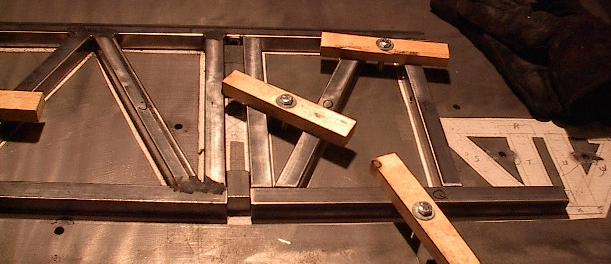
| Here are the last members of the side panel laid out and clamped down for welding. This one took a little fine tuning (hence the hammer), but it's all set and ready to go now. |
 |
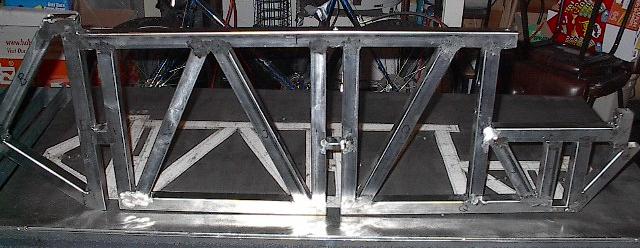
| A little welding and grinding and, at long last, all of this side panel is in one piece. I still have to do the other side, grind everything down, touch up the corners, and brush the whole structure, but at least it's all in one piece. |
 |
| Here it is from the other side. It looks pretty similar, just backwards. The welding it starting to go like clockwork. The second side panel should go much faster. |
 |
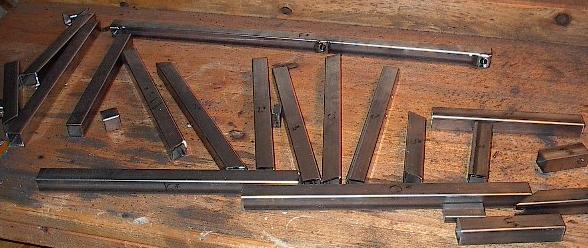
| Speaking of the other side panel, here it is. A far cry from what I've just made, but in a few more days it should look just like it. The two of them, along with a few through-members should form the framework of the chassis. |
 |
| Here's the finished panel. It looks great -- just like the template behind it. As accurately as I can measure, the compounded error of my loose tolerance manufacturing process gets up to just under a sixteenth of an inch. Of course, I'd like to have even less, but I'm pretty happy with things. |
 |
| In addition to the error in planar dimensions, the structure also isn't perfectly flat. After each time I clamped it down and welded, it sat "flat" on the table top, but when I'd turn it over, it would teeter a little bit. This indicates that my table top isn't perfectly level. However, as you can see here, the deviation is very small. This should be easily accurate enough for my purposes. |
 |