|
Build Log, Day 47 (04.05.2005)
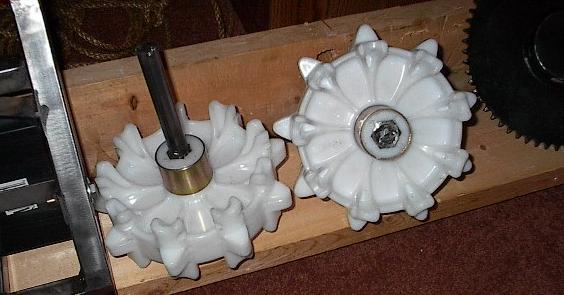
| On Monday, I went to the lab with one objective -- to get my new and improved drive axles into the hex bore of my new and improved sprockets. This ended up taking over two hours. Fortunately, I now have the highest confidence that these will never fail. It took over 5000 pounds of force to get these pressed on, and they're not going anywhere... ever. |
 |
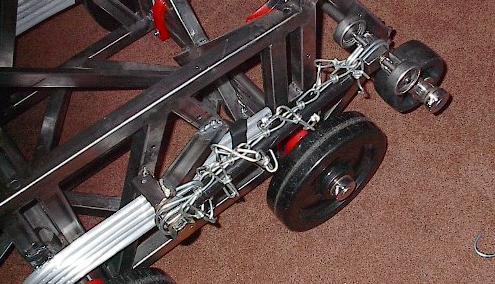
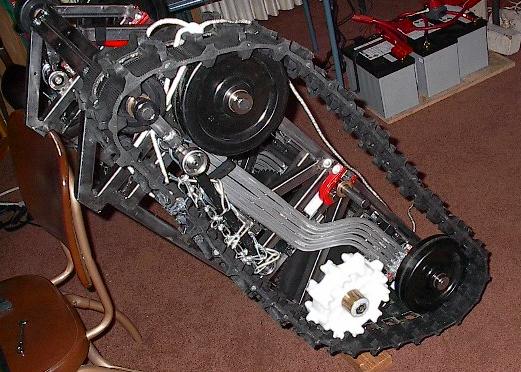
| Now, with the last part fabricated, it's time to begin the long and labor-intensive process of putting it all back together. I don't actually have the new speed controller back at this point, so I've got to start with the track. First step -- compressing the tensioner springs and locking them. I accomplish this with a long steel lever arm and a length of chain. It looks pretty sketchy, but this actually holds a lot better than the old rope method. |
 |
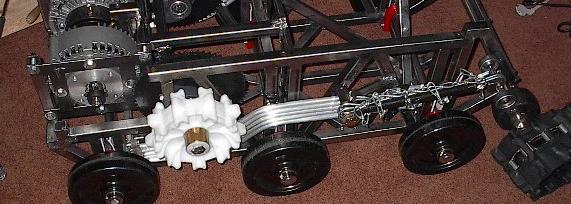
| Now that the spring is compressed, I can put the newly-pressed sprockets in along with the remainder of the drive train. I couldn't do this the other way around because I needed the clearance to mount the level arm. I used to be able to use the drive sprocket as the pivot point, but the new design prohibits this. No big deal, just a minor change in the order of operations. |
 |
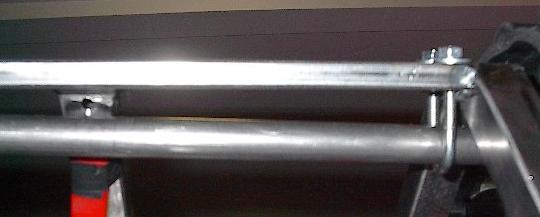
| Now it's time to start wrestling with the track. First, we loosen the U-bolts that hold the front axle in place. This gives us just enough slack to get things in place. This is a really nice way to do this, because when it comes time to tighten things back up, the U-bolts act like mini screw-jacks. |
 |
| With the springs compressed and the front axle shifted, I'm just barely able to wrestle the track into place. In order to do this, I have to lean the whole robot against a chair, but this is actually really easy without the batteries in it. You'll notice that the middle wheel is gone. I remove both that and the back wheel, set the back wheel into the track, and then slide it into place on the axle. Once this is complete (as shown in the picture), getting the middle wheel in is a piece of cake. |
 |
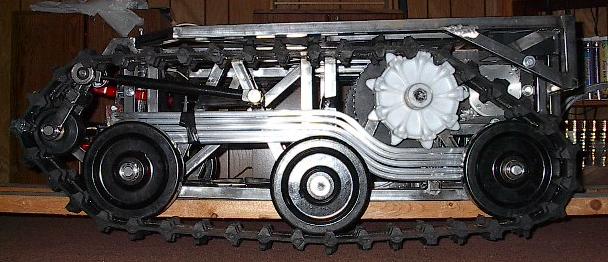
| Here I've added the middle wheel, tightened the U-bolts to bring the front axle back into alignment, heaved the track into shape using the big steel lever, pinned the springs into place, and eased the tension into the track. This was quite an ordeal, which is why I never had a free hand to pick up the camera with. This is one of the very few processes that I absolutely cannot do alone. Pinning the springs, for example, requires that someone haul on the lever while keeping weight on the nose of the robot so that it doesn't climb over its chock while someone else muscles the spring into place, sets the pin, and bolts everything into place. |
 |
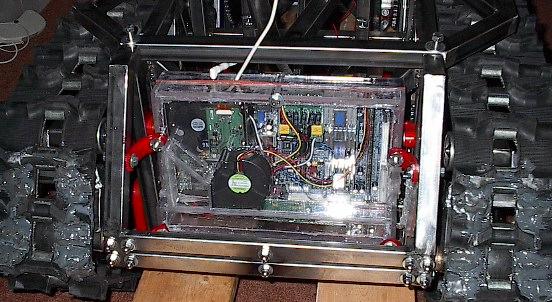
| Next, I moved on to shock-mounting the computer system. This is another step that I can do without having the speed controller yet. This is quite a bit of work, but nothing exciting. It's just hard to do because all of the bolts are in awkward places. In any case, here it is all hooked up. I've also rolled both track seams to the front for inspection and a small epoxy patch job on one of the pins. That's all I can do before the new controller gets here, so I'm going to bed. After a lot of phone-tag with NPC Robotics, I found out that they were out of stock, but decided not to tell me about it. Way not cool. They're shipping it out overnight tomorrow, so I should have it in two days. That gives me something like 28 hours to assemble and test it before I start presenting. |
 |
| End, Build day #47 (04.05.2005) |
| Progress: |
Installed track and computer system. |
| Time: |
8 hours |
| Total Time: |
318 hours |
| Next Steps: |
Install new speed controller, wire, mount batteries. Test. |
| Status: |
We'll make it, provided the controller gets here Thursday morning |
|