| This is, God willing, the prep work for the last dose of glue the track will be getting. Now that all the stainless steel stitches are set into the seams, I'm ready to go over it one more time with the flexible epoxy so that the steel won't damage floors or get caught in carpeting. After this, I just have to wrestle two steel clips out of my track scraps and clamp it onto these, and the track will be done. |
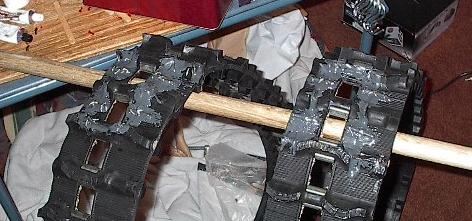 |
| Here it is with the glue coat on it. I saved some glue, just in case the worst happens, but I'm really hoping that I never have to work with snowmobile track again as long as I live. We'll know for sure just how well these measures hold up on Saturday -- I've scheduled a test, so we're finally going to get to see what this thing is capable of. If all goes well, I hope to get it up to top speed, and maybe even do some rough terrain, depending on weather. |
 |
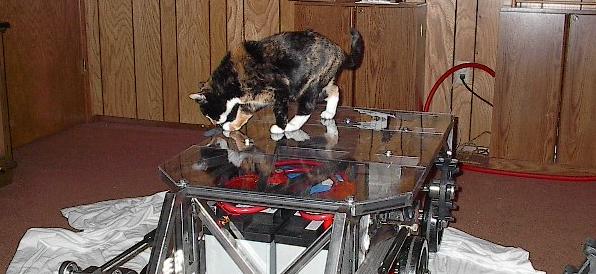
| Looks like we've got a passenger. She's not too comfortable walking on something that she can't see, but I'm sure this is nothing compared to the terror this thing will inspire in the cats once it gets rolling under its own power. |
 |
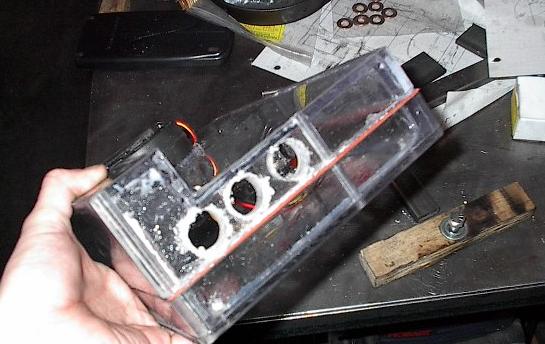
| Yesterday, I took some more stuff to school to do a bit more big hole drilling on the press. It seemed a shame to drill these three bigass holes in the box after I went to all the trouble to seal it, but they've got to be there or else there won't be any way for the air to get back in after I pump it out. |
 |
| I also did a number on this little sheet of Lexan. This will be the two brackets that join the flexible and rigid portions of the heat exchanger. |
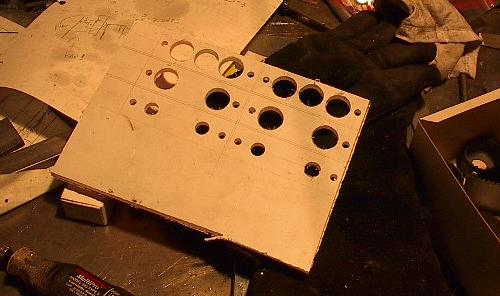 |
| A few minutes with the jigsaw and I've got these six little bits. It will take three to make each bracket. They should stack up to let the air flow from three pipes into five without restricting it too much. |
 |
| A few more minutes with a Dremel tool and I've got them all cleaned up and ready to be assembled. |
 |
| The left side of the exchanger will be linked with three really short little lengths of flexible tubing. However, getting them fitted up turned out to be quite a job, so I fitted them long and I'll cut them back later. |
 |
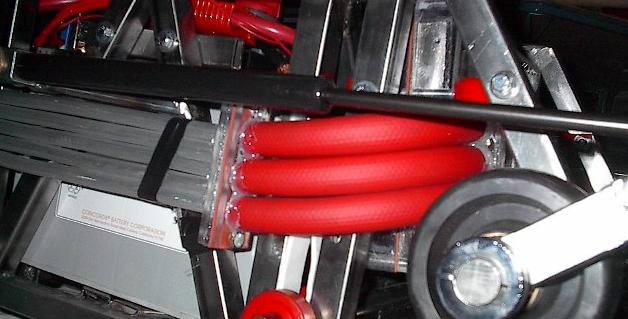
| And here it is after I trimmed it back. This should give just enough flex to allow for the shock mountings on the VIA enclosure. |
 |
| The right side will have a longer flexible portion. This because the diffuser on the pump is offset, and I need the extra slack to route the flow without causing too much drop in pressure. |
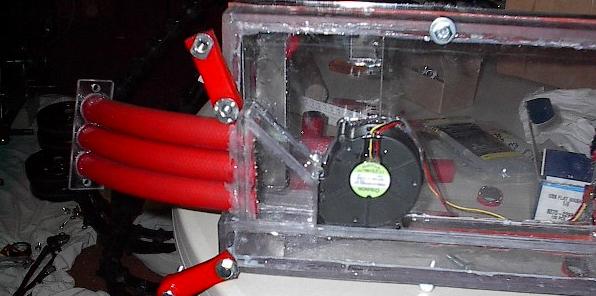 |
| Here it is attached to the rest of the system. Looks like everything lines up well enough. This whole system has been quite a pain -- assembling and disassembling it is a lot of work, and some of the glue joints are pretty ugly. Oh well, as long as it works. |
 |
| Another shot of the right side's heat exchanger coupling. It doesn't lay as flat to the side of the chassis as I wanted it too, but it should provide enough clearance so that it doesn't get in anything's way. |
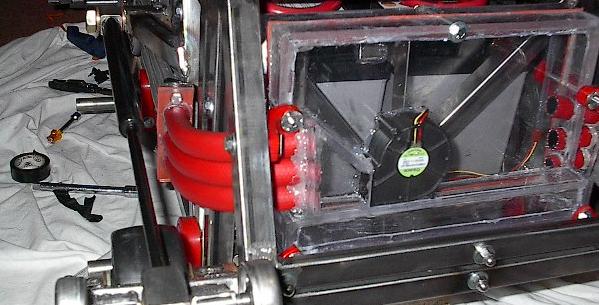 |
| The left side's coupling looks quite a bit different. Because the flexible portion of the exchanger is so much shorter, the aluminum tubing comes right up to the very front, and curves into the computer compartment. It looks alright, but getting this all to line up was a nightmare, and I'm not very happy with the final fit. It'll do in a pinch, and since I happen to be in one, I'll take it. |
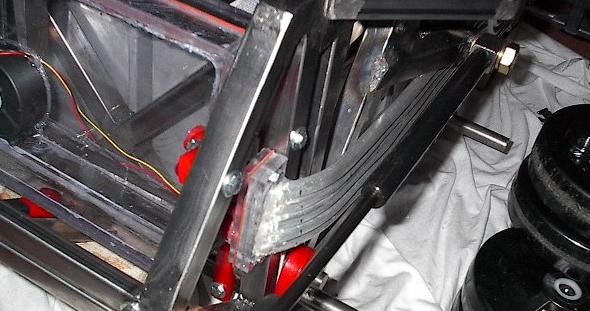 |
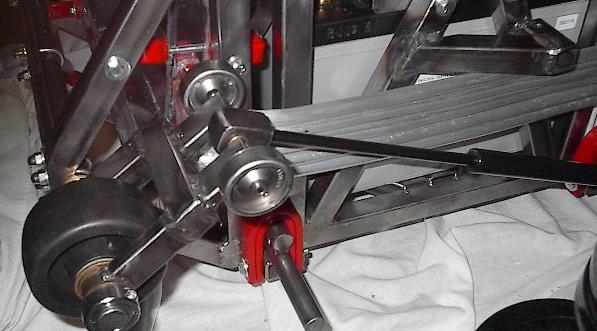
| The tensioner arm is able to pivot down to this angle before it clips the heat exchanger. I would, of course, like to have a little more leeway than this, but this will be enough. I've got more than 45 degrees of pivot, which should give enough travel to allow for two inches of compression on each axle's suspension. |
 |
| I designed and hastily built a device that I could use to hold the nitrogen springs compressed while I fitted the track, and it didn't work. Rather than take the time to tweak it until I got a satisfactory result, I've opted for the expedient solution -- I tossed it and used chain instead. It works a lot better than I thought it would. |
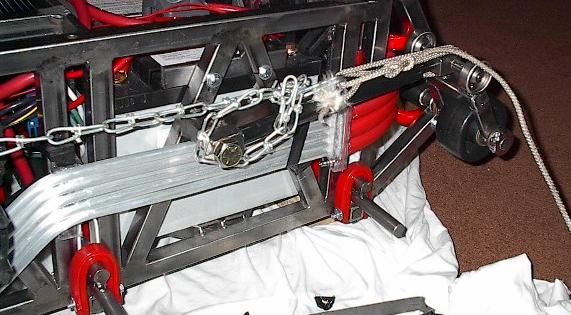 |
| The procedure for getting the track onto the wheels will go something like this: I will use that big lever arm and a chain to manually compress the nitrogen springs. I will then use rope and chains to bind them. Then, I will remove the pin that holds the spring to the chassis, and unbolt the front axle. The track will easily fit around the remaining four wheels. Then, I'll use long U-bolts like screw jacks to force the front axle and four inch wheels back into place within the track. I will then pin the spring back to the chassis. Again, using the lever, I'll manually take the tension off of the chain holding the springs. Finally, I'll remove the chain, and ease the tensioner into the track, locking it into place. It will be quite a chore, but hopefully I will not have to do it often. |
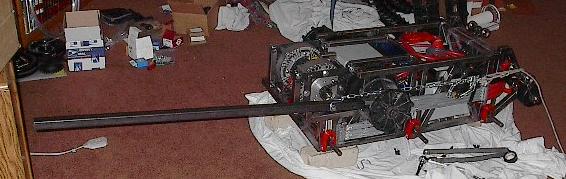 |
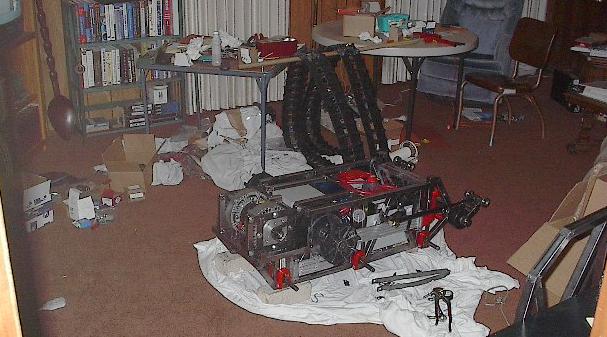
| Well, thus ends my second-to-last full build day. It may not look like it, but this things is almost done. I still, of course, have a lot of mess to clean up, and I'm sure testing will reveal a lot of work for the next few weeks, but after Thursday, the robot will be built. I'll be doing the first low-speed tests then, followed by a full scale testing extravaganza on Saturday. It should be exciting, if nothing else. |
 |