| Today, I'm going after the heat exchanger. First, in order to get good, consistent bends, I'm going to need to set up some jigs. This is a little one inch circle that I'll nail to some plywood as a bend radius. I'm going to need three of these and one eight inch curve. |
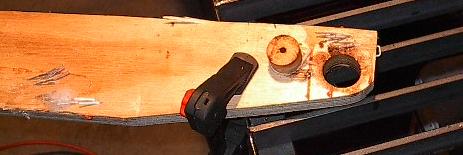 |
| I didn't take the time to cut an entire eight inch circle, just the portion of it that I was going to use. This is the first jig -- I'll bend a tube around these two curves, and align its ends with the horizontal lines. That should make the tubes for the sides of the heat exchanger. |
 |
| Well, this is my first test piece, and I learned a lot. First, and most importantly, all of the one-inch bends have got to go. The tubing just can't support that tight a corner without collapsing. Back to the drawing board. |
 |
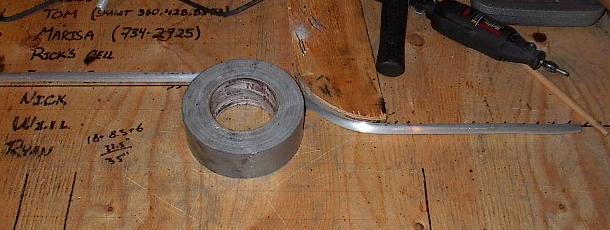
| I didn't want to actually take the time to make another jig part, so, I did what any good engineer would have done -- I nailed a roll of duct tape to the board to do the job. Actually, it worked perfectly. Here's the first tube, bent. |
 |
| I bent four more tubes in the same manner. Here's how they'll look on the side of the robot. Really, they look pretty sharp -- they have an almost hot-rod quality to them. |
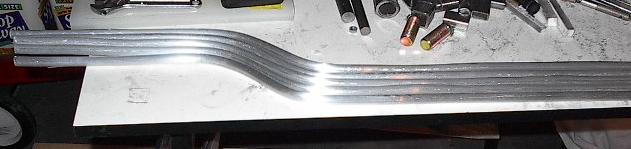 |
| Here are five more tubes for the other side. Really, the hard part in this process is getting them straight before I bend them. The bends all line up nice and smooth thanks to the jig. It's the straight parts that are a bit off here and there. |
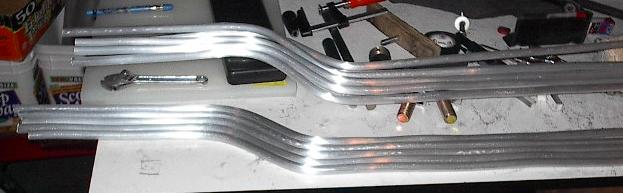 |
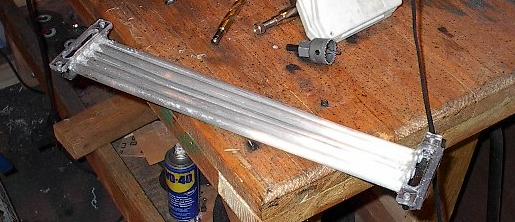
| Here is all of the aluminum tubing that I'll use in the heat exchanger. That is a lot of surface area, but if you read my final report, you know that I need every square inch of it. The latest addition, those five straight tubes, will pass through the aft chassis under the motors to join the two sides together. |
 |
| Now that I have the tubing, it's time to get to work on the fittings that will join them together. I really wish I'd just bought some compression fittings, but I didn't design my system around them and I don't think they make them for parallel flow in tight quarters, so now I've got to make my own from scratch. Oh well, here goes. |
 |
| Well, that didn't go so well. I guess I need to try something different. |
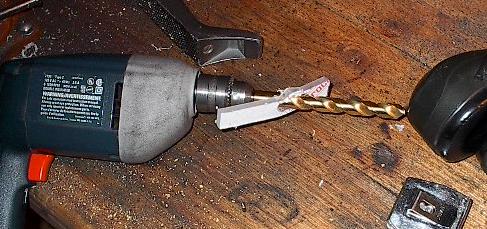 |
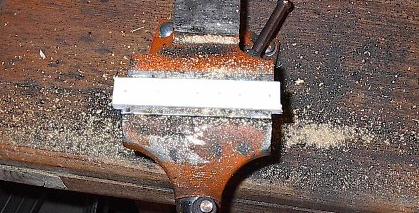
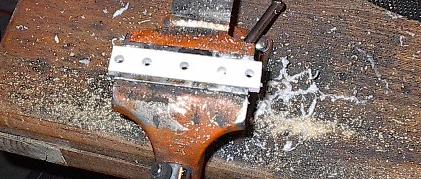
| I think I'll try to creep up on those holes a little more. Trying to drill five one half inch holes in that little piece of Lexan just tore it apart. Well, this worked, and I used the jigsaw to enlarge the holes to give me the cavity I needed, but the whole process is just taking too much time. I need to design fittings that I can manufacture quicker. I'm really running out of time on this project, and this just needs to get done. |
 |
| Rather than sit around trying to think of a better way to do things, I'm taking on another little project while I mull over how to approach my fitting problem. I'm finally getting around to cutting the Lexan panels for the top of the robot. These should keep people and water out of the robot when it's running. |
 |
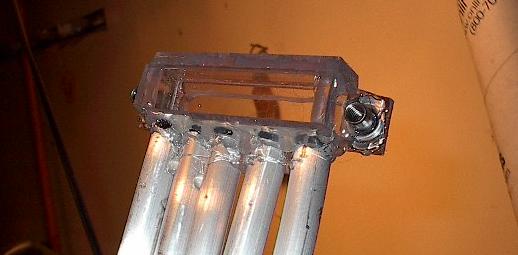
| After I had that Lexan cut and drilled, I took a shot at a new kind of fitting. These ones turned out quite a bit better, and here you can see them glued to some of the tubing. The joints aren't as strong as I would have liked and they're quite a pain to assemble, but I think they'll work in a pinch. |
 |
| This is a close up of one of the fittings. There's a whole lot of hot glue in there holding everything together, but they work. Right now, that's all I'm asking. |
 |
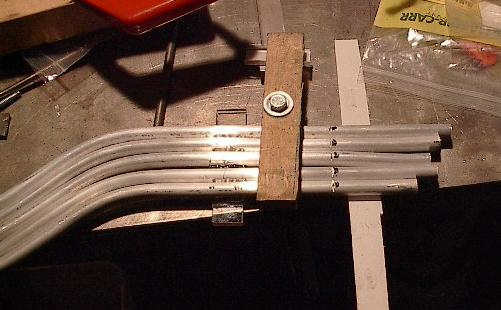
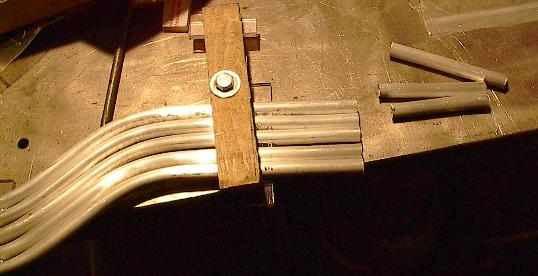
| In order to make the bent tubing seal to the fittings I've made, I first need to trim the ends. Because of the bends, the ends came out rather uneven, but I can take care of that with a few minutes and a hacksaw... |
 |
| ...like so. |
 |
| Now it's time to put it all together. I've put the robot up on blocks and taken the wheels off so that I can get to the side panels easily. |
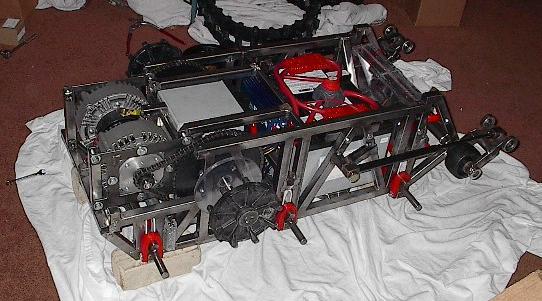 |
| The straight section of tubing passes under the motors, and the bent sections bolt to it under the drive wheels, as shown here. I've fitted the bent tubing with some backing plates to attach it to the chassis and some faceplates to attach to the fittings I made earlier. I also cut two gaskets to make a good seal. |
 |
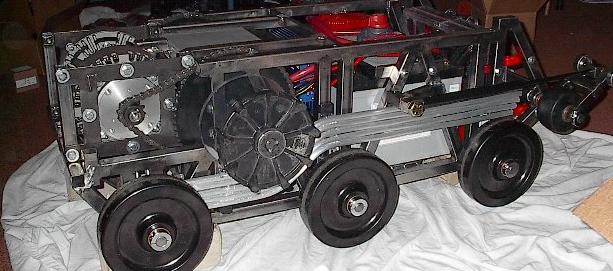
| Here I've put the wheels back on, and it looks like everything clears just fine. There's plenty of clearance between all of the running parts and the heat exchanger. Perfect. |
 |
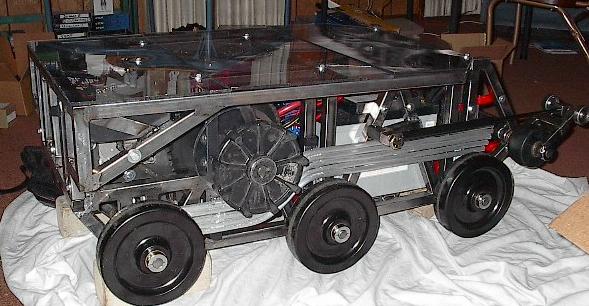
| Finally, I've bolted the top panel back on with the sheets of Lexan that I cut. Some of the bolt holes didn't line up quite right, but I eventually got everything fitting. I'll probably need a few more bolts to keep all the panels on good and tight, but this will work just fine for now. |
 |