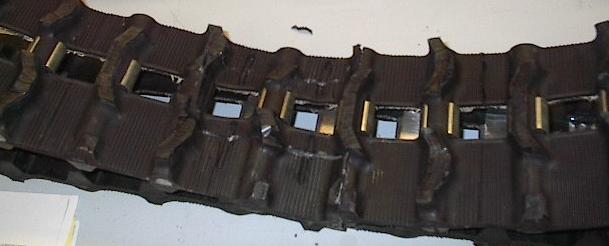
| Today I'm posting another combined report. Yesterday, at school, I did some track gluing. I saved the really important patches (the ones that hold the surface pins in place) for today so I could do it with what I knew was a good mixture. Last time, I had to use a somewhat inaccurate scale to mix the epoxy. Anyway, after the first few pictures we'll get to today's work. |
 |
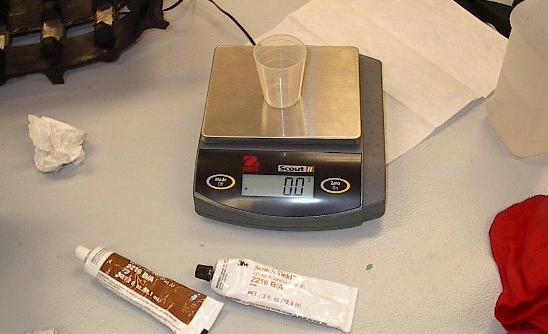
| This is the scale I'll be using to measure the epoxy this time. It should make for a much more accurate mixture, and is a lot nicer to use. |
 |
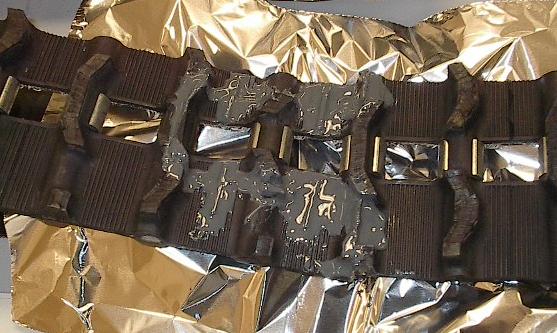
| I mixed up the flexible epoxy and got to gluing. I made a pretty big batch -- I'm essentially adding another layer to the track over the seam. This stuff has a pretty high coefficient of friction, so it should be just fine for the application. |
 |
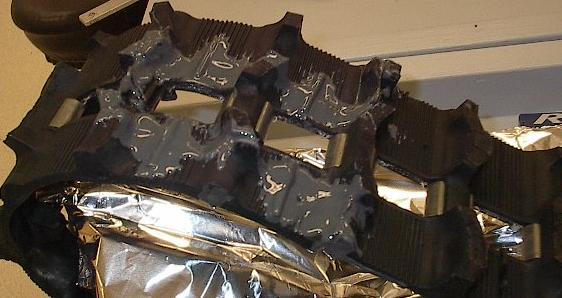
| Here's the other track. It's pretty much the same as the first. I'm going to leave these here for two days to cure before I take them home. This is where the work from yesterday ends (hence why I didn't give it a build report of its own). |
 |
| Today, I drilled a lot of holes. The first two were here, in the middle of the front chassis members. These are for a U-bolt, one of five that will support the front axle. |
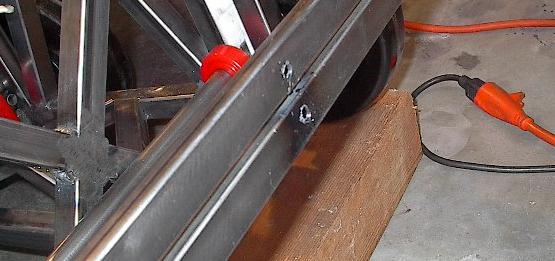 |
| Here's a back view of the above holes. The bottom one was pretty difficult because of the exit geometry. The hole had to pass through one wall of the front member, then the other, and then this angled piece. A few of the holes for the U-bolts have this same problem, and they're a real pain to drill. |
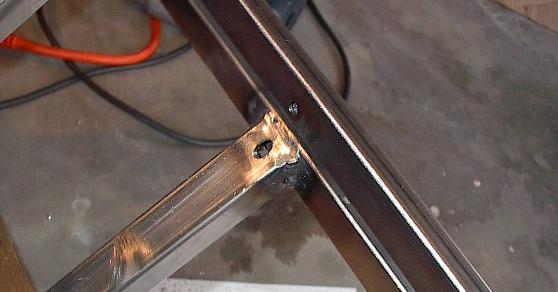 |
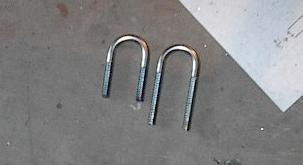
| Looks like the U-bolt is going to fit. Note, however, that it is way too long. They didn't have the length I needed, so I got these with the intention of cutting them down. This is a particularly important step because I'm using acorn nuts to hold them in place. |
 |
| Four more holes and I've got the first three U-bolts lined up. These four holes were the easiest -- they didn't have any angled steel to drill through. The next four holes were much more trouble. |
 |
| Here all five U-bolts are lined up. I broke two drill bits on the last four holes, but I finally got them all through. I'm really glad I bought acorn nuts for this -- I really like the way they ended up looking. |
 |
| Now I just have to cut all five U-bolts down to a useful length. I have to take off 12-14 threads of each bolt, shown here. |
 |
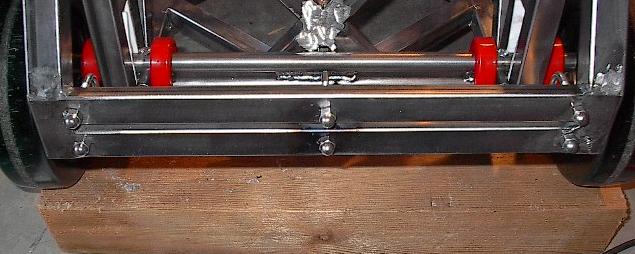
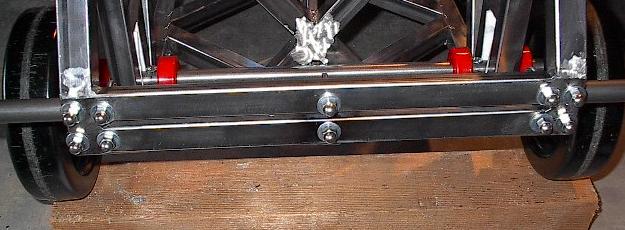
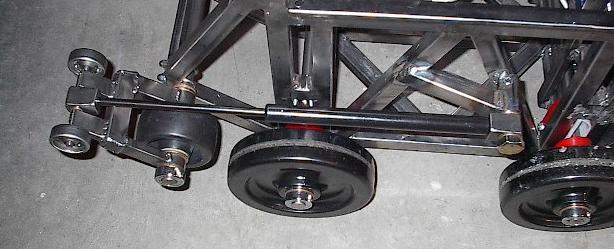
| I cut the U-bolts down, bolted the axle down, and assembled the tensioner arms. Each axle has quite a series of components to make it work. Starting from the side of the chassis, there's a 1/8 inch bushing, 1/16 inch bushing, shoulder bushing, the tensioner arm wide leg, a 3/32 inch bushing, the four inch wheel, another 3/32 inch bushing, the tensioner arm narrow leg, another shoulder bushing, and a clamp-on shaft collar. I threaded all of these components on each side to line up the axle just right, and then tightened down all the acorn nuts to make a nice, solid front axle assembly. |
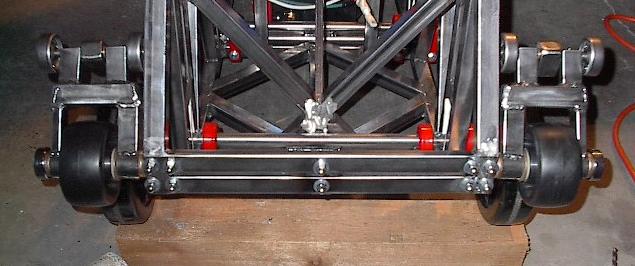 |
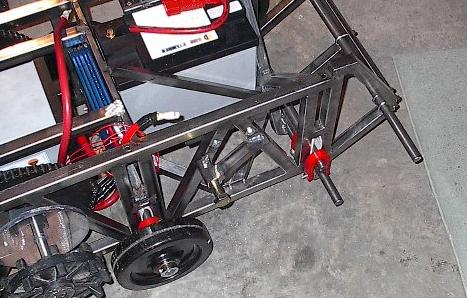
| For the first time, all of the wheels are on the chassis. You can finally get a really good idea of the final track profile. |
 |
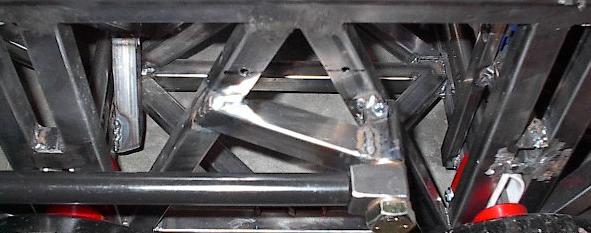
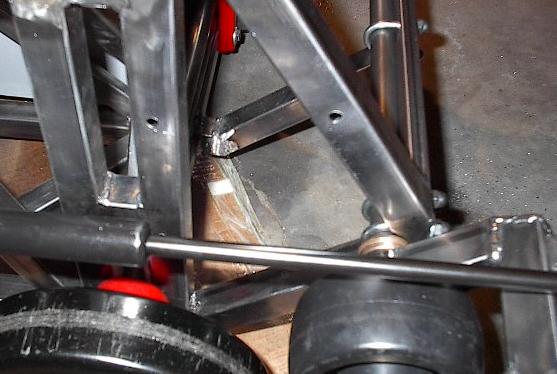
| Now that the front axle is assembled, it's time to get to work on the final mounting point for the nitrogen springs. This will be the primary part of it -- this is the two inch tube that I drilled out at school last week. It will hold the pin that holds the spring's end. |
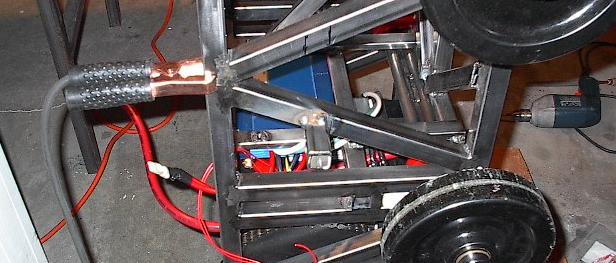 |
| For stability, I've added an angled support on the tube. This should support a lot of the load and keep everything aligned. |
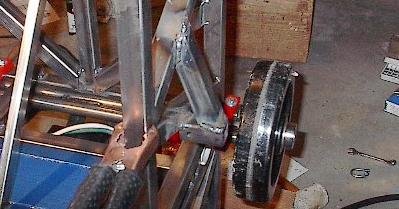 |
| With these done, the springs are finally ready to be mounted. I've been working on various components of this system for a long time, and here it is all put together. Of course, with the track on the tensioner arm will never reach out that far. |
 |
| Here I've drilled two more holes (though these pictures are starting to get a bit crowded, they may be a bit tough to spot). These will be the bolt holes for the front battery mounts. |
 |
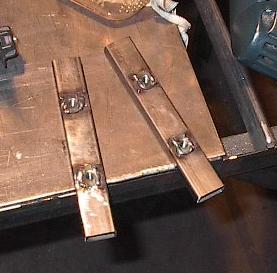
| And here is what will bolt into those holes. Nothing complicated here -- just two steel tubes that will bolt in along the top edge of the batteries to keep them in place in case I roll this thing. |
 |
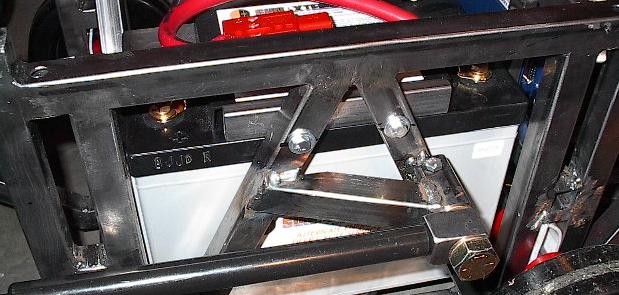
| Here's a battery mounted up using the above hardware. Like I said, this is a very simple solution, but it works. At this point in the project, you've probably noticed that my work has gotten a lot less pretty. I've been spending a lot less time with the brush wheel and grinder making every seam look all nice and neat. Now I'm just making things work. I'm way behind schedule and I still have a lot left to get done. |
 |
| One final thing that I have to get done today before I can call it quits is the drilling for the VIA enclosure. I should have done this earlier -- it would have saved me the trouble of removing all of the stuff I've already done. |
 |
| I drilled the holes and reassembled the tensioner system. As always, I would have liked to have gotten more done today than I did, but I'm going to have to turn in now. I got a lot done, so I'm feeling pretty good about today, but there's always more to do. |
 |