| Well, today I bought a new jigsaw. I'm up from 2.1 amps to 3.7, which is a nice little boost. After the crap the last one gave me, it's nice to have a saw that works the way it's supposed to. The remainder of the Lexan wheels went very smoothly. |
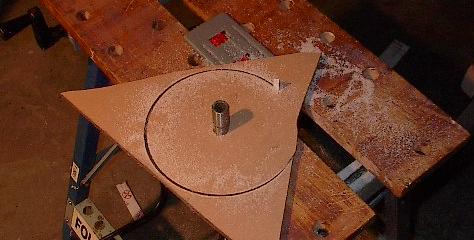 |
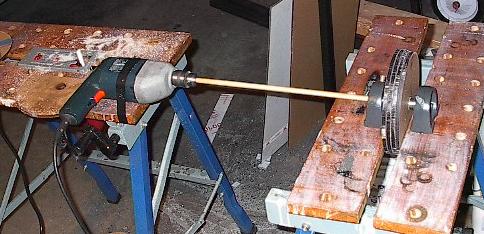
| After I cut the last of the Lexan circles, I was left with five of them. I'm only going to use four, but that's good, because one of the five is pretty badly out of round. None of them are perfect, of course, but that can be easily fixed when you have a rudimentary home-made lathe made out of a couple bearings and a drill. |
 |
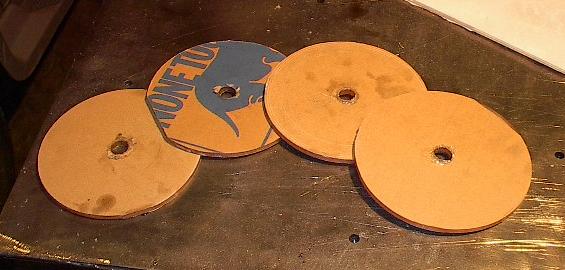
| There are the four circles. One of them has a flat spot, but I'm not too worried about it. They'll be doubled up to make two wheels, and I think I can smooth everything out with some glue. |
 |
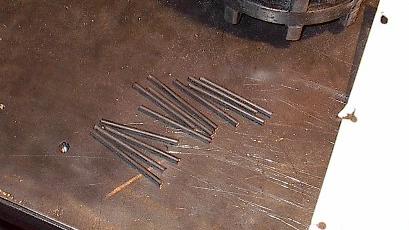
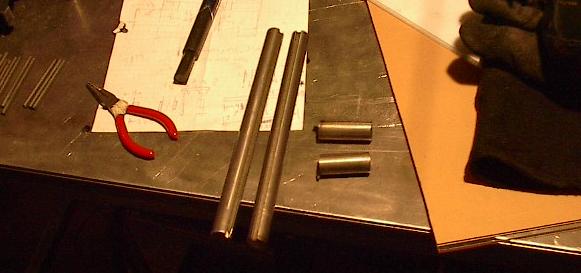
| What you're looking at now are 12 3" steel pegs, each 3/16 of an inch in diameter. I'll actually end up only using six, but when I was cutting them I was a bit more ambitious. These are going to essentially end up as keys in the interface between my round drive axles and the hex bore on the snowmobile sprockets. |
 |
| Speaking of the drive axles, they have to be cut to size now. For the final design, each one has to be 9.875 inches long, leaving over four inches of waste. That is kind of a shame when you think that I paid for this axle by the inch, but that's how things go sometimes. |
 |
| With all that stuff done, I set up each drive sprocket and axle aligned just as I wanted them, dropped in two pegs, and started hammering in a third. I was going to do six per axle, but they fit really tight, so I don't think there will be any problem if I leave it with three. That pin took a lot of hammering. |
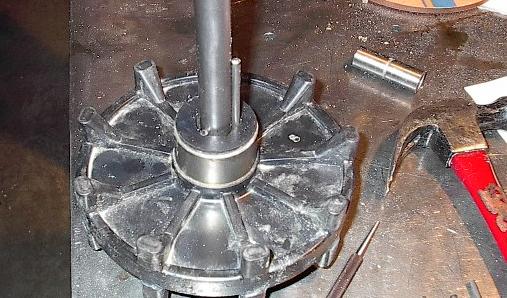 |
| After I was done with said hammering, it looked like this. It is a really solid assembly, even before I tack weld the pegs onto the shaft. |
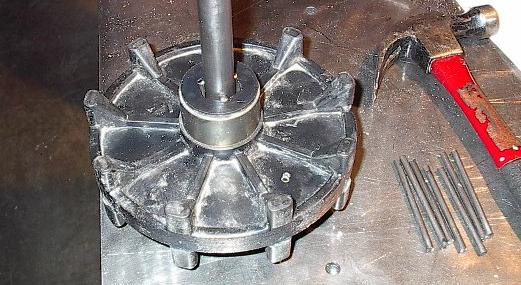 |
| Like most of the things I do, I had to do it again. There's a lot of repeating involved in building a fairly symmetrical machine such as this. Oh well, I went through a lot more hammering, and now I have two drive axles with mounted sprockets. |
 |
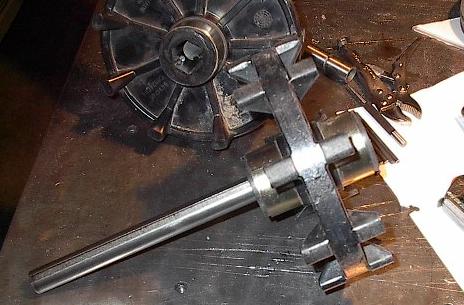
| There is a problem with this assembly, though. Not a new problem -- I knew about it ahead of time -- but something that needs to be dealt with nonetheless. See the hub on the drive sprockets? See how much it sticks out beyond the sprocket teeth themselves? That's got to go. The width of this robot has been optimized to allow it to fit through doors, and every spare sixteenth of an inch has been designed out of it. We're looking at three quarters of an inch of useless width on both sides here, and that's completely out of the question. |
 |
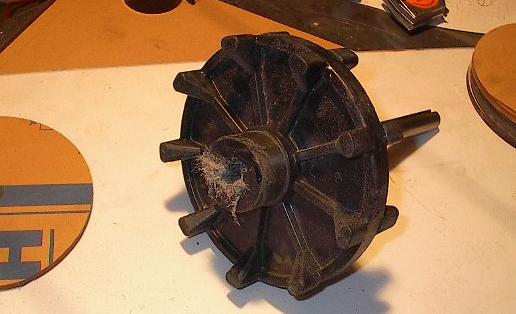
| So, in order to take care of this overhang, I took the hub to my grinder. It acted a little funny, but I think it's going to work. I'm not really sure what's going on with the fuzzy scrap that comes off of the grinder, but it doesn't appear to be hurting anything. I guess I'll just keep at it. |
 |
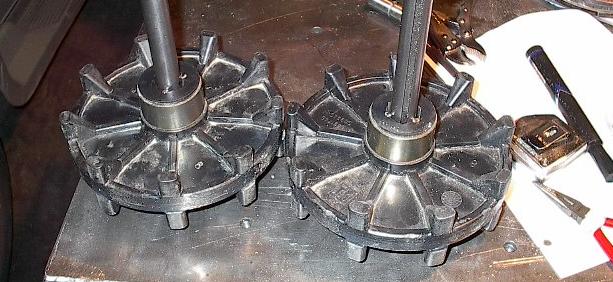
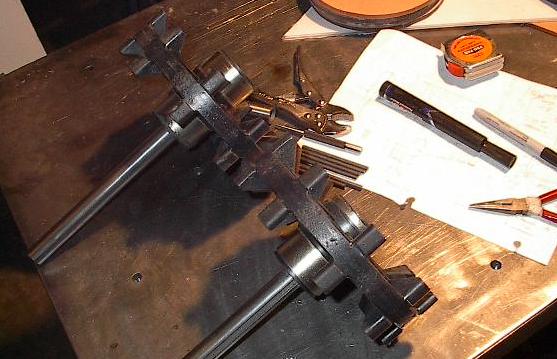
| Here's a comparison between a ground down hub and the one I haven't gotten to yet. You can see on the bottom axle how the hub doesn't reach beyond the teeth of the sprocket. Now I just have to do the same thing to the other axle. |
 |
| Here they are both done. This sure makes it look easy, but a lot of work went into each one of those. Keeping the face even while grinding down the wired plastic as well as the steel retaining ring was a beast of a job, and I had to do a lot of it. |
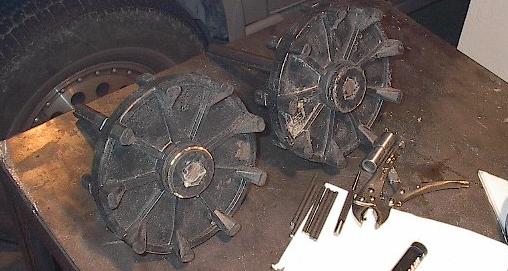 |
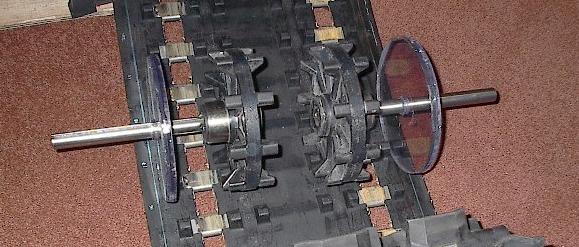
| This is a picture of the drive axles as they'll interface with the track. Since the last picture, I've tack welded the pins to the axle so they won't slip, I've taken the paper off the Lexan circles, and I've bonded the Lexan to the axles in the appropriate places to make this meshing possible. I also added a thin layer of adhesive to the surface of the Lexan wheels. This will serve to even out the surface, keep them aligned, and provide a better grip on the tread. |
 |
| Now that they're all build, it's time to mount the drive axles to the chassis. This is quite a bit more difficult with all the batteries and everything in there too, and it wasn't an easy job to start with, but I managed. |
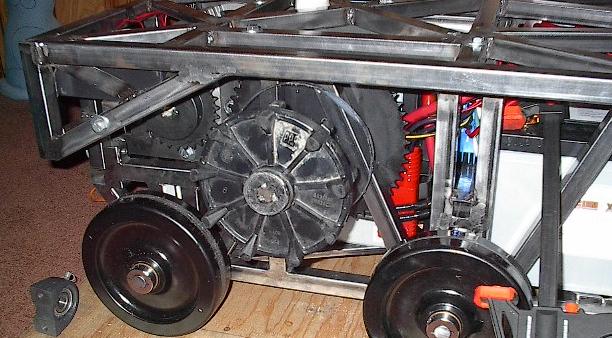 |
| There is a lot going on with these axles. Each one feeds through a bearing, the bigass 60 tooth sprockets, another bearing, the home-made Lexan wheels, and the snowmobile sprockets. That's a lot of stuff to line up just right. |
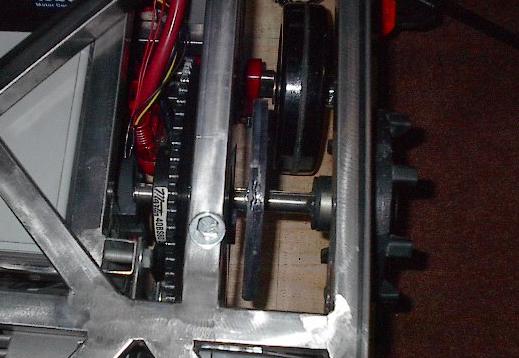 |
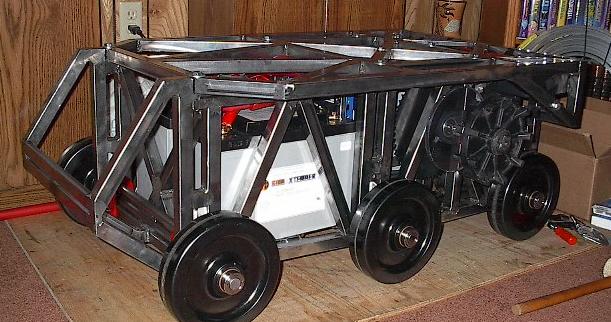
| I mounted up the other axle, and I'm done for the day. It took me longer than I thought it would, but I made my goal for the day -- I finished the drive axles. Tomorrow I hope to make the tensioner arm. Realistically, I'm gunning to have major progress by the end of the day, but I can always hope for completion. That'll finish up all the wheels that guide the track, at which point I get to start working on the track itself. |
 |