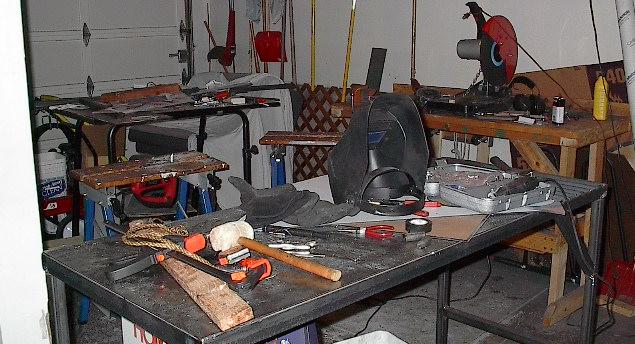
| I went to get started today, took a look around my shop, and decided that I was sick of working on table corners. If I want good surfaces to work on, this shop has to get cleaned up. |
 |
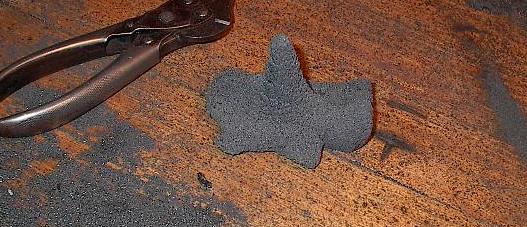
| As I was moving my chop saw, this fell out of it. It took me a minute to figure out just what it was. This is a build up of steel grit from right behind the blade. As I cut, it's been flinging partially melted steel grit against the underside of the work surface, where it's been building up in this little horizontal stalagmite thing. It must have finally gotten too big, because when I moved the saw it clunked onto the table. |
 |
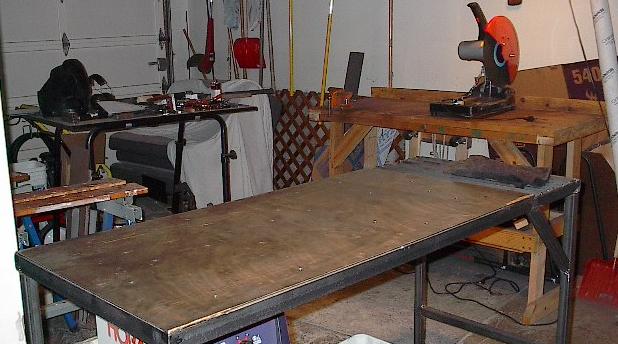
| That didn't take too long, and it made a huge difference. Now I have tables to work on. |
 |
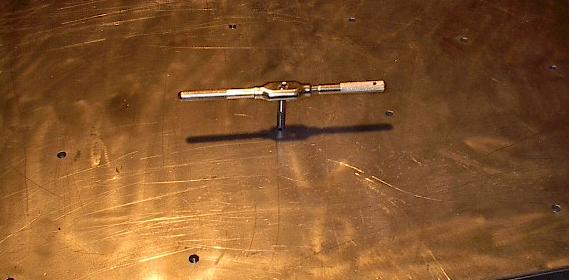
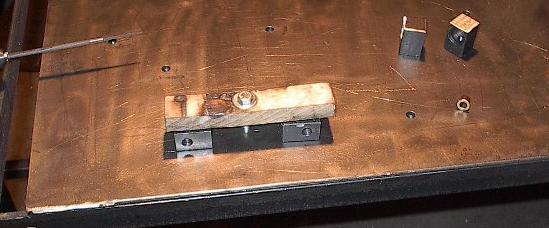
| As long as I had access to the whole table top, I figured I'd take the opportunity to clean out the weld nuts -- they've been getting awfully gritty lately. |
 |
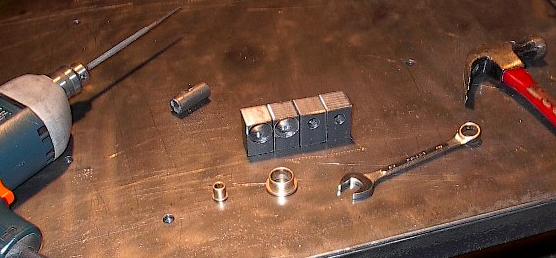
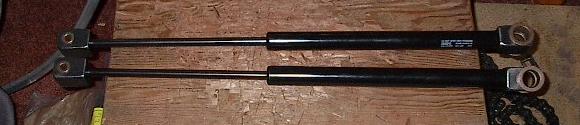
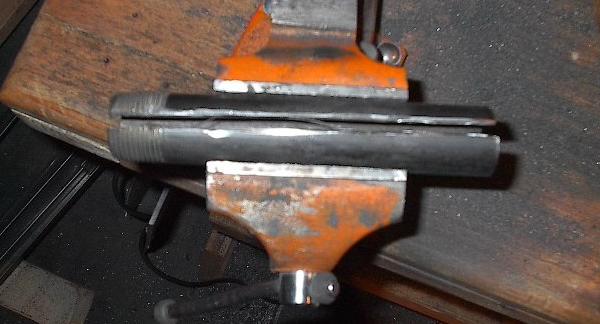
| Now it's time to actually get to work. First thing today, I'm enlarging the holes on the mounting blocks for the nitrogen springs. They were a little too tight on one side for the bushings to fit well. Fortunately, that isn't anything I can't fix with a rat-tail file and a drill. |
 |
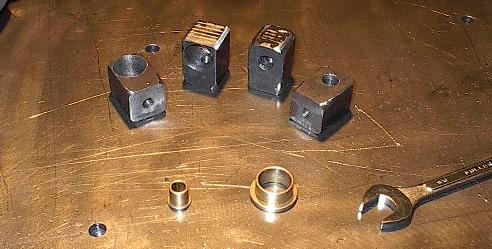
| They don't look any different, but these blocks finally have holes that fit the bushings just right. It's only a difference of a few thousandths, but they're important if everything's going to work. |
 |
| Now they actually do look a bit a different, but this was after a lot of work. I've taken each of these to the grinder and rounded off some corners and cleaned up the edges. This doesn't do too much of consequence, but I thought it was worth doing. I ground the saw marks flat, took the rough edges off, cleaned up the mill scale, and just made them look a little better. The only part of this that really made much of a difference were the corners around the top mounts -- this should make sure that the mounts don't hit the track. |
 |
| Finally, I ran a tap back through the threads to clean any grit out of them. I did a lot of grinding, so this seemed like a good idea. |
 |
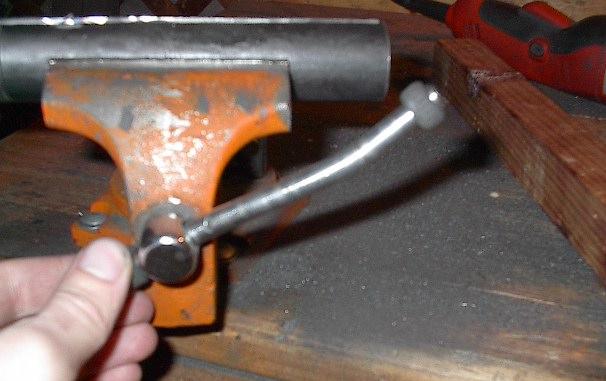
| And here they are all mounted up. All the bushings fit, the mounts are all cleaned up and rounded off, and everything threads up real nice. These are all done. |
 |
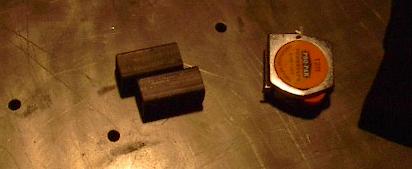
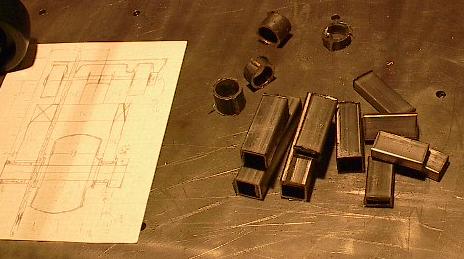
| Not much to show here -- these are two 2" chunks of steel that I need to take to school on Wednesday for drilling. These were cut from the remnants of the heaviest tubing I used in the robot, so they should hold the 3/4" pins that hold the springs. |
 |
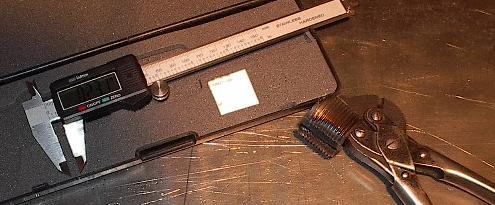
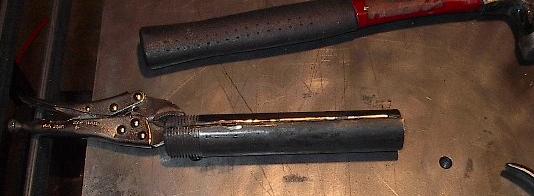
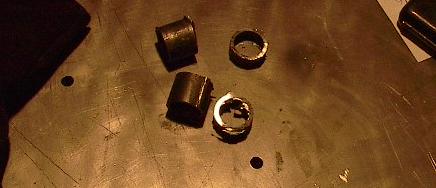
| It's kind of hard to tell from this picture, but in those pliers is a chunk of the threaded end of a pipe. I bought the pipe because it was the closest thing to a 1" inside diameter I could find in steel, but it's actually 1.08". To fix this, I need to cut a roughly 1/4" slot in it, clamp it shut, and weld it. That should give me the 1" I need. This test was to check just how wide a cut my grinder gave me -- looks like 0.231. That should do just fine -- I'll be able to widen it out no problem as I cut it. |
 |
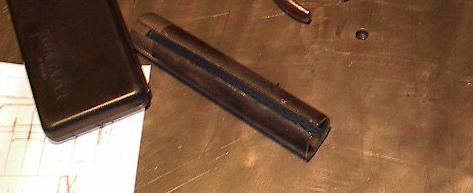
| Here's the rest of the pipe cut open. Now I just need to bend it shut and weld it back up again. No problem, right? |
 |
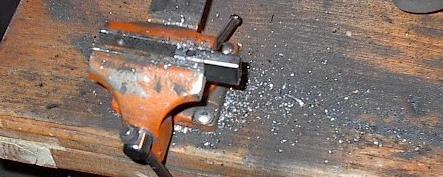
| The plan was to put it in the vice, like so, and torque down on it until the edges touched. After I had it welded, I could beat it back into round without too much trouble. At least that was the plan. |
 |
| It became apparent that said "plan" wasn't really going to pan out. This little vice clearly can't handle the kind of loads I need to compress the pipe. I bent the handle and it didn't even budge the thing. |
 |
| Fortunately for me, operation "wail on it with a hammer" was a complete success. |
 |
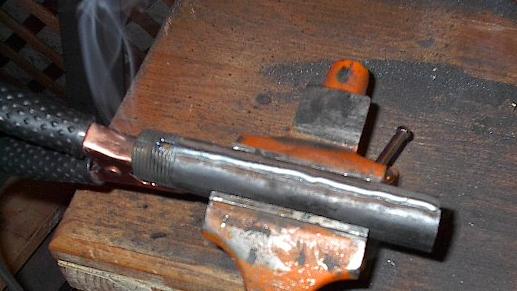
| Now that I had it beat into roughly the shape I wanted, I welded it. I wanted a nice consistent weld down the length, so I did this in one go. I usually weld up to about 2 or 3 inches at a time and then let it cool for a few seconds. This time, I just kept pushing the heat flux ahead of the torch, all the way from the right to the left. That's why you can see that smoke on the left -- it got so hot that all the dirt on the inside of the pipe that I couldn't clean off started smoking. |
 |
| I re-initiated operation "wail on it with a hammer" to get the pipe back into round and then cut these four slices off -- two one inch and two half inch. They are just a hair too small, so they'll be going to school for the drill as well. I should just be able to run a one inch drill bit through them and everything should be just fine. |
 |
| In addition to those little steel rings, I'm going to need these bits of square tubing to make the tensioner arms. I won't be able to fully assemble them today -- I'll have to wait until I've gotten the holes sized. |
 |
| Here I've cleaned up the pieces and laid them out in the configuration of the two tensioner arms. They're pretty simple structures, but there's a lot of alignment issues that I have to be careful with on these. |
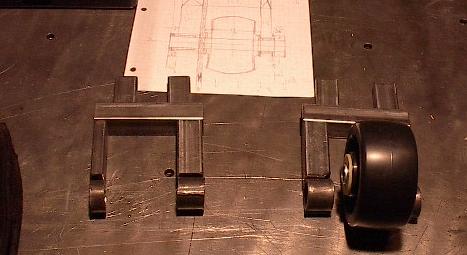 |
| The top two pieces of each tensioner arm need to be drilled to accommodate a 5/16 inch axle for the small skate wheels. Keeping these in line turned out to be really difficult, but that's not really a big deal -- if they come out crooked, I'll just weld the steel on crooked, and the axle will come out just right. |
 |
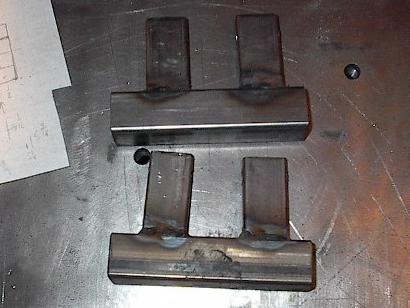
| After I drilled the four pieces of steel, I lined everything up and welded them. This is where I'm going call it quits tonight. It's late, and I can't finish until I've drilled the 1 inch mounts. More later. |
 |