|
Build Log, Day 28 (02.27.2005)
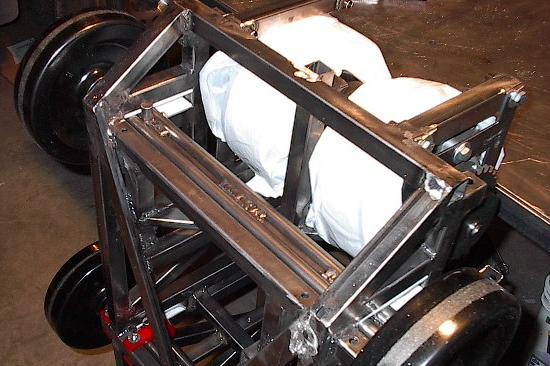
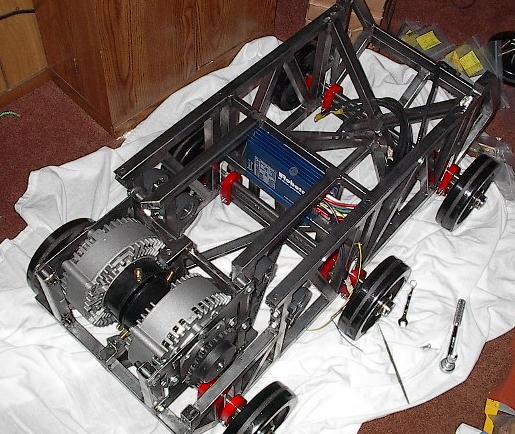
| Today is the last build day before I take what I have in for a progress report for my Senior Design class. Before I do, I have to finish up the last few little things on the chassis that need doing, the first of which is pictured here. During my finite element analysis, I found that the chassis needed one more member to be structurally sound with a safety factor of two. Well, it's still missing that member. I don't remember why I didn't put it in right away, but if I don't do it now, suspending the back axle will get more complicated, so I might as well get to work. I've covered up the motors with some plastic sheeting -- this will hopefully keep any contaminants from getting into the windings. |
 |
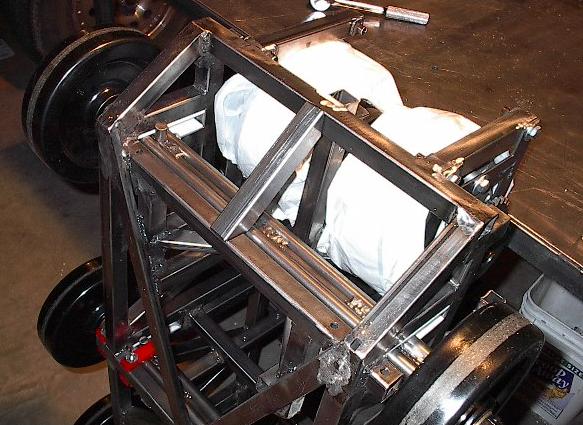
| A few quick cuts with the chop saw (which, due to some small miracle, still actually works) and I've got a chunk of steel into rough shape for the back support. |
 |
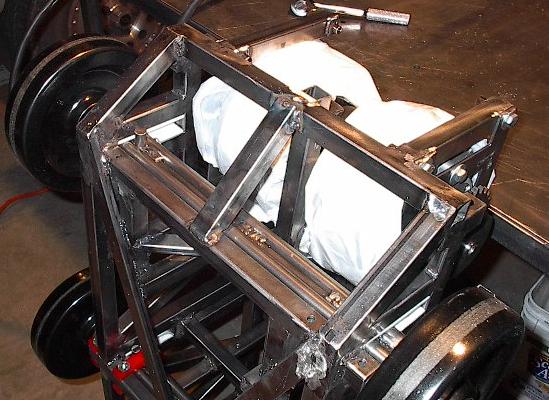
A little time with the welder and everything is nice and in place. The welds went really well -- I won't even need to grind the bottom one down, which is nice. Now that joint will be nice, strong, and rounded. That should be perfect in case I ever bottom out here.
 |
| Now that the chassis has been touched up, it's time to work on the six volt battery mounts. It turned out that I wasn't going to have the room to mount them under the motors like I'd planned, so I'm going to stow them here -- under the top panel. There is just barely enough room -- the steel strap that will hold the batteries in place will pass within an eighth of an inch of the 30 tooth sprockets, but I don't think they'll actually cause any problems. |
 |
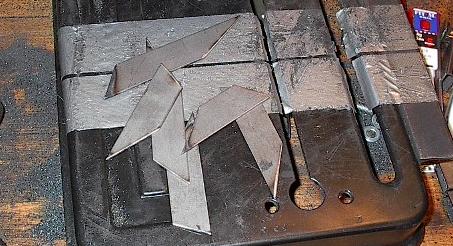
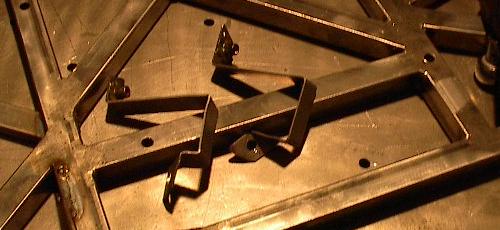
| These six little scraps of steel may not look like much, but they're going to make up the majority of the battery mounts. They'll get welded into the top panel to keep the six volt batteries in line. |
 |
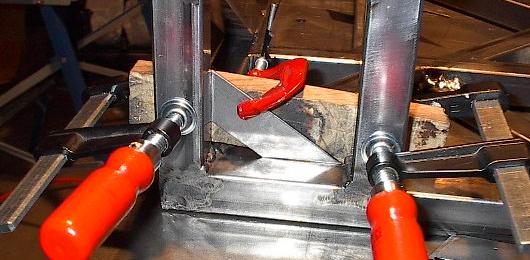
| Here's one clamped into place. It's right in plane with the square tube walls, meaning that it doesn't actually take up any more space than the frame itself. However, it should provide a much more stable surface for the battery to rest against. |
 |
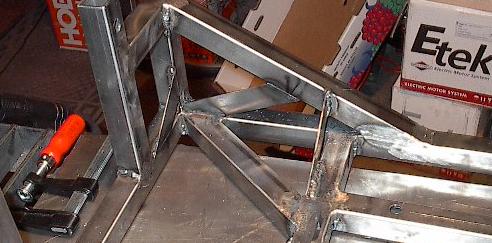
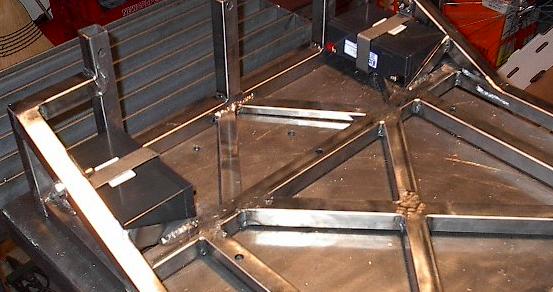
| Here's three pieces welded into the first side. The battery will slide right into that little compartment, held into place with a steel strap (making that is going to be the hard part). |
 |
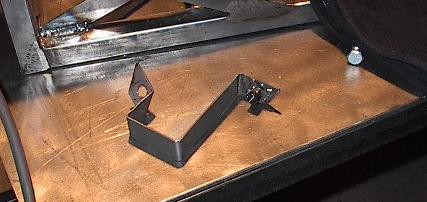
| Speaking of a lot of work, here it is all done. This log sure makes things look easy. Actually, to manufacture this strange looking little part I had to bend an angle, line it up, bolt it in, mark the next angle, and repeat. All that with hole drilling, grinding, and brushing interstitials. It took quite a while. |
 |
| Here it is in action. This battery is all mounted up and solidly bolted into place. This looks like it should work just fine. |
 |
| A bunch more work, and now I have two straps. A final fit check and I should finally be ready to head inside for assembly. That took a lot longer than I thought it would. |
 |
| Here they both are all mounted up. Looking pretty good. I'm not especially happy with how closely the strap fits along all points, but I was in a hurry. This should be good enough. |
 |
| Now I'm all done with garage stuff, and it's back inside for more work. Here, I've added four bungies to the back axle. I put this off until now because I was afraid I'd melt the polyurethane if I welded with these on. |
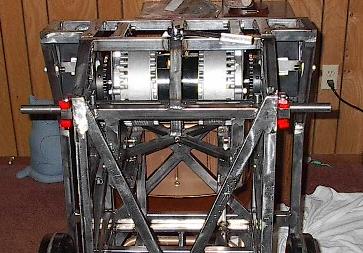 |
| A bit more work, and the back axle was suspended. All the polyurethane straps are mounted up and working well. Looks like all that time I spend in design tuning this suspension paid off, even if I wasn't able to implement it according to plan. |
 |
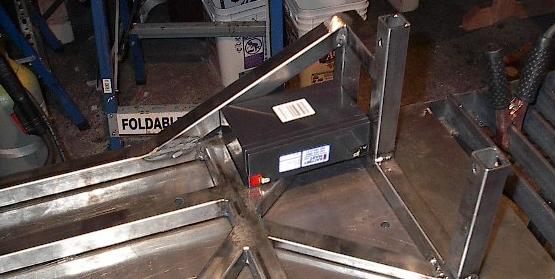
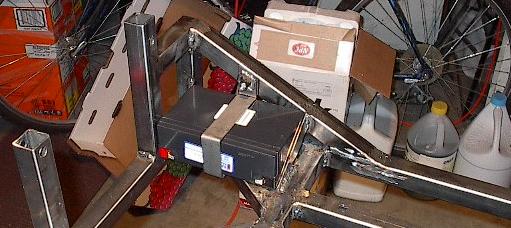
| Now it's time to put it together so it's all ready to go tomorrow. It has to go in a very specific order, otherwise not everything is going to fit. First, we bolt in the speed controller, like so. We have to do this before the batteries go in, or it won't fit in. |
 |
| Then the big batteries go in, one at a time. This is a picture of the battery mount I made for the aft battery about a week ago. I couldn't really get a good shot of it with the drive train in place, but now I can. First the batteries go in, then this mount, and then the wiring. Any other order, and I wouldn't be able to bolt the connector to these two weld nuts on the battery mount, and then they'd get tangled up with the drive train. |
 |
| Then, we wire everything. This is not as easy as it sounds. That's mostly 1/0 wire, which is somewhat similar to a garden hose full of metal. It is difficult to bend under the best of circumstances, let alone in these kinds of close quarters. |
 |
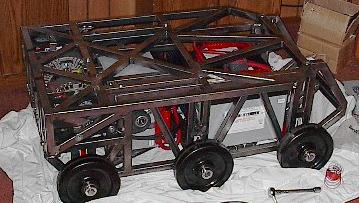
| Then, with everything in place, we're ready to put the lid on. For once, it is actually as easy as it sounds. Drop it on, screw in ten bolts. Looks pretty good. |
 |
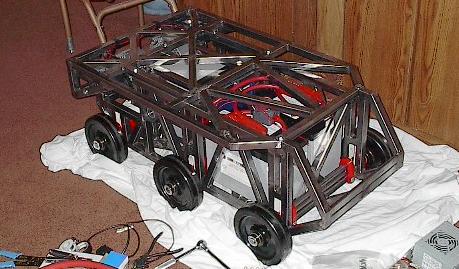
| Finally, I addressed one final little concern that I just haven't gotten around to until now -- the 12V wiring. I cut up some lengths of 18-gauge wire, soldered the relevant joints, and taped everything up. There it all is, all contained in a single, nice, neat little robot package. It's all ready to be loaded into the car and driven to school. |
 |
| End, Build day #28 (02.27.2005) |
| Progress: |
Added final chassis member, mounted and wired 6V batteries, finished suspension, assembled, tested. |
| Time: |
10 hours |
| Total Time: |
168 hours |
| Next Steps: |
Give progress report. Finish VIA enclosure. Drive axles, drive wheels, drive train, front axle, front wheels, tensioner, spring mounts, track. |
| Status: |
Behind schedule, four days |
|