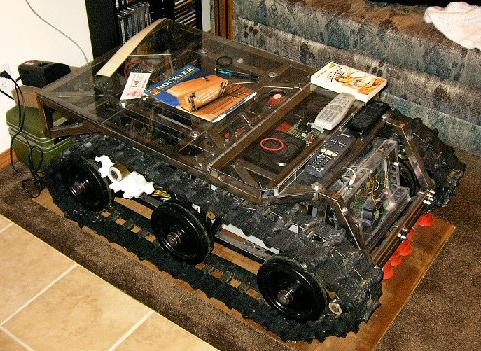
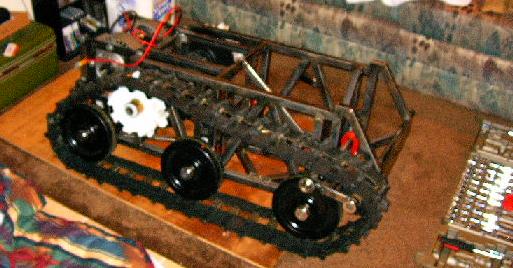
| Oh my goodness has it been a long time! Since my last report (my God, has it really been nine months?), I've moved to Bothell, WA, I've gotten a job, and I've even gotten in a little robot work. Here, at my new pad, the robot makes a fantastic coffee table to put my feet up on after a long day's work. However, my new job puts new tools at my disposal, which means new robot projects. First up, I'm going after my rust problem. |
 |
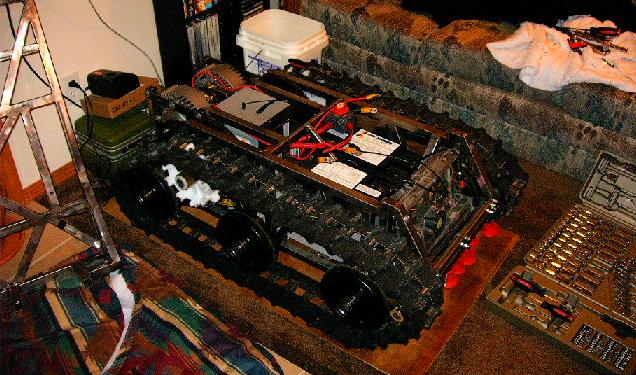
| In order to get at the rust, though, first I must completely take this thing apart. For the record, this has never happened before. I've never totally stripped the robot down to its bare steel since the first time I put it together. Before I'm done, I'll have to cut a bolt out (I'm still not sure how I got it in), but I'm getting ahead of myself. First, the lid comes off. |
 |
| Then out come the speed controllers and front batteries (the easy ones). |
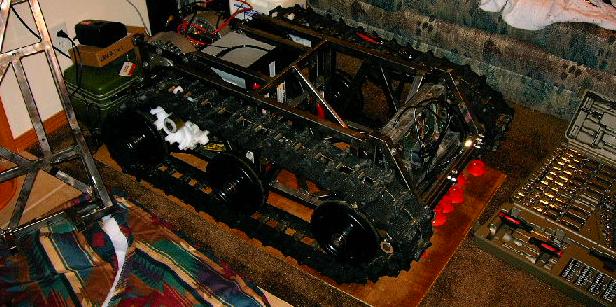 |
| Then the back battery. This one has always been a pain, but I've gotten pretty good at it with all the practice. |
 |
| Next, the computer system and one track. This is another pain. Come to think of it, a lot of this disassembly is a pain. I guess that's what keeps it from falling apart, so we'll call it a good thing. |
 |
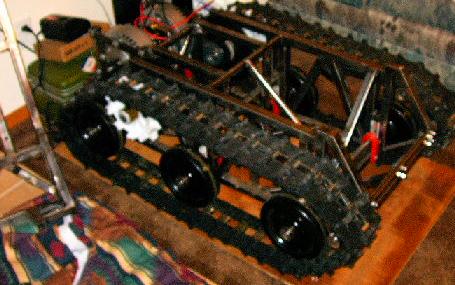
| And the other track comes off. |
 |
| Then I had to take the drive-train off. This is yet another job that's a whole lot of work. The set screws mar the shaft where they hold the sprocket in place, and the burrs they raise make slipping the parts off go about as well as pulling teeth. I'm not sure what the solution is, but I do know that set-screws suck. |
 |
| Next, the motors and wiring had to come out. This might have been done once before, but I try to avoid it when possible. The motors are solidly wedged between chassis tubes, making it an ordeal to remove. |
 |
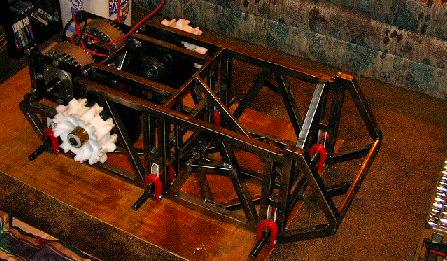
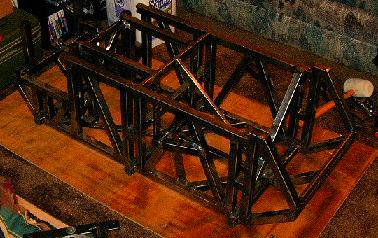
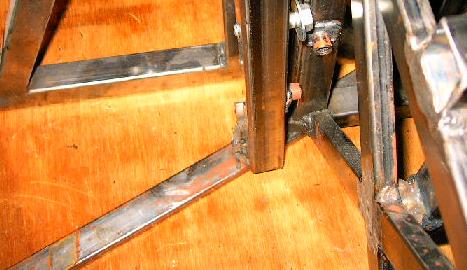
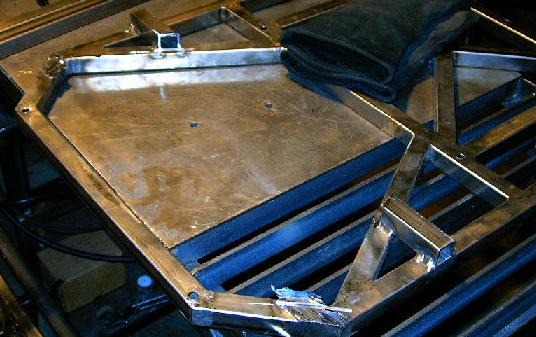
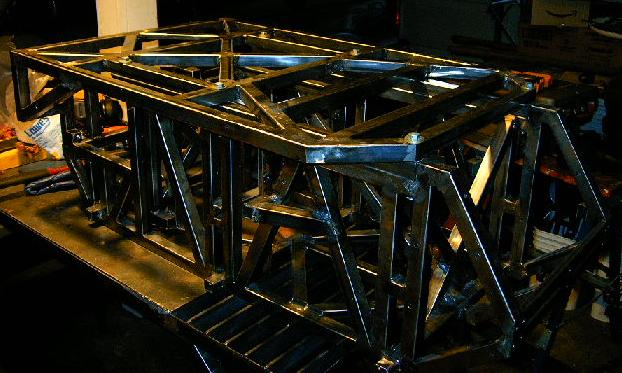
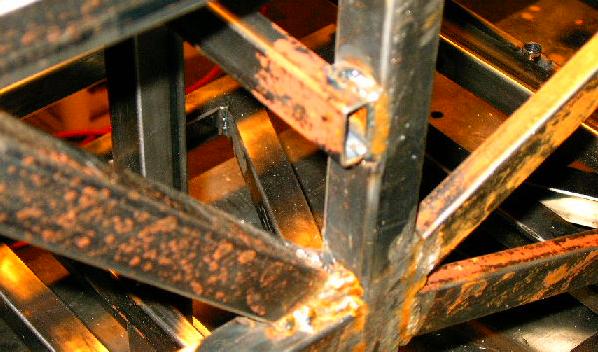
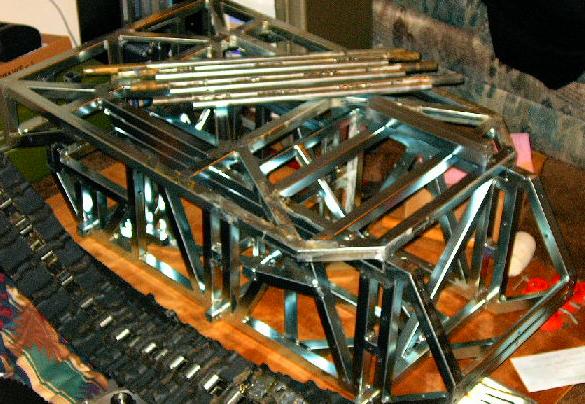
| Finally, the suspension comes off. This is one part that I'm sure has never done before. Disassembly wasn't too bad, but I'm honestly not sure how I'm going to get it back together. I'll burn that bridge when I get to it. Take note of the color of this steel, by the way. By the end of this report, it will look very, very different. |
 |
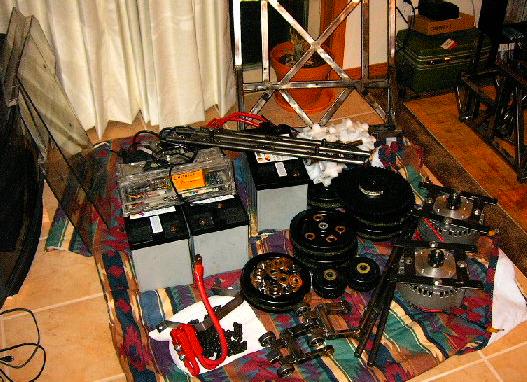
| And here's everything that came out of the chassis. It sort of reminds me of my old pile-o-parts before it went together in the beginning. |
 |
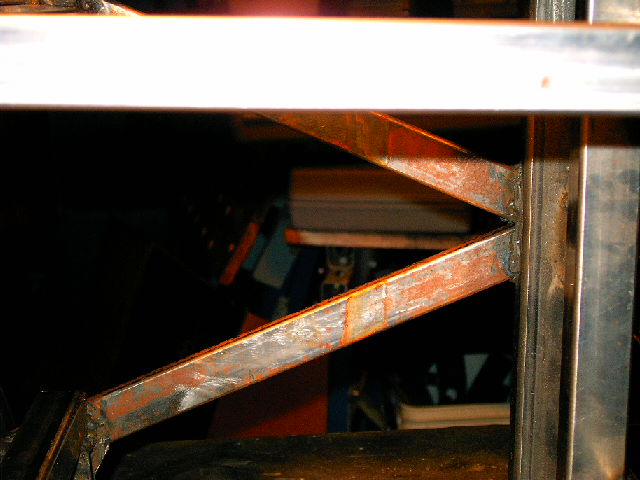
| And here's the reason I'm going through all this. There's rust everywhere and it just keeps getting worse. |
 |
| Oh yeah, that's what I'm talking about. This is what you get when you don't do anything to protect bare steel. |
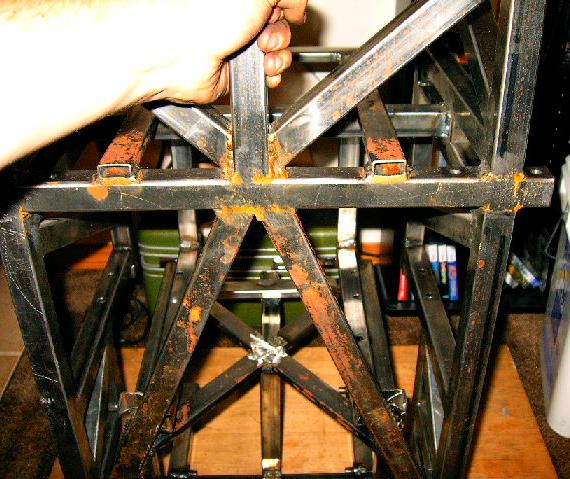 |
| And even more rust. It's everywhere, not just the bottom skids. You can also see here the bolt I can't get out. The head just runs into another part of the chassis. It simply doesn't fit. I have no idea how I got it in there, but I got it out with a grinder. |
 |
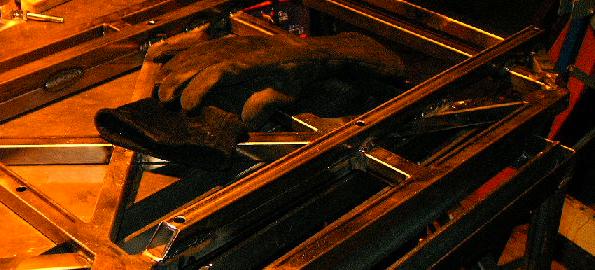
| Here's another thing that needs work. After the chassis is coated I won't be able to do any more welding or grinding without compromising the protection, so I'm going after everything now. These little steel straps used to hold my 6V batteries in place, and I don't use them anymore. Time for them to go. |
 |
| I just went after the steel with a grinder. It isn't pretty, but it got the job done. |
 |
| ...but however bad the grinds look, the bits I cut off look even worse. |
 |
| "Cleaned up" is a relative term, but that's my story and I'm sticking to it. I cleaned up the cuts I made with the grinder and got everything more-or-less flat. I didn't worry too much about surface-finish here -- this part isn't really visible under almost any circumstances. |
 |
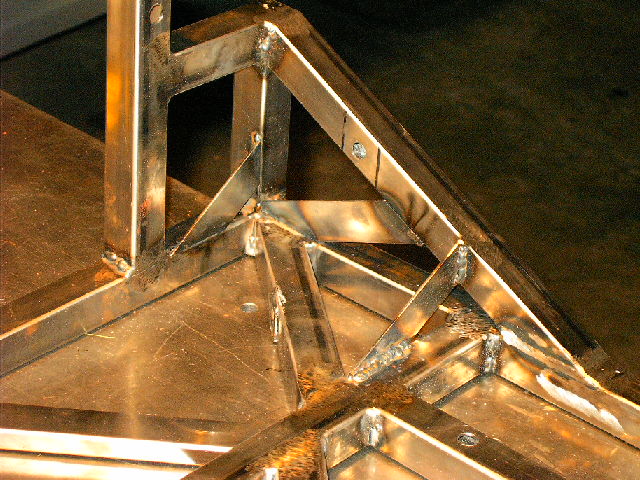
| I'm also doing away with the raised step I made for the speed controller fans. These are the best, strongest welds on the entire robot, and I've got to cut them apart. Good times. |
 |
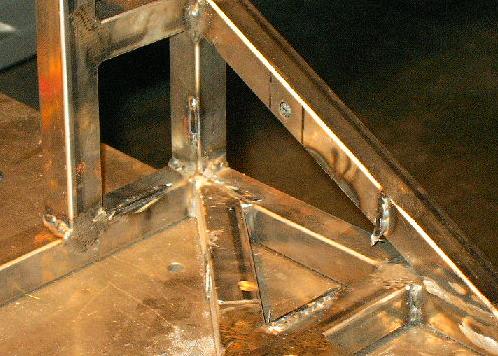
| First, I made a precise incision. |
 |
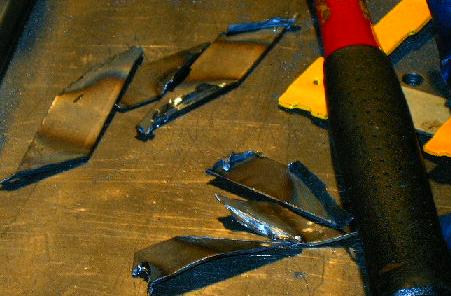
| Then, I beat on it with a hammer until the remaining weld broke free. Ummm... I mean... precision beat on it with a hammer. |
 |
| More grinding, more cutting, and more hammer-beating and I've got most of the offending members removed. |
 |
| Those last bits were a lot of work, but I finally got everything taken care of. I'm all done removing steel, now it's time to put some back on. |
 |
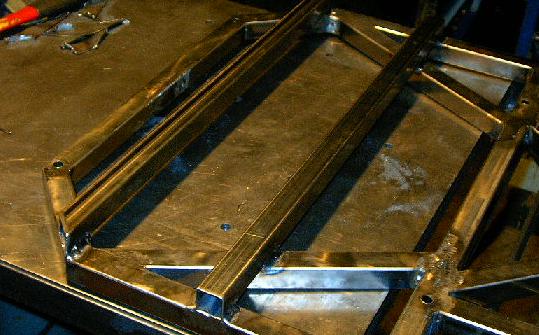
| Here's two pieces welded back in, roughly in the same place as the old ones. But doing this and raising the top panel an inch, I'm able to fully protect all my components and keep the top totally flat. |
 |
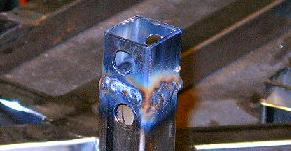
| Have I mentioned how much better I am at welding now? This still isn't great, but it's starting to look like what real welds should look like. |
 |
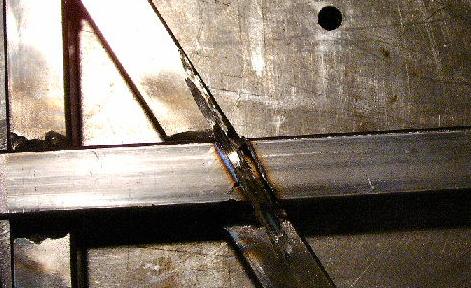
| Of course, by raising the top an inch, I have to lengthen the struts in the back by an inch as well. This is a pain in the butt. I had to cut one-inch long little bits of tube and weld them all around the existing tubing like so. |
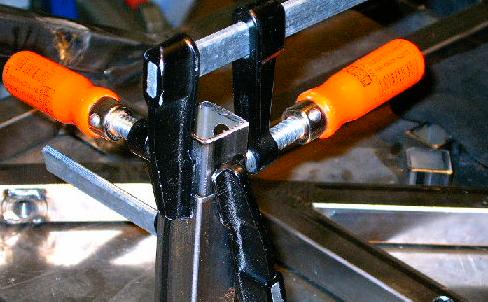 |
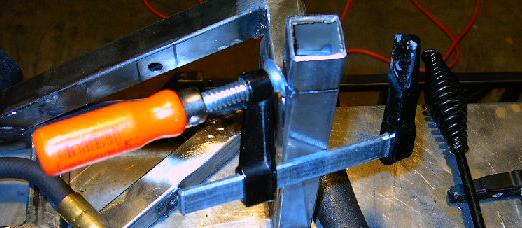
| First I tacked the corners of the tube, then I rescued the clamps, then I finished up the welds. |
 |
| Not pretty. |
 |
| Once, I accidentally welded the clamp to the robot. Woops. |
 |
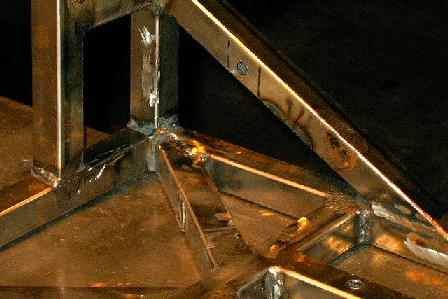
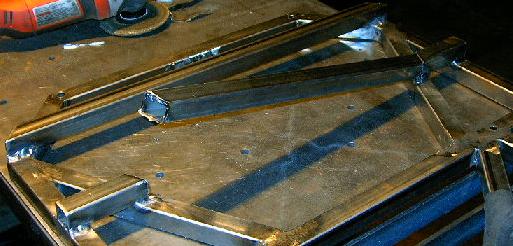
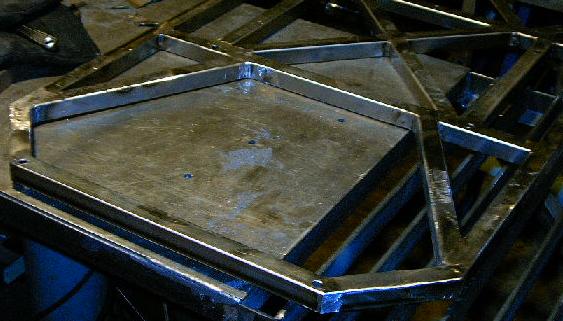
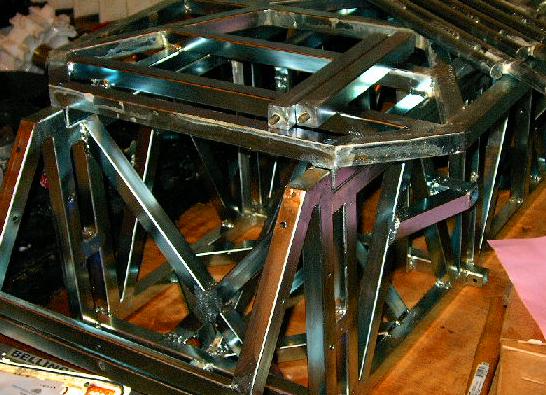
| With all of that taken care of, I've got the top ready to line with its new risers. I'm welding tubes underneath the top panel to jack it up the necessary inch to make everything work out. I bolted it together before I welded to ensure that the bolt-holes lined up. |
 |
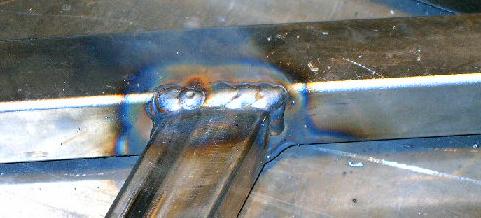
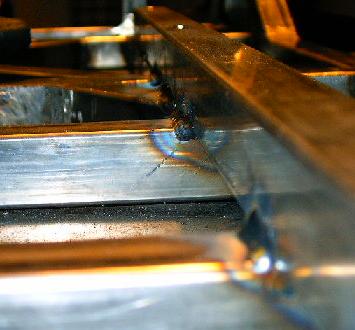
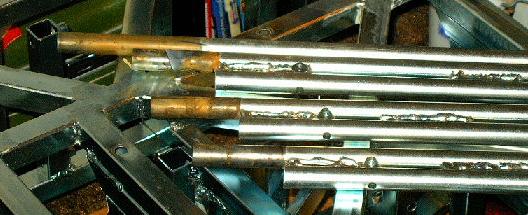
| Then I took it all apart and just welded the crap out of it. These will add a lot of stiffness and there's a lot of space for good strong fillet welds. |
 |
| Just look at all of the molten-steel-y goodness. |
 |
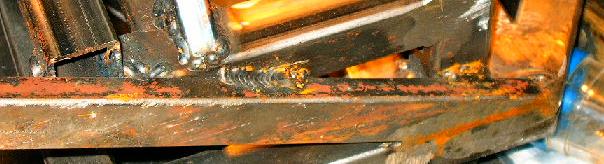
| With everything ready to go, I took a few more snapshots of the rust situation. It was particularly bad under the aft battery. |
 |
| And another shot of the underbelly. This steel got badly scratched on curbs and stairs and the picked up a lot of wet grass driving in the lawn. Not a good combination for un-treated steel. |
 |
| Even more here at a back corner. |
 |
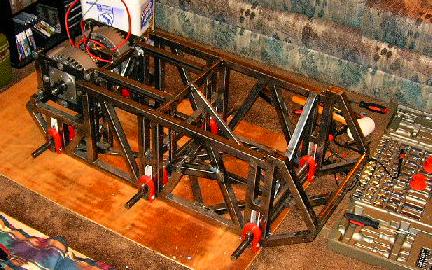
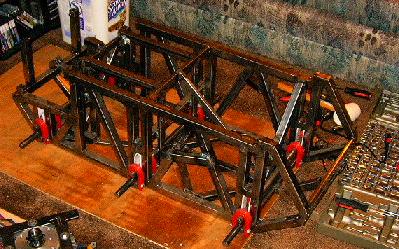
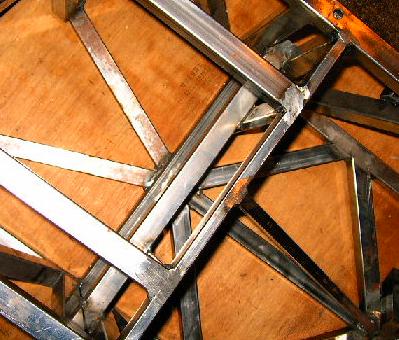
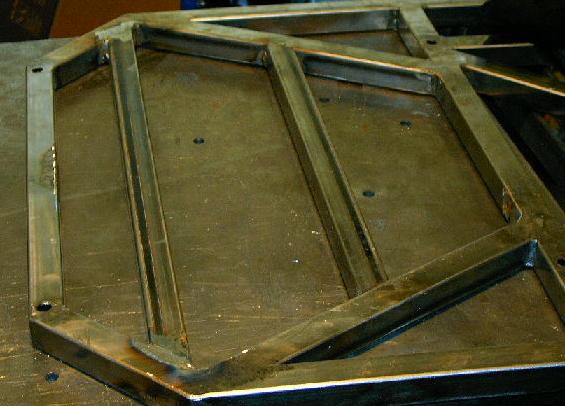
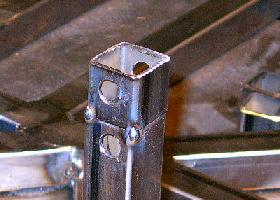
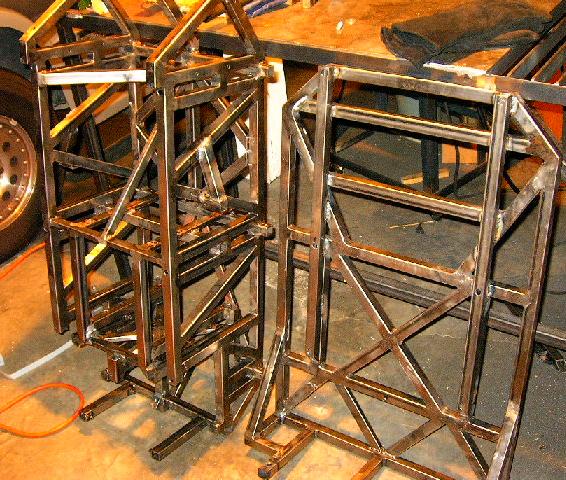
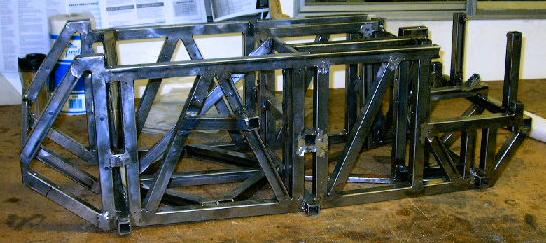
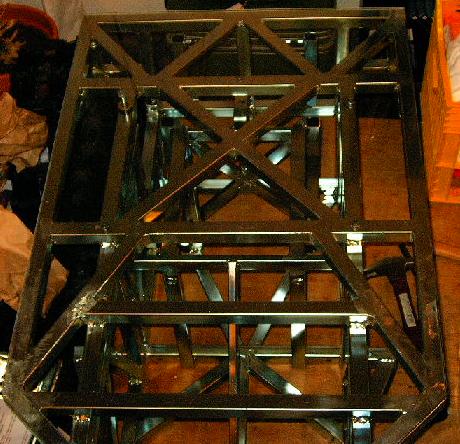
| Here are the two main chassis pieces all ready to go. Again, remember the color of the steel. It is a real far cry from what we end up with. |
 |
| I took the robot around Mukilteo where I work today getting quotes for a powder coat. A powder coat isn't really anything more than a really durable paint-job, but it would protect against rust. I was looking to get a clear one, but talking to the guys at Production Plating, they suggested a plating instead. Powder is sprayed on, and it would be really hard to get it all the way inside the open tube ends. Plating, on the other hand, it a bath, and it should get better coverage. However, before they can plate it, they need me to drill holes in each enclosed tube to prevent chemical build-up. I took the steel to work and got busy drilling. It was a lot of holes, but it wasn't too bad. Unfortunately, none of my pictures of individual holes turned out, but they weren't much to see anyway. |
 |
| The next day I turned it over to Production Plating, and less than a week later they delivered this gleaming, zinc-plated beauty. The process involved full-bath acid etch which got rid of all of the existing rust, several cleaning baths, and a passivate which prepared the surface for plating. Looks great! |
 |
| I had them mask the ends of the axles where the wheel bearings run. I was afraid the softer zinc would gall up with the needle bearings and really cause trouble. |
 |
| Oooooo... shiny. |
 |
| As a final touch for this report, I cut and drilled a brand new sheet of Lexan polycarbonate sheet for the top. This is the first time I've gotten a single clear panel over the whole robot and it looks great. No seams or anything. You can hardly tell it's even there. |
 |