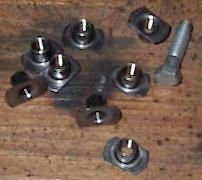
| Today I don't have very much time. Fortunately, I have a nice atomic little task ahead of me that needs to get done. These eight weld nuts have to get welded into the holes I drilled yesterday. This is going to be the first actual welding of the project. |
 |
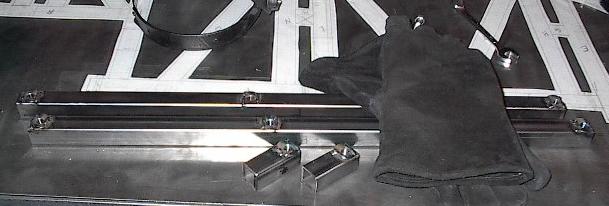
| Here are the four pieces of steel with the weld nuts in the holes. I've never used weld nuts before, so I'm not actually sure how they're supposed to work. I think I can save some bolt length by drilling oversized holes and welding the barrel of the weld nut inside the tubing. We'll see how it works. |
 |
| Now, to line the nuts up and clamp them in place, I just had to bolt it down and weld. The bolts are coated, so I was really careful to just do a few really quick tack welds, then remove the bolt, and weld the nut all the way around. This way, I don't have to worry about vaporizing any dangerous residual chemicals on the bolt. |
 |
| Lather, rinse, repeat eight times. Here's all eight weld nuts welded into their holes. Of course, I'm not done yet. There are a few more steps before these are all done for the day. |
 |
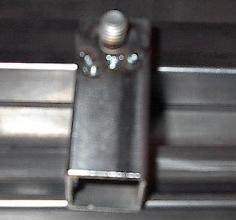
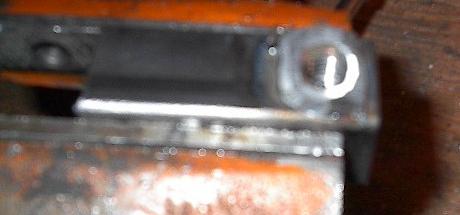
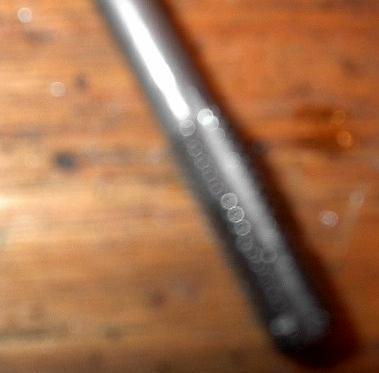
| Well, this is supposed to be a picture of the weld nuts before I do anything to clean them up. It came out really blurry, but you can still see the welds. |
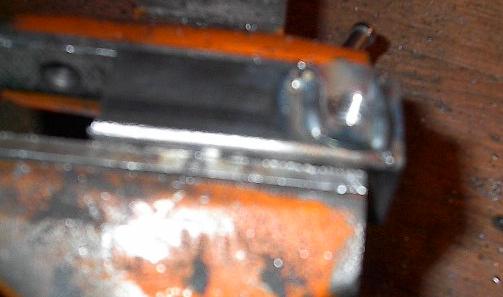 |
| A few passes with the grinder and the beads are starting to look a lot better. Everything's flattened out and there should be enough clearance to join the other steel members to this one. |
 |
| All this welding and grinding is just no good for threads. There's a lot of thermal expansion, spatter, and grit that can screw things up (no pun intended, honestly). To straighten everything back out, I just had to run a tap through the weld nut, clearing out the treads. |
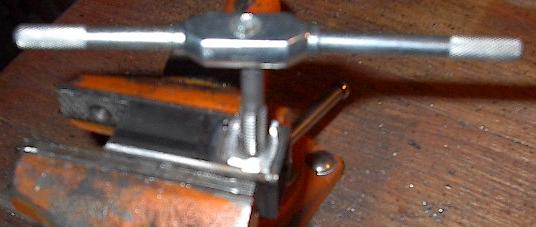 |
| We can see here just how bad some of these holes are. Running a tap through the threads shows the angle a bolt is going to have to run through this thing to line up. That angle isn't the end of the world, but I'm certainly not too happy about it. I need to find a better way to keep my holes on target. |
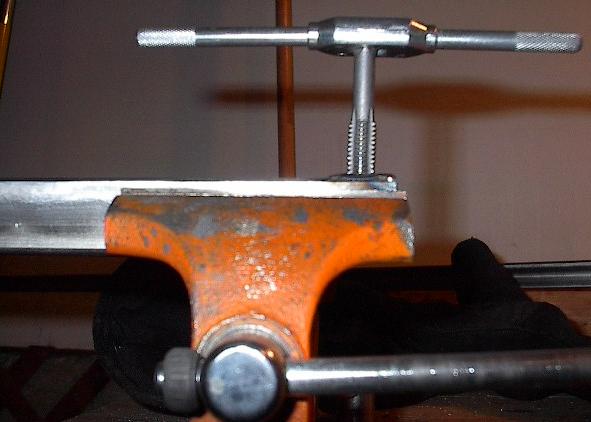 |
| Finally, to make sure everything's cricket, I ran a bolt through the weld nuts. Looks like everything is just fine. |
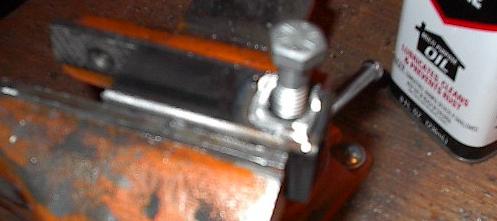 |
| Well, this picture didn't come out at all, but trust me, that is one dull tap. I ran it through eight threaded holes, and it's already looking really beat up. I haven't even actually tapped anything, just cleaned dirty threads! This is what I get for buying cheap tools. I'm going to have to figure out what sized taps I'm going to be using and buy some better ones. |
 |
| There's eight welded weld nuts. All in all, it went pretty well. It took quite a bit of time, but it should go quicker after I've had a little more practice. |
 |