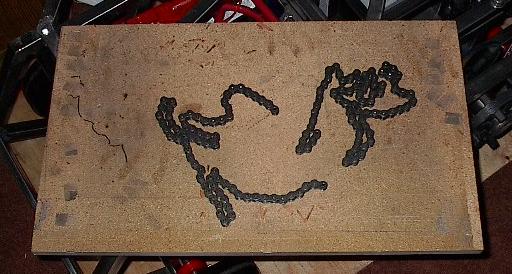
| I'm going to start off doing a little work on the drive train. I cut these chains two links too long so that I could use straight connective links when I hooked it up. Now that I have some offset links, it's time to trim things up. |
 |
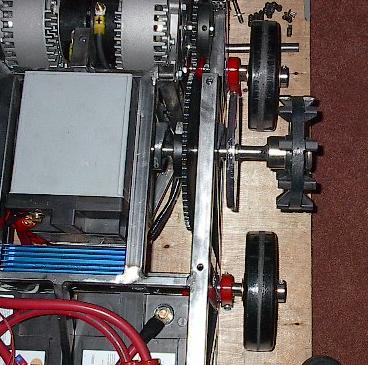
| To check the alignment I had to take the top panel off for the first time since I built the drive wheels. Now I can see how they line up with the rest of the wheels a lot better. |
 |
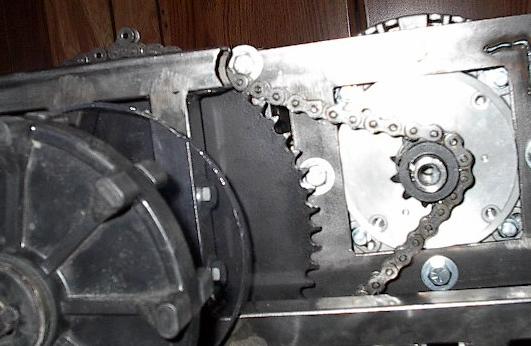
| Here's how the chain looks now. You can see on the left how the chain is actually one pin too long. I have to cut two links out of the chain (for a total of three pins removed) because of the way roller chain is constructed. After I'm done, it will take both a normal connector link and an offset link to connect the ends. |
 |
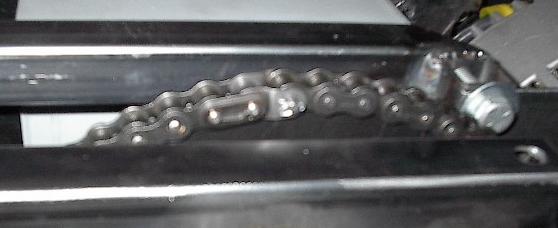
| Here's the end result. I've cut the chain back, wrapped it back around the sprockets, and installed the two types of connecting links. It's a little hard to see, but they're there. The regular links are riveted, the normal connecting link has a retaining clip, and the offset link has a cotter pin. |
 |
| Now that the chain is all set up, it's time to get back to work on the track. This is the last major cut I had to do on the ends, and it went pretty well. Working with this snowmobile track has been a lot of work, but I should be able to finish most of the work on them by the end of this build day. |
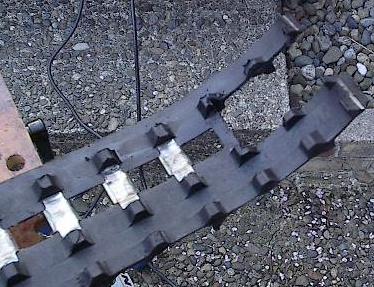 |
| This is a picture of how the ends will fit together. This is the track that I cut almost entirely by hand, and the ends meet up much better than the other one. The power tools made slightly faster work of the cuts, but they're not as exact and there were a lot of heat problems (both in the track material and in the tools). |
 |
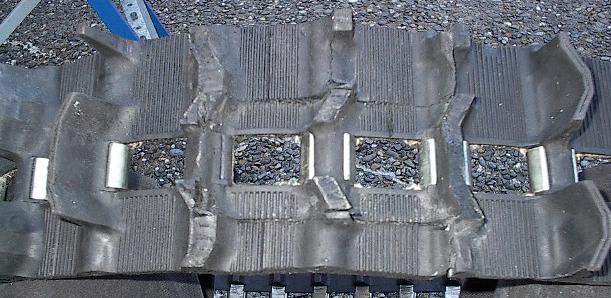
| Here's the other side of the seam. With the paddles cut shorter than they were before, the offset tread pattern isn't as pronounced. You can still tell that the paddles don't form a continuous pattern, but it won't have much impact on the strength or traction of the track. |
 |
| Now it's time to figure out exactly how I'm going to go about lacing the seam back together. If I can, I want to run a pin all the way through the shared reinforcing bar, but first I have to know how hard drilling for it will be. Fortunately, I have plenty of scrap track to test it out on. Here I've drilled a hole into one of the bars of a discarded track chunk. It went fairly well, but it was hard to keep the hole lined up with the bar. |
 |
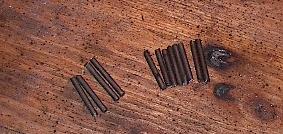
| It looks like it's going to be just too hard to keep the drill on track for me to drill all the way through the almost six inches of track without wandering off target. Instead, I'm going to drill short holes along the seam (they'll be easier to keep aligned that way). They'll just have to be deep enough to fit these little pins. |
 |
| I've gone ahead and started drilling the actual track. This is a little nerve-wracking -- if I ruin this thing I'll be throwing away many hours of very hard work. They didn't all go well, but I was able to keep them all on track enough to be usable. The reinforcing material was a real mess -- that white powder gets on everything and itches like fiberglass (maybe it is...). |
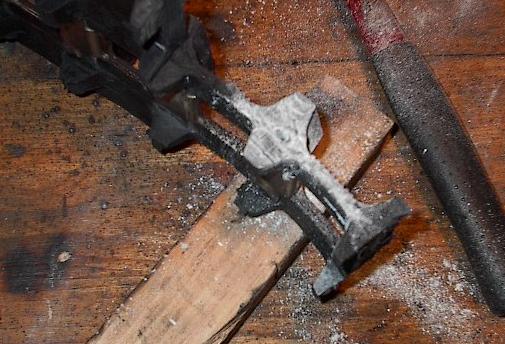 |
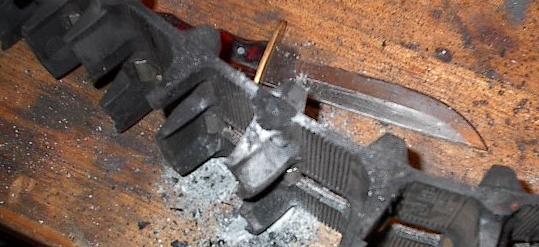
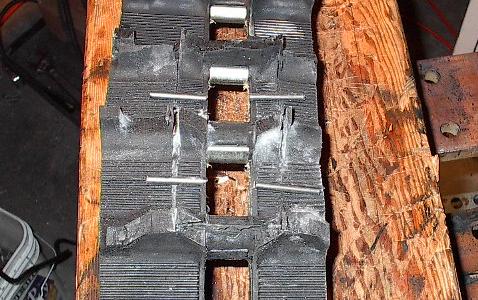
| The track is going to assemble in a few steps (that is, before I bond it permanently -- it will not be disassemblable). First, a pin fits into the female side of the track, like so. |
 |
| Then the second pin is driven in through the side of the track, like so. These pins are colinear, so this clearly doesn't completely constrain the track. I'll be adding more pins to make a solid joint. However, they'll be affixed to the surface so I don't have to interrupt any of the fiber reinforcements already present in the track. |
 |
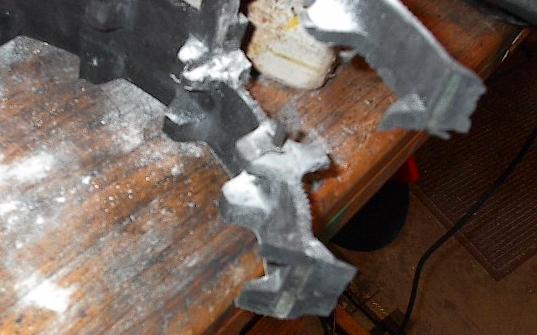
| This is just a shot of the track pinned together. It hasn't been bonded or anything yet -- just those two little pins holding everything in place. It looks really good; the seam isn't obvious and the profile looks nice and even. |
 |
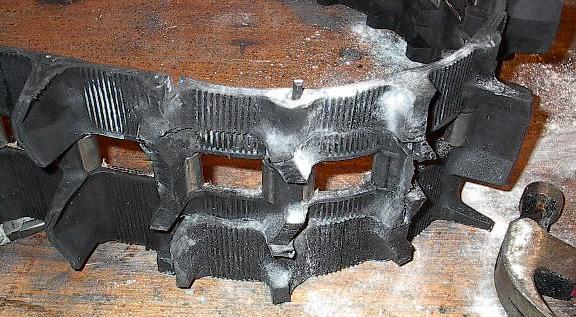
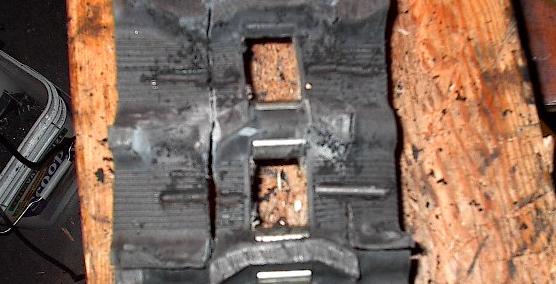
| Each joint is also going to have four surface pins, positioned as shown. I'll cut slots for them into the surface of the track, but I'm going to stay shallow enough to avoid damaging the fibers in the track. I'll be bonding the pins into the slots very securely using a flexible epoxy. |
 |
| Here are the four slots. The lower right one has a pin laid out to make sure they fit. You can see the fibers at the bottom of each one, but this picture isn't good enough to show it. |
 |
| With that, the tracks are more or less shaped. They'll have to be touched up after they're bonded to clean up the inside geometry, but that's got to wait until after it's all glued. |
 |
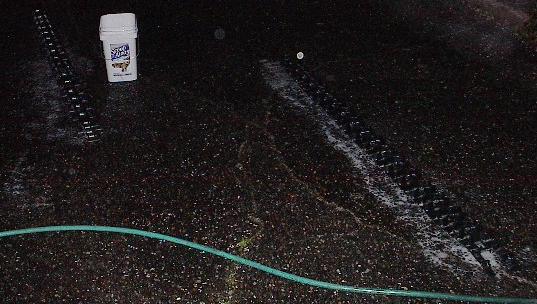
| Before I take the tracks inside to do the gluing and paddle trimming, there's one more thing I have to do. I have to wash them. They're covered in rubber goo and oil and just general grime. And yes -- it's dark. It's also cold. This job would be a lot more fun on a warm summer afternoon, but beggars can't be choosers. |
 |
| I'm not really sure what the proper agent to remove gelled snowmobile rubber is, so I just grabbed some laundry detergent, hot water, and a coarse scrub brush and went to town. I hosed the soap off, gave them a few minutes to dry, and hauled them inside to let them air dry overnight. I'm closing up shop and heading inside now -- I cleaned the shop while I waited, but it's getting late, so I don't want to dive into a new project at this hour. |
 |
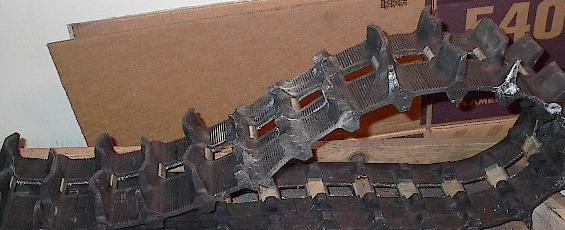
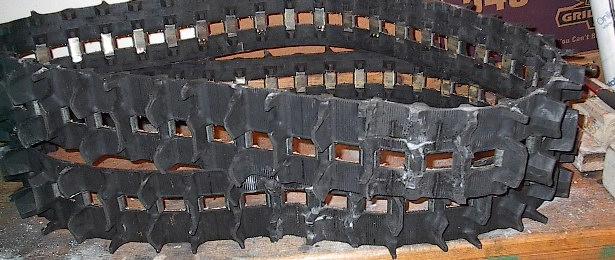
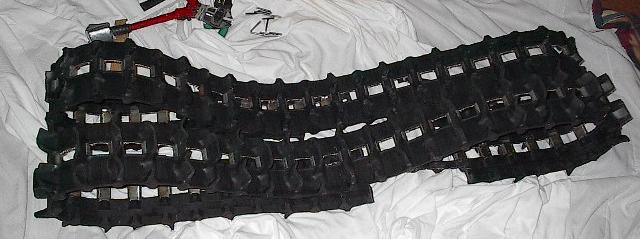
| I went inside and spent over an hour cutting paddles down, and I got a whole track done. I'm surprised at how quickly it went. It wasn't particularly easy going, but I can do it. This is a shot of the two tracks laid out next to each other -- the one on the left has had its paddles trimmed to roughly one inch. They'll both look like this when they get put on the robot. It doesn't look quite as good as the full-depth tread, but it had to be done, otherwise the track wouldn't fit under the top platform. |
 |
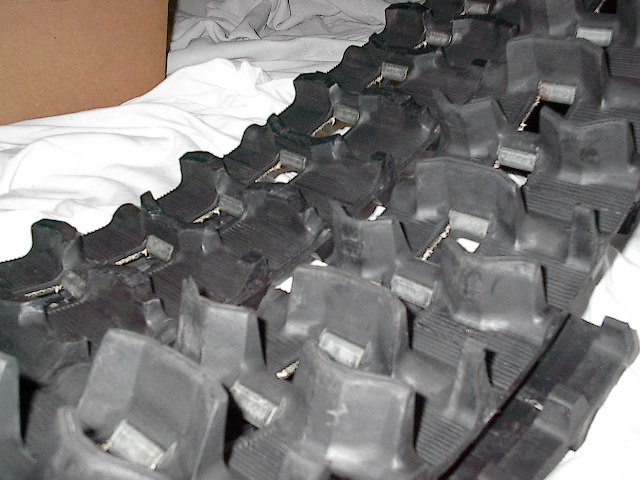
| Here's a close up on the paddles. The cut paddles are a far cry from exact -- I just eyeballed it with a pair of bolt-cutters. This won't be a problem in the long-run. It'll ride a bit rough at first, but all I have to do is open it up on pavement and they'll wear flat. |
 |