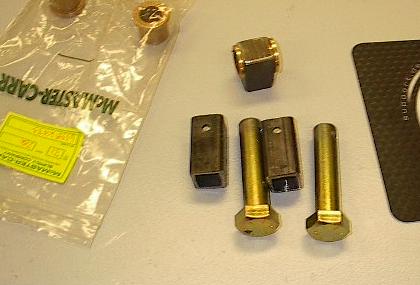
| Today I got the parts that I prepared two days ago finished up on the drill press. Here's one of the assemblies I've been working on. The pins run through bushings, the nitrogen spring mounts, and finally the square tube that will soon be welded to the chassis. |
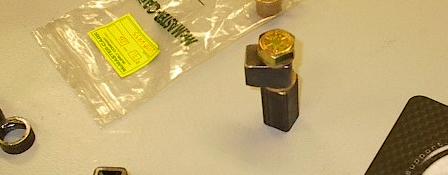 |
| Of course, I need some way to hold the whole thing to the tube after it's welded up. I'll use the same method I did for the axle pins -- I'll drill a 0.201 inch hole through the tube and the pin, then I'll widen the tube's hole to 0.25. Finally, I'll tap 20 threads per inch into the pin. The end result is an assembly that I can easily bolt together. |
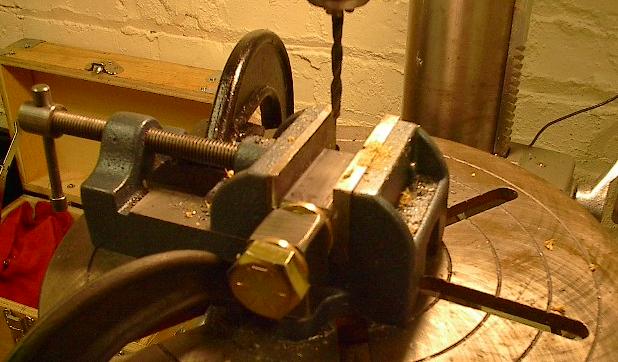 |
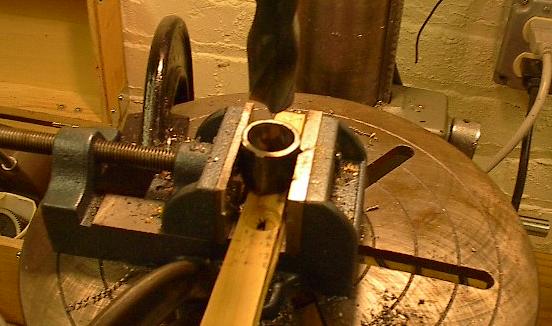
| Here's the first, smaller hole drilled all the way through the pin and tube. I've taken care to perform this operation with the triangular indicator on the bolt head pointing down. This will make it easy to align the pin when assembling the system under tension. |
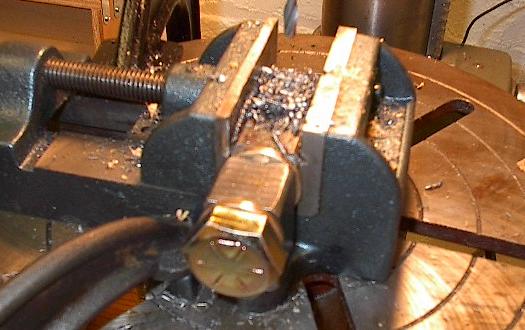 |
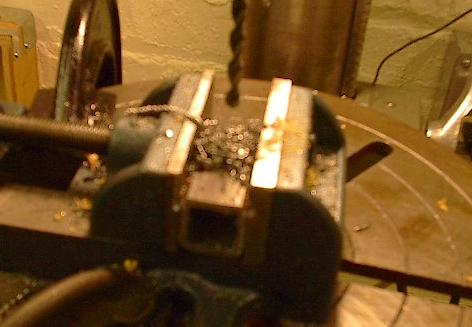
| Finally, I've removed the pin, bushings, and block for the final drill. This quick job enlarges the holes to 0.25 inches, which should accommodate the bolts. |
 |
| Here they are -- two drilled pins (0.201 inch holes) and two drilled tubes (0.25 inch holes). Everything should line up just fine. |
 |
| Now, on to the next task -- making my one inch tensioner arm bushings fit inside these pipes. Turns out I took just slightly too much material out, and now they're a hair too small. I could have gone after this with a file for hours, but I figured I'd just drill it out with a one inch drill bit. Yes -- I know that's not what drills are designed for and yes -- I know that it'll be really hard on the bit and yes -- I know it'll make a ton on noise (boy did it ever) and yes -- I know the bit will bind up if I'm not careful. Regardless of these and other very valid reasons why I shouldn't do this, I don't have a reamer and I'm an impatient guy, so here goes. |
 |
| I could tell you it worked like a charm, but it didn't. The bit got hot and made a lot of noise and it bound up a few times, but it did work, and that's all I wanted. I repeated the procedure for the remaining three chunks of tubing. They're not perfect, but they're really close -- now I should be able to file them to shape in no time. |
 |
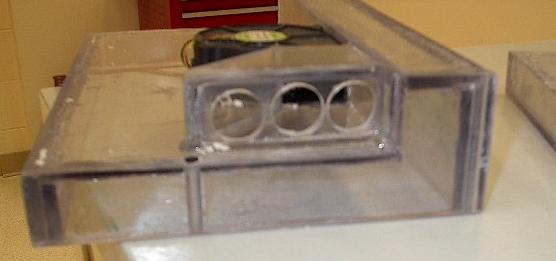
| Now it's time to move on to the enclosure drilling that has to be done. I need bolt holes to hold the two halves of the enclosure together. Here's the top half -- I'll drill it first, and then use it as a jig to align the bottom half's holes. |
 |
| They're going pretty well. The stress of drilling is putting a lot of stress on the seams, and the epoxy has given way in a few places, but it isn't anything serious. The holes look real nice, too. |
 |
| One of the neat things about drilling clear material is that you can watch the drill bit progress. You can also see when the flutes get clogged with chips, which is pretty useful when drilling plastic. Also note the poor-man's clamp -- my left hand. |
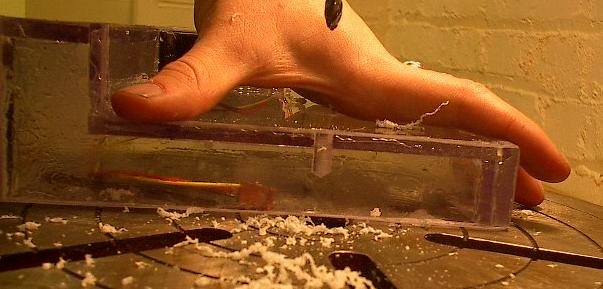 |
| I've finished drilling the top half and three of the five holes in the bottom half. I'm using old tensile test specimens as pegs to hold everything together while I align each hole. They're perfect for the job -- they're exactly a quarter of an inch in diameter and their ends are necked down from the test, making it easy to align the holes. |
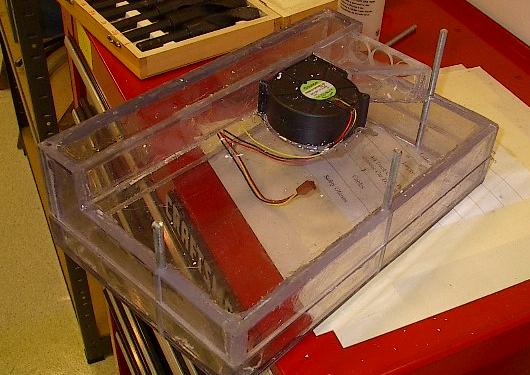 |
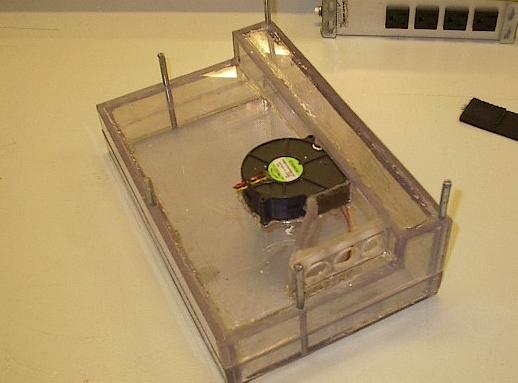
| Here it is with all five holes drilled through both halves and the whole thing pegged together. Looks like it all lines up just fine. |
 |
| I packed it in there (which was good, because they were locking up the building and arming the security system) and went home to work on the gasket. Here I've cut out a rectangle that is the same dimensions as the outside of the box. |
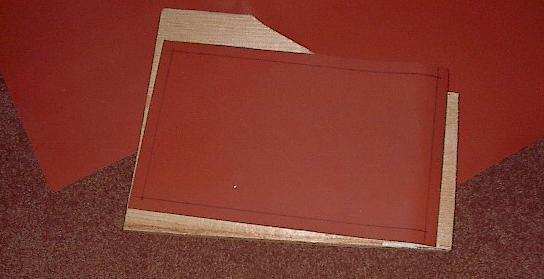 |
| I cut a rectangle out of the inside, punched some holes into it for bolts, and pegged it into the enclosure. It was pretty easy to work with. There's only one problem... |
 |
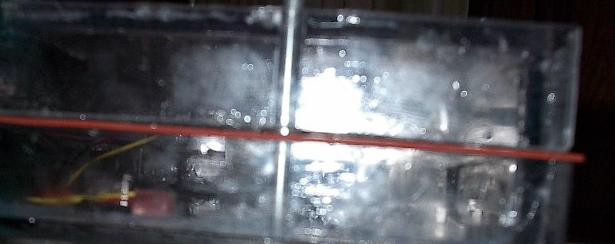
| The halves don't fit together well enough. There are little gaps in the seam. I was hoping that the gasket would compress enough to take care of this, but it doesn't look like that's the case. I know you can't really tell from the picture, but I'm going to need to do something about this. I'm not exactly sure what, but something. It's getting late, and I think I'd best just sleep on it. |
 |